
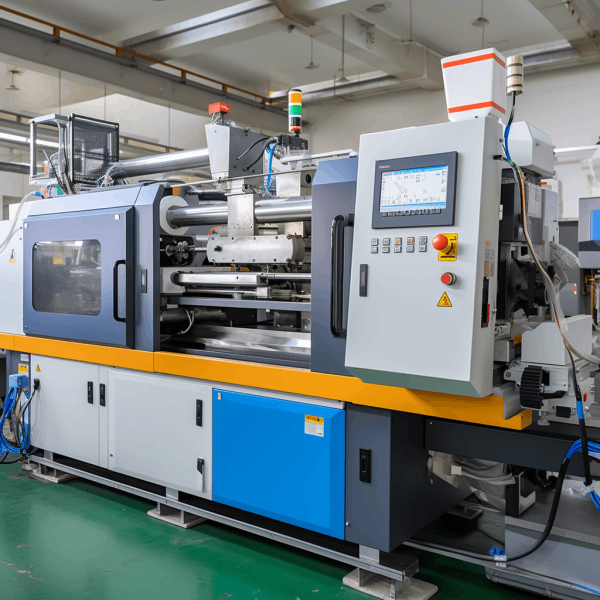
Quick answer: T1 is the first structured learning event, not automatic tool approval. Progress to production by classifying every issue, controlling revisions, correcting product/tool/process causes, validating cavities and the process window, completing gauges and controls, proving capacity and closing release criteria.
Release Decision Matrix
| Gate | Evidence | Exit condition |
|---|---|---|
| T1 learning | Process record, samples, fill, dimensions, appearance and function | Issues classified with owners and next evidence |
| Tool correction | Updated design, steel change and inspection | Affected risks ready for retrial |
| Validation | Cavity, window, capability, run and assembly results | Product and process meet release plan |
| Production launch | Control plan, work instructions, maintenance, capacity and packaging | Traceable accepted output under normal conditions |
Approval Checklist
- Freeze T1 product, mold, resin, machine and objectives.
- Label samples and capture process, cavity and measurement conditions.
- Classify findings by product, tool, material, process or measurement.
- Control CAD, steel, gate, vent, cooling and action corrections.
- Verify issue closure and establish a capable process window.
- Complete gauges, control plan, reaction, traceability and packaging.
- Prove accepted capacity, maintenance, spares and trained coverage.
- Release deviations explicitly and monitor early production.
Prepare T1 as an Experiment
Freeze product and mold revisions, intended resin and trial objectives. Define sample quantity, cavities, process data, short shots, dimensional report, appearance and functional checks. Confirm machine and utilities are representative enough for the questions.
Record material condition, actual temperatures, fill, transfer, pressure, cushion, packing, cooling and cycle. Label parts by cavity and condition. Uncontrolled samples cannot support reliable correction.
Classify Every Finding
Separate product geometry, tool steel, gate/vent/cooling, material, process, measurement and handling causes. Mark consequence and whether the issue is common or cavity-specific. Avoid solving all defects with parameter changes before the mechanism is known.
Assign owner, action, due date and next proof. Use statuses such as open, accepted, steel-safe correction, product change, process study or measurement review.
Control Corrections and Revisions
Approve product changes through controlled CAD and drawing. Document steel removal, welding, new inserts, gate, vent, cooling and action work. Inspect the corrected tool before retrial and consider effects on nearby dimensions and surfaces.
Keep before/after evidence and update the mold design. Inform commercial and schedule owners when a correction changes scope, life, cycle or maintenance.
Validate Tool, Cavities and Process
At later trials, verify issue closure and establish the process window. Measure every relevant cavity, boundary appearance and functional assembly after defined conditioning. Confirm measurement systems and gauges are ready.
Run long enough to assess thermal stability, recovery, automation, cavity balance, yield and maintenance signals. One set of selected good parts does not prove sustained production.
Prepare the Production System
Release setup, work instructions, control plan, inspection, reaction rules, material handling, traceability and packaging. Train operators and technicians for the approved tasks. Complete preventive maintenance, spare inserts and hot-runner or action service plans.
Verify material supply, machine loading, labor, dryers, robots, gauges, downstream operations and logistics. Capacity means accepted packed parts, not theoretical cycles.
Approve Launch and Early Production
Use a signed release checklist identifying remaining deviations, concession scope and expiry. Preserve golden or boundary samples and final process records. Separate tool acceptance, product approval and commercial shipment authority when the organization requires it.
Monitor early production for scrap, CTQ trend, complaints, downtime and cavity differences. Close lessons into drawings, maintenance and future DFM rather than treating first shipment as the end of engineering.
Illustrative T1 Issue Closure
Illustrative engineering example—not a claimed CKMOLD customer result: T1 shows flash in one cavity and flatness drift in all cavities after cooling. The team separates a local parting-line fit issue from a common thermal/geometry issue. The local cavity is fitted; the common issue receives a cooling and conditioning study before any broad steel change. Each has its own owner and evidence gate.
Supporting Review Resources
Questions Before Approval
What does T1 mean in injection molding?
It is the first structured mold trial after build, used to collect samples and engineering evidence about the tool and process.
Is a dimensionally acceptable T1 part enough for production?
No. Appearance, function, cavities, process window, measurement, controls, capacity and sustained operation may still require validation.
How should T1 issues be managed?
Classify cause, consequence and cavity pattern, then assign an owner, action and measurable next-trial evidence.
When is a mold ready for production?
When defined tool, product, process, quality, capacity, maintenance and documentation release criteria are closed or formally accepted.
Apply the T1-to-Production Injection Molding Launch Checklist review to your released design. Share the function, exact resin, annual volume, CTQs, cosmetic limits and launch timing through the CKMOLD project form. If CAD is relevant, send it directly to jerry@ckmold.com; the form does not require an upload.