Struggling with inconsistent part quality, long cycle times, and frustrating defects? These issues often point to a single culprit: poor mold temperature control, which can sink your profits and damage your reputation. Selecting the right system is key to achieving consistent, high-quality production and optimizing your entire process.
To choose the right mold temperature control system, you must first identify your required operating temperature. Water-based units are ideal for applications up to 90°C (194°F), offering excellent heat transfer efficiency. For higher temperatures, up to 300°C (572°F) or more, oil-based systems are necessary for their stability and safety. Also consider heating/cooling capacity, flow rate, and control precision to match your specific plastic material and part design for optimal results.
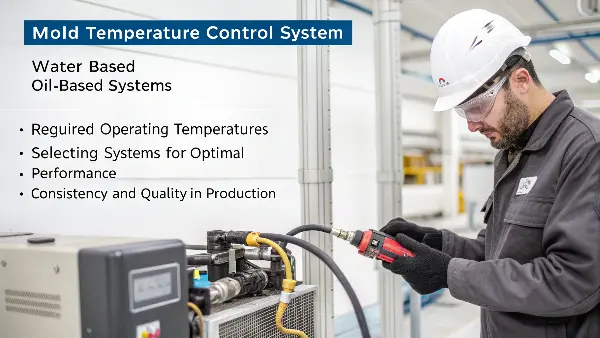
Now that you have a basic idea, let’s look closer. The choice between a water-based or oil-based system is just the beginning of the story. Understanding the details of each system, their specific features, and how they directly impact your final product is what truly matters. Let’s dive into the specifics to make sure you make the best choice for your factory floor and your business’s bottom line.
What Are the Main Types of Mold Temperature Controllers?
Confused by the different temperature control units on the market? Choosing the wrong type can lead to inefficient heating, safety hazards, or equipment that just doesn’t meet your production needs. Let’s clarify the two primary types—water and oil—so you can confidently identify which one is built for your specific application.
The two main types of mold temperature controllers are water units and oil units. Water-based controllers are common for general-purpose molding, typically operating below 90°C (194°F). They are cost-effective and efficient at transferring heat. Oil-based controllers are used for high-temperature engineering plastics that require process temperatures above 90°C, offering stable control at much higher heat levels without the high pressure of boiling water.
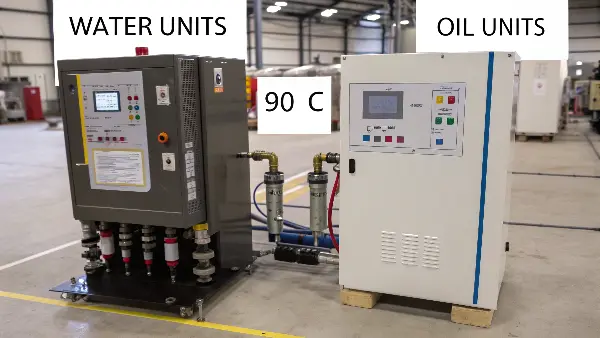
When I first started in this industry, the choice seemed simple. But I quickly learned the details make all the difference. The decision between a water and an oil unit is one of the first and most important you’ll make for your injection molding setup. It sets the foundation for your process efficiency, safety, and the quality of your parts. Let’s break them down.
Water-Based Systems: The Workhorse
For a huge range of applications, water is the best choice for a heat transfer medium. It’s cheap, readily available, and amazing at transferring heat. Standard water units are perfect for materials like polypropylene (PP), polyethylene (PE), and polystyrene (PS), which have lower processing temperatures, usually below 90°C or 194°F. They are the workhorses of many molding shops. However, water has a boiling point. To go higher, you need a pressurized water unit. These can safely reach up to around 160°C (320°F), but they operate under high pressure, which requires more robust plumbing and safety considerations. The main drawback of water systems is the potential for mineral buildup, or scale, inside the mold’s cooling channels. This acts like an insulator and can ruin your temperature control over time. Regular maintenance and water treatment are essential.
Oil-Based Systems: The High-Temp Specialist
When you’re working with high-performance engineering plastics like PEEK, PSU, or some polycarbonates, you need temperatures that water simply can’t handle safely. This is where oil-based systems come in. These units use a special thermal oil that can remain stable at temperatures up to 300°C (572°F) or even higher, all at atmospheric pressure. This eliminates the safety risks associated with high-pressure steam. Oil doesn’t cause scale or corrosion like water can, which is a big maintenance advantage. However, oil is not as efficient at transferring heat as water, so you might need a higher flow rate to achieve the same result. The oil itself is an expense, and it will degrade over time, requiring replacement. There’s also a greater fire risk if there are leaks onto very hot surfaces, so good housekeeping is critical.
| Feature | Water-Based System | Oil-Based System |
|---|---|---|
| Temp. Range | Up to 90°C (Standard) / 160°C (Pressurized) | Up to 300°C+ |
| Heat Transfer | Excellent | Good |
| Operating Pressure | Low (Standard) / High (Pressurized) | Low (Atmospheric) |
| Fluid Cost | Very Low | Moderate to High |
| Key Advantage | High efficiency, low cost | High-temperature stability, no corrosion |
| Key Disadvantage | Scaling, pressure hazards at high temps | Fire risk, fluid degradation, lower efficiency |
| Common Plastics | PP, PE, PS, ABS | PC, PEEK, PSU, LCP, High-Temp Nylons |
How Does Mold Temperature Directly Impact Plastic Part Quality?
Are you seeing defects like sink marks, warping, or poor surface finish in your parts? You might be blaming the plastic or the injection machine, but often the real problem is an unstable or incorrect mold temperature. Understanding this direct link is the first step to eliminating these common defects and producing perfect parts consistently.
Mold temperature directly controls how the molten plastic cools and solidifies inside the cavity. A temperature that’s too low can cause short shots, flow lines, and high internal stress. A temperature that’s too high can lead to sink marks, warping, and unnecessarily long cycle times. Proper temperature control ensures uniform cooling, good surface replication, dimensional stability, and minimized internal stress, which is critical for the part’s final performance and appearance.
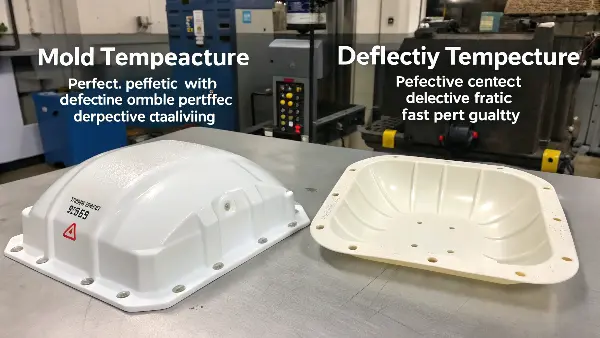
I remember a client, Michael, who was struggling with polycarbonate parts for an electronics housing. They were brittle and would crack during assembly. He tried everything—changing the plastic grade, adjusting injection pressures—but nothing worked. When we looked at his process, we found his mold temperature was way too low because he was using a standard water unit. We switched him to an appropriate oil unit, raised the mold temperature to the material’s recommended setting, and the brittleness vanished. The parts became strong and reliable. This experience taught me that mold temperature isn’t just a setting; it’s one of the most powerful tools you have for controlling part quality.
The Consequences of a Mold That’s Too Cold
When a mold is too cold, the molten plastic cools too quickly as it enters the cavity. This "freezing" effect can cause several problems. First, you might get a "short shot," where the plastic doesn’t completely fill the mold. Even if it does fill, the rapid cooling can create visible flow lines on the surface and weld lines that are weak. More importantly, it traps a huge amount of stress within the part. This internal stress makes the part brittle and prone to warping or cracking later on, sometimes long after it has left the factory.
The Problems with a Mold That’s Too Hot
On the other hand, a mold that’s too hot also causes issues. While a hot mold helps the plastic flow easily and reduces internal stress, it takes much longer for the part to cool down enough to be ejected. This directly increases your cycle time, which hurts productivity and profitability. For thicker sections of a part, a hot mold can lead to prominent sink marks as the plastic shrinks inward during its slow cooling. It can also lead to warping as different sections of the part cool at different rates. For certain materials, an overly hot mold can also cause the part to stick to the cavity, making ejection difficult.
| Mold Temperature Issue | Resulting Part Defect | Why It Happens |
|---|---|---|
| Too Cold | Short Shots, Flow Lines | Plastic freezes before the mold is completely filled. |
| High Internal Stress, Brittleness | The polymer chains are "frozen" in a stressed state. | |
| Poor Surface Finish | The plastic doesn’t have time to properly replicate the mold surface. | |
| Too Hot | Long Cycle Times | The part takes too long to solidify for safe ejection. |
| Sink Marks, Voids | Slow cooling allows for excessive, non-uniform shrinkage. | |
| Warpage | Different sections cool and shrink at different rates. | |
| Sticking in the Mold | The part remains too soft and adheres to the mold surface. |
What Key Features Should You Look for in a Temperature Control Unit?
Ready to invest in a temperature control unit but feeling overwhelmed by the technical specifications on the brochure? Focusing on the wrong features can mean you end up with a unit that’s either underpowered for the job or unnecessarily complex and expensive. Let’s cut through the noise and focus on the essential features that truly impact performance, reliability, and ease of use.
When selecting a temperature control unit, look for these key features: sufficient heating capacity (kW) to get the mold to temperature quickly, and adequate cooling capacity to remove heat effectively. Check the pump’s flow rate and pressure to ensure it can overcome restrictions in the mold’s cooling channels. A precise, user-friendly controller (like a PID controller) is also vital for maintaining a stable temperature. Finally, always consider the unit’s safety features and alarms.
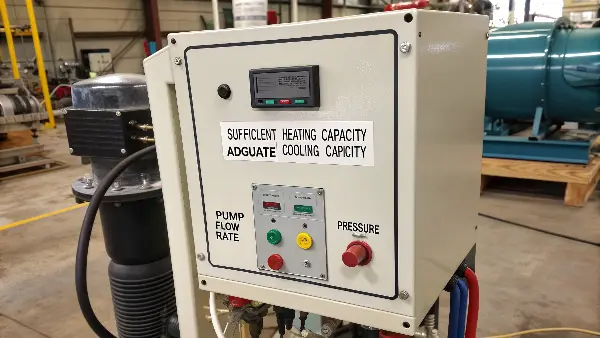
Think of buying a temperature control unit (TCU) like buying a car. You wouldn’t just look at the color; you’d check the engine power, the transmission, and the brakes. The same logic applies here. The "engine" of your TCU is its ability to heat and cool, the "transmission" is the pump that moves the fluid, and the "brakes" are the controls and safety features that keep everything running smoothly. Let’s look under the hood at these critical components.
Heating and Cooling Capacity: The Powerhouse
Heating capacity, measured in kilowatts (kW), determines how quickly the unit can bring a heavy steel mold up to the target temperature. A unit with too little heating power will lead to long startup times, killing your efficiency. You need enough kW to overcome the initial thermal load of the mold and then maintain the temperature against heat loss. Conversely, cooling capacity is just as important. The injection molding process constantly introduces heat into the mold with every shot of molten plastic. The TCU’s cooling system must be able to remove this heat efficiently to maintain a stable temperature and achieve consistent cycle times. This capacity is often measured in tons or BTU/hr.
Pump Performance: The Heart of the System
The pump is the heart of the TCU. Its job is to push the water or oil through the often small and complex cooling channels inside your mold. You need to look at two key pump specs: flow rate and pressure. Flow rate, measured in gallons or liters per minute (GPM/LPM), tells you how much fluid is moving through the mold. A higher flow rate generally means more efficient heat transfer. Pressure, measured in PSI or Bar, is the force pushing that fluid. You need enough pressure to overcome all the resistance from the hoses and the mold’s internal channels. If the pump is too weak, you’ll get sluggish, non-turbulent flow, which leads to poor temperature control, no matter how good the heater is.
The Control System: The Brains of the Operation
The controller is the brain of the unit. Modern TCUs use PID (Proportional-Integral-Derivative) controllers. This sounds complex, but it simply means the controller is smart. It doesn’t just turn the heater on and off. It constantly learns how your mold responds and makes tiny, precise adjustments to keep the temperature incredibly stable, often within a single degree of your setpoint. A good controller should also have a clear, easy-to-use interface, display both the set temperature and the actual temperature, and include essential alarms for issues like high temperature, low fluid level, or pump problems. These features are not luxuries; they are essential for quality control and safe operation.
What Is the Best Way to Select Between Water and Oil Systems?
You know the basic differences between water and oil systems, but how do you make the final call for your specific project? Making a choice based on just one factor, like temperature, can lead you to overlook other critical variables that affect your total cost, efficiency, and safety. Let’s use a simple, step-by-step framework to ensure you select the most practical and cost-effective system.
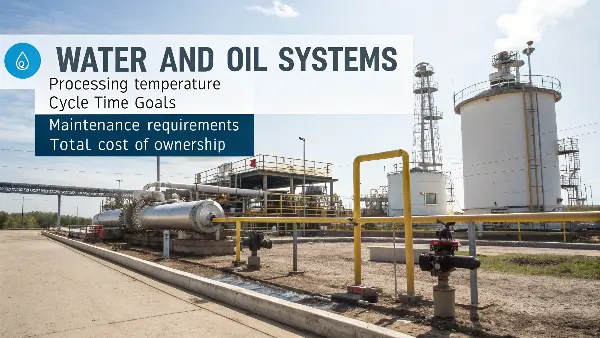
The best way to select between water and oil systems is to base your decision primarily on the processing temperature recommended for your plastic material. If it’s below 90°C (194°F), a water unit is typically more efficient and economical. For temperatures above this, an oil unit is required for safety and stability. Next, consider cycle time goals, maintenance requirements, and the total cost of ownership, not just the initial purchase price.
Making this decision correctly is a business decision, not just a technical one. A few years ago, a customer wanted to mold a part using ABS. The recommended mold temperature was around 80°C, right on the edge for a standard water unit. They were tempted to buy a cheaper water unit to save money. I advised them to consider a pressurized water unit or even a small oil unit. Why? Because their mold had very fine details and they needed a flawless cosmetic surface. Running a standard water unit at its absolute limit would lead to instability. They chose the pressurized water unit, and the result was perfect parts from the very first run. The slight extra investment upfront saved them countless hours of troubleshooting and scrap.
Step 1: Define Your Operating Temperature Range
This is the most important first step. Look at the technical data sheet for the plastic resin you are using. It will specify a recommended mold temperature range.
- Below 90°C (194°F): A standard open-circuit water unit is almost always the best choice. It’s efficient, safe, and cost-effective.
- 90°C to 160°C (194°F to 320°F): You are in the territory of pressurized water units. They offer the high heat transfer efficiency of water but require more robust equipment and safety awareness due to the pressure.
- Above 160°C (320°F): An oil unit is the only safe and stable option. Don’t even consider trying to push a water unit this high.
Step 2: Evaluate Heat Transfer and Cycle Time Needs
Water is about twice as effective as oil at transferring heat. This means that for the same flow rate, a water unit can add or remove heat from the mold much faster. If your primary goal is the absolute shortest cycle time possible on a material that can use either system (like ABS at 80°C), a water system will likely give you an edge. However, for high-temperature materials, the stability and safety of oil far outweigh the heat transfer difference. You simply cannot achieve the required temperature with water.
Step 3: Compare Total Cost of Ownership
Don’t just look at the price tag of the TCU. Consider the total cost over its lifetime.
| Cost Factor | Water System | Oil System |
|---|---|---|
| Initial Purchase | Low | High |
| Fluid Cost | Negligible (water) | Significant (thermal oil) |
| Energy Use | Lower (due to high efficiency) | Higher (due to lower efficiency) |
| Maintenance | Descaling of mold & unit | Oil testing and replacement |
| Safety | Low risk (standard) / Pressure risk (pressurized) | High fire risk if leaks occur |
A water unit is cheaper to buy and run day-to-day, but you must factor in the cost and labor of a water treatment program and periodic mold cleaning to prevent scale. An oil unit costs more upfront, and the oil itself is a consumable expense. However, it requires less frequent internal cleaning. You are trading one set of operational costs and maintenance tasks for another. Your choice depends on which set of challenges better fits your facility’s capabilities and budget.
Conclusion
Choosing the right mold temperature control system is a critical decision that directly impacts your part quality, production efficiency, and profitability. It’s not just about heating and cooling; it’s about control. By carefully considering your material’s temperature needs, key system features, and the total cost of ownership, you can select a unit that empowers your process, reduces defects, and strengthens your business’s bottom line.
