You’ve designed a great plastic part, but getting it manufactured perfectly is a whole other challenge. Small mistakes in the injection molding process can lead to big defects, wasted material, and costly delays. You worry about issues like warping or sink marks ruining your production run. It feels like a complex black box where one wrong setting can derail the entire project. Understanding the key points of injection molding demystifies the process, giving you control to ensure high-quality parts every time.
The key points of injection molding involve mastering the entire process, from the fundamental principles to the specific operational steps. This includes understanding the core cycle of clamping, injecting, cooling, and ejecting the part. It also means controlling the four main variables—pressure, temperature, time, and speed—to achieve the desired outcome. Getting these elements right is crucial for producing high-quality, defect-free plastic parts consistently and efficiently. This knowledge is what separates a good design from a great product.
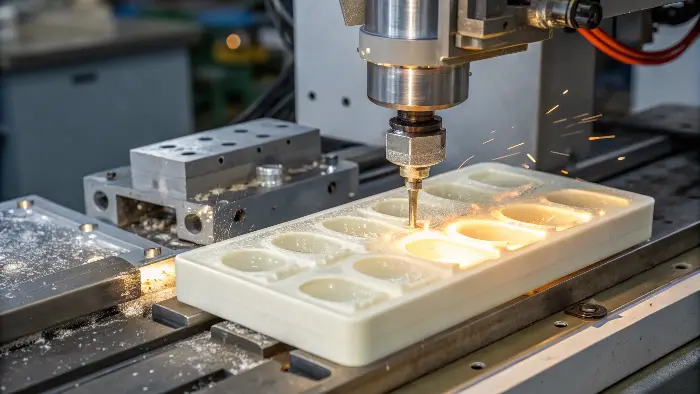
Getting those key points right is what separates a successful production run from a pile of scrap. I’ve seen it happen countless times in my career. A designer has a brilliant idea, but the execution falls flat because the fundamentals of molding weren’t respected. It’s not just about pushing buttons on a machine; it’s about understanding the science behind it. So, let’s break it down together, starting from the very beginning. Let’s explore the basics to build a solid foundation for everything that follows.
What are the basics of injection molding?
Ever felt overwhelmed by the technical jargon of manufacturing? Injection molding seems complex, with its talk of sprues, runners, and gates. This complexity can make it hard to communicate effectively with your manufacturing partners. This can lead to misunderstandings and products that don’t match your vision. But the basics are actually quite simple. Understanding them gives you the confidence to discuss your designs and ensure they are made right, just as you intended.
The basics of injection molding involve a machine, a mold, and raw plastic material. The machine heats plastic pellets until they become a molten liquid. It then injects this liquid under high pressure into a custom-made mold. The plastic cools and solidifies inside the mold, taking its shape. Finally, the mold opens, and the finished part is ejected. This cycle repeats to produce thousands or even millions of identical parts with incredible precision.
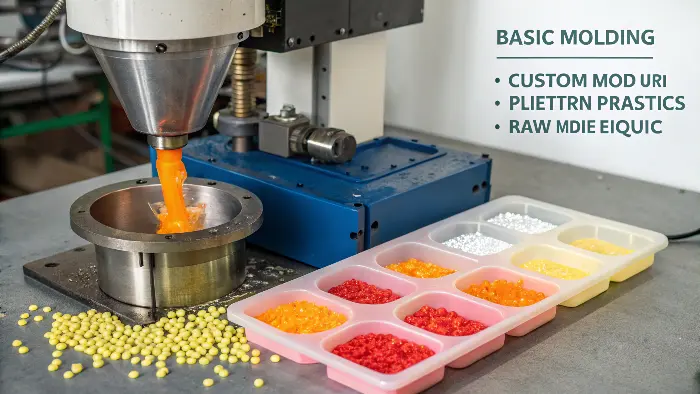
When I first started in a mold factory, I was just an employee on the floor. I saw these huge machines running day and night, and to me, it was like magic. But my mentor broke it down for me into three simple parts: the machine, the mold, and the material. He told me, "Jerry, if you understand these three things, you understand everything." That advice was the foundation of my career and my company, CKMOLD. Let’s look at each one.
The Injection Molding Machine
The machine is the muscle of the operation. It has two main parts. First is the injection unit. This part takes the solid plastic pellets, melts them in a heated barrel using a large screw, and gets them ready to be injected. Think of it as the part that prepares the material. The second part is the clamping unit. This is a powerful hydraulic press that holds the two halves of the mold tightly shut during the injection process. The force it generates is massive, and it’s essential to keep the mold sealed.
The Mold (or Tool)
The mold is the heart of the process. It’s where your design becomes a physical object. Molds are typically made from high-strength steel and are custom-machined to be an exact negative of your part. It has two halves: the "A-side" or cavity side, and the "B-side" or core side. When these two halves close, they form the empty space that the plastic will fill. The precision of the mold determines the precision of your final part. It also contains channels for cooling, pathways for the plastic to flow (runners and gates), and pins to push the part out.
The Plastic Material
The material is the substance of your part. It starts as small plastic pellets, often called resin. There are thousands of different types of plastics, each with unique properties. Some are strong and rigid like Polycarbonate, while others are flexible like Polypropylene. The choice of material is a critical design decision that I work on with my clients. It affects everything from the part’s strength and appearance to its shrinkage rate and the specific machine settings needed to mold it correctly.
| Component | Function | Key Considerations |
|---|---|---|
| The Machine | Melts plastic and injects it into the mold. | Clamping force, shot size, screw design. |
| The Mold | Shapes the molten plastic into the final part. | Material (steel vs. aluminum), gate location, cooling channels, draft angles. |
| The Material | The raw substance that becomes the final part. | Shrinkage rate, melting temperature, strength, flexibility. |
What are the 5 steps of injection molding?
You know the basics, but what actually happens inside that machine? The process can seem like a fast, mysterious cycle that repeats over and over. Without knowing the specific steps, you can’t pinpoint where a problem might be occurring in production. Is it a clamping issue? An injection problem? This lack of clarity is frustrating when you’re trying to troubleshoot a defect. Learning the five core steps of the cycle gives you a clear roadmap. You’ll understand exactly how your part is created.
The 5 steps of injection molding are a continuous cycle. First is Clamping, where the two halves of the mold are securely closed. Second is Injection, where molten plastic is forced into the mold cavity. Third is Cooling, where the plastic solidifies into the part’s shape. Fourth is Ejection, where the mold opens and the finished part is pushed out. The final, often overlooked step, is Inspection and reset for the next cycle, ensuring quality and consistency.
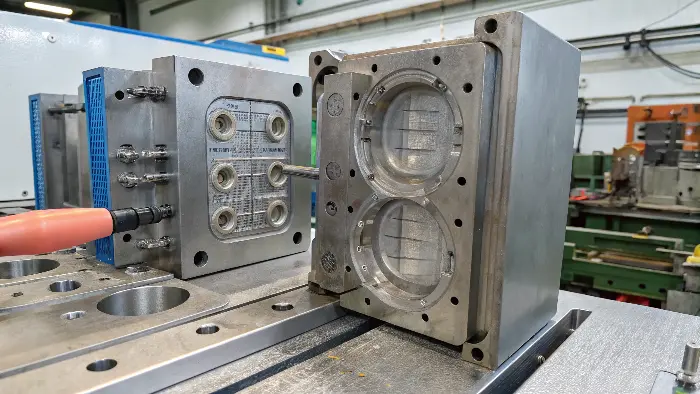
I’ve seen every one of these steps go wrong at some point in my career, and I’ve learned that each one is equally important. A failure in one step ruins the entire part. Let’s walk through the cycle just as it happens on the factory floor.
Step 1: Clamping
Before any plastic is injected, the two halves of the mold must be securely closed. The clamping unit of the machine pushes them together with immense force. This force, measured in tons, is critical because it has to counteract the even greater pressure of the molten plastic being injected. I remember seeing a mold "flash" because the clamping force wasn’t high enough. Molten plastic shot out the sides between the mold halves. It’s a dangerous and costly mistake that creates a mess and defective parts.
Step 2: Injection
Once the mold is clamped shut, the injection process begins. The screw inside the barrel moves forward like a plunger, forcing the molten plastic out of the barrel, through a nozzle, and into the mold. The plastic flows through a channel system called the sprue and runners, and then enters the part cavity through a small opening called a gate. This step happens very quickly, often in just a few seconds.
Step 3: Cooling
As soon as the molten plastic fills the mold, it starts to cool. This is the most critical phase for the final properties of the part and is often the longest part of the cycle. The mold has internal cooling channels where a fluid, usually water, circulates to draw heat away from the plastic. The cooling time must be long enough for the part to solidify completely so it can hold its shape when ejected. If it’s too short, the part can warp or deform.
Step 4 & 5: Ejection and Inspection
After the part has cooled, the clamping unit opens the mold. Then, a system of ejector pins on the B-side of the mold pushes forward to pop the finished part out. This has to be done carefully to avoid leaving marks or damaging the part. As the part falls out, it’s either collected in a bin or picked up by a robotic arm. A quick inspection, either by a person or an automated system, checks for obvious defects. The mold then closes, and the entire cycle begins again.
| Step | Action | Critical Factor |
|---|---|---|
| 1. Clamping | The two mold halves are pressed together. | Clamping force (tonnage) must be greater than injection pressure. |
| 2. Injection | Molten plastic is pushed into the mold cavity. | Injection pressure, speed, and shot size. |
| 3. Cooling | The plastic solidifies inside the mold. | Cooling time, coolant temperature. This dictates cycle time. |
| 4. Ejection | The mold opens and the part is pushed out. | Ejector pin placement and speed to prevent part damage. |
| 5. Inspection | The part is checked for quality. | Consistency and identifying defects early. |
What are the 4 variables of injection molding?
You understand the process, but how do you actually control it? Why does one batch of parts come out perfect while the next has flaws? It’s frustrating to see inconsistencies when you need thousands of identical parts for your product. This variability can feel random and uncontrollable, threatening your project’s success and budget. The key is to master the four main variables. By understanding and adjusting them, you gain precise control over the final product’s quality and consistency.
The four fundamental variables of injection molding are Pressure, Temperature, Time, and Speed. These are the main levers a machine operator pulls to fine-tune the process. Pressure ensures the mold is filled and packed correctly. Temperature controls the plastic’s flow and cooling. Time dictates the duration of each step in the cycle. Speed controls how fast the plastic is injected. Balancing these four variables is the art and science of successful molding.
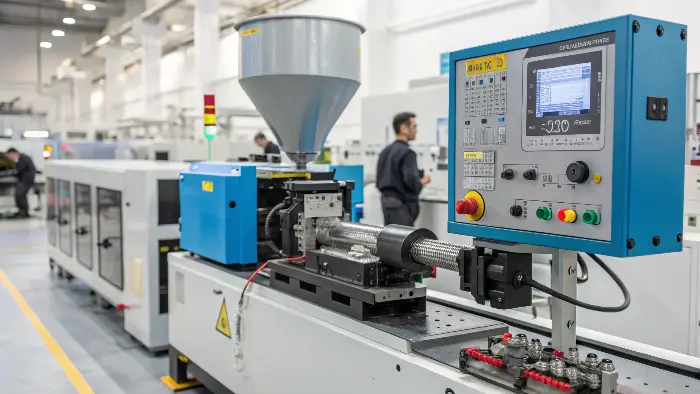
For one of my clients, we were making a small electronic housing. We kept getting ugly sink marks on the surface. We tried everything. Finally, we realized the holding pressure was too low to compensate for the material shrinkage. A small tweak to one variable, pressure, solved the entire problem. It taught me a valuable lesson about how interconnected these four variables are. They don’t exist in isolation; they work together like a team.
1. Pressure (Injection & Holding)
Pressure is a huge factor. There are two main types. First, injection pressure is the force that pushes the molten plastic into the mold. It needs to be high enough to fill every corner of the cavity before the plastic starts to freeze. Second, after the mold is filled, we apply holding pressure (or packing pressure). This lower pressure is held for a period to push more material in to compensate for shrinkage as the plastic cools and gets denser. Too little pressure causes defects like short shots or sink marks. Too much can cause flash or put stress into the part.
2. Temperature (Melt & Mold)
Temperature is just as important. Again, there are two key temperatures to control. Melt temperature is the temperature of the plastic in the machine’s barrel. It has to be hot enough to flow easily but not so hot that the material degrades or burns. Mold temperature is the temperature of the steel mold itself. A warmer mold allows the plastic to flow better and improves the surface finish, but it also means a longer cooling time. A cooler mold speeds up the cycle but can cause other issues. It’s a balancing act.
3. Time (Injection, Cooling, Cycle)
Every part of the molding cycle is timed. Injection time is how long it takes to fill the mold. Cooling time is the period the part spends solidifying inside the closed mold, and it’s usually the longest part of the cycle. The total cycle time is the time from one part dropping out to the next. This is critical because it directly determines the cost of the part. A shorter cycle time means more parts per hour and a lower cost.
4. Speed (Injection)
Injection speed is how fast the screw moves forward to push the plastic into the mold. This is different from pressure. A fast injection speed can be necessary to fill very thin sections of a part before the plastic freezes. However, if it’s too fast, it can shear the plastic or cause defects like jetting, where the plastic shoots across the mold instead of filling it smoothly. A slower speed is gentler but might not fill the part completely.
What are the key parameters of injection molding?
Knowing the variables is one thing, but how do you translate them into actual machine settings? The control panel has dozens of numbers and parameters. It can be intimidating to look at a process sheet filled with specific values for pressure, temperature, and time. You might not know which ones are most critical or how they relate to the part defects you’re seeing. Focusing on the key parameters gives you a practical checklist. These are the specific settings that directly control the four variables.
Key injection molding parameters are the specific machine settings that control the process. These include melt temperature, mold temperature, injection pressure, holding pressure and time, injection speed, cooling time, and shot size. These parameters are documented on a process sheet. Getting them right and keeping them consistent is essential for repeatable, high-quality production. They are the practical application of the four main molding variables we just discussed.
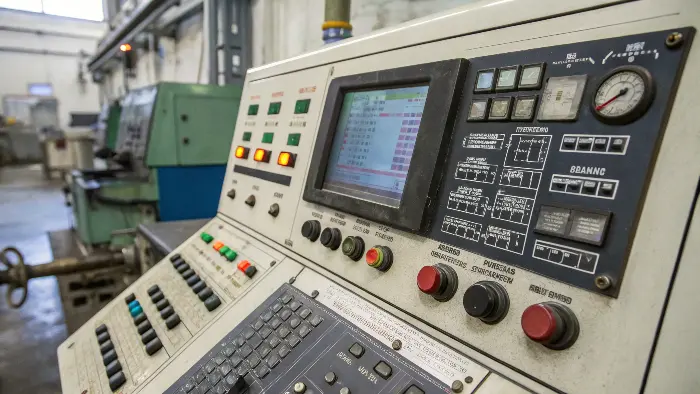
I always tell my clients, "The process sheet is your recipe for success." Every successful product I’ve helped launch has a meticulously documented process sheet. It’s not just a piece of paper; it’s the blueprint for consistency. If you need to move production to a new machine or run the job again a year later, this sheet tells you exactly how to set it up to get the same result. Let’s break down the most important parameters.
Temperature Parameters
These settings control the "Temperature" variable.
- Melt Temperature: This is set on the machine’s barrel heaters. For a common material like ABS, this might be in the range of 220-250°C (428-482°F). The material supplier provides a recommended range.
- Mold Temperature: This is controlled by a separate unit called a thermolator that circulates water or oil through the mold. For ABS, this might be 60-80°C (140-176°F). This parameter has a huge impact on surface finish and warping.
Pressure and Time Parameters
These settings control the "Pressure" and "Time" variables.
- Injection Pressure: This is the maximum pressure the machine will use to fill the mold, often measured in PSI or Bar.
- Holding Pressure & Time: This is usually set as a percentage of the injection pressure (e.g., 50-70%) and a time in seconds (e.g., 3-5 seconds). This is the key parameter for preventing sink marks.
- Cooling Time: This is a simple timer setting, usually between 10 to 60 seconds, depending on the part’s thickness.
Speed and Position Parameters
These settings control the "Speed" variable and material amount.
- Injection Speed: This is the velocity of the screw as it injects, measured in mm/s or in/s. It can often be profiled, starting slow, speeding up, and then slowing down again.
- Shot Size: This is the volume of plastic injected, set as a distance the screw travels. It must be enough to fill the part, runners, and sprue completely.
- Cushion: This is a critical position parameter. It’s the small amount of material (e.g., 3-6mm) intentionally left in front of the screw after injection. This cushion ensures that holding pressure can be effectively applied to the part.
| Parameter | What it is | Why it’s important | Typical Issue if Wrong |
|---|---|---|---|
| Melt Temperature | The temperature of the plastic in the barrel. | Affects viscosity and material degradation. | Too low: Short shot. Too high: Burning, degradation. |
| Mold Temperature | The temperature of the mold surfaces. | Affects cooling rate, surface finish, shrinkage. | Too low: Warping, poor finish. Too high: Long cycle time. |
| Holding Pressure | Pressure applied after filling to pack the part. | Compensates for shrinkage as the part cools. | Too low: Sink marks, voids. Too high: Flash, overpacking. |
| Injection Speed | The speed at which the screw injects plastic. | Determines how the mold fills. | Too fast: Jetting, burning. Too slow: Freeze-off, flow lines. |
| Shot Size | The amount of plastic injected. | Must be enough to fill the part, runner, and sprue. | Too small: Short shot. Too large: Wasted material. |
Conclusion
Mastering injection molding comes down to understanding its core principles. It starts with the basics of the machine, mold, and material. Then, it moves to the 5-step cycle that creates each part. Finally, it’s about controlling the four key variables—pressure, temperature, time, and speed—through precise machine parameters. By grasping these key points, you gain the power to turn your designs into high-quality, consistent products and troubleshoot any issues that arise.
