Have you ever opened a box of freshly molded parts, only to find them bent and warped? This frustrating discovery means wasted material, production delays, and the risk of unhappy clients. The pressure is on to find a fix, and fast. Don’t worry, this is a common issue. Understanding the root causes and knowing the right adjustments can get your production back on track and ensure you get perfect parts every time.
To fix bent or warped injection molded parts, you must focus on balancing the cooling process and reducing internal stresses. The most direct solutions involve adjusting machine parameters: increase the cooling time, lower the injection pressure and packing pressure, and ensure the mold temperature is uniform. If the problem persists, using a cooling fixture to hold the part’s shape after ejection is a great next step. For a permanent fix, you may need to improve the part’s structural design or the mold’s cooling layout.
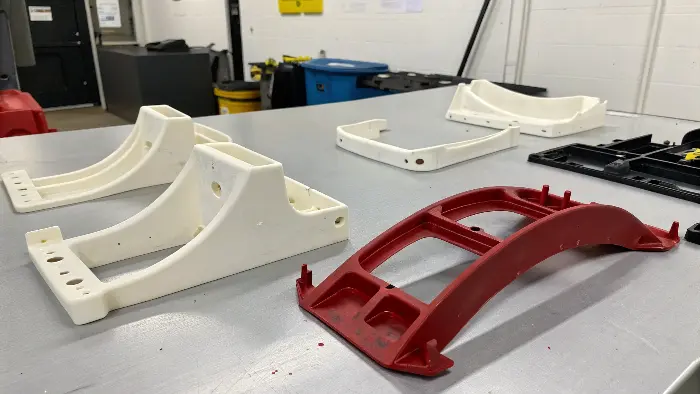
Fixing a bent part is one thing, but truly mastering the process means understanding why it happens in the first place. I remember a time early in my career when a whole batch of enclosures for a consumer electronic device came out looking like bananas. It was a stressful but valuable learning experience. To avoid that kind of headache, we need to dig deeper into the fundamentals of part deformation. Let’s start by clearly defining what we’re up against before we jump into the causes and solutions.
What is deformation in injection molding?
You hear terms like "warpage," "bending," and "deformation" used almost interchangeably. This can be confusing when you’re trying to diagnose a specific problem. Are they all the same thing? Misunderstanding the terminology can lead you down the wrong troubleshooting path, wasting valuable time and resources. Let’s clarify exactly what deformation means in this context, so you can communicate clearly with your team and pinpoint the exact issue with confidence.
Deformation in injection molding is any unwanted change in the shape of a plastic part after it has been ejected from the mold. This happens as the part cools and solidifies. The most common type of deformation is warpage, which is the twisting or bending of a part away from its intended form. It’s caused by non-uniform shrinkage of the plastic material, which creates internal stresses that pull the part out of shape. Other common deformations include bowing, twisting, and sink marks.
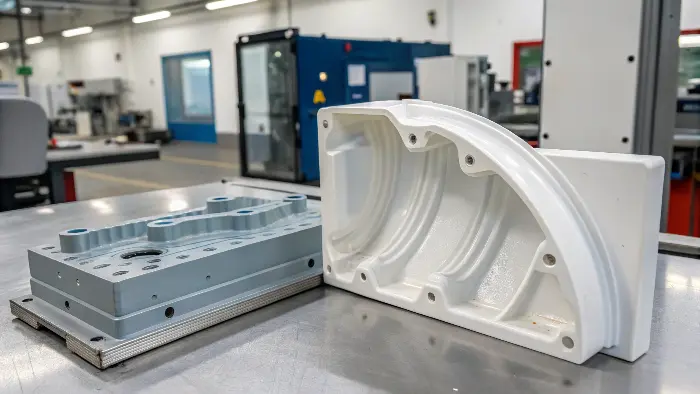
Deformation is the umbrella term for a part that doesn’t match the blueprint’s geometry after molding. All these issues stem from a single core concept: differential shrinkage. In a perfect world, the molten plastic would cool and shrink at the exact same rate across the entire part. But in reality, that never happens. Different areas of the part cool at different speeds, causing them to shrink by different amounts. This imbalance creates internal forces that pull and push on the part, causing it to bend and twist.
Understanding the Types of Deformation
It’s helpful to know the specific language to describe what you’re seeing. This helps in diagnosing the root cause more effectively.
| Deformation Type | Description | Common Cause |
|---|---|---|
| Warpage/Bowing | A general bending or curving, usually along the longest axis of a flat part. | Uneven cooling between the core and cavity sides of the mold. |
| Twisting | The part is distorted as if its ends were twisted in opposite directions. | Uneven packing or the orientation of reinforcing fibers (like glass). |
| Sink Marks | Small depressions or craters on the surface of the part. | Thick sections cooling much slower than the surrounding thin walls. |
| Bending | Similar to bowing, but often caused by the ejection system pushing on a part that is still too hot and soft. | Insufficient cooling time or poorly placed ejector pins. |
The material you choose also plays a huge role. I once worked on a project using polypropylene (PP), a semi-crystalline material. We saw significant warpage. For a similar part, we switched to ABS, an amorphous material, and the warpage was much less severe. This is because semi-crystalline materials like PP, Nylon, and POM undergo a more significant and complex volume change as their crystal structures form during cooling, leading to higher shrinkage rates. Understanding your material’s behavior is the first step in preventing deformation.
What causes warpage in injection molding?
You’ve correctly identified that your parts are warping, but you’re not sure why. You could start randomly changing parameters like pressure or temperature, but this "guess and check" method is inefficient and can even create new problems. You need a systematic way to find the real culprit behind the stress. Let’s break down the primary causes of warpage. By understanding the "why," you can make targeted, effective adjustments instead of just shooting in the dark.
Warpage is primarily caused by differential shrinkage and the resulting internal stresses within the molded part. This happens for three main reasons: non-uniform cooling of the mold, significant variations in the part’s wall thickness, and poor material selection or processing. If one area of the plastic part cools and shrinks faster than another, the resulting stress will pull and bend the part out of its intended shape as it solidifies. The orientation of the plastic molecules and any fillers during the injection phase also plays a critical role.
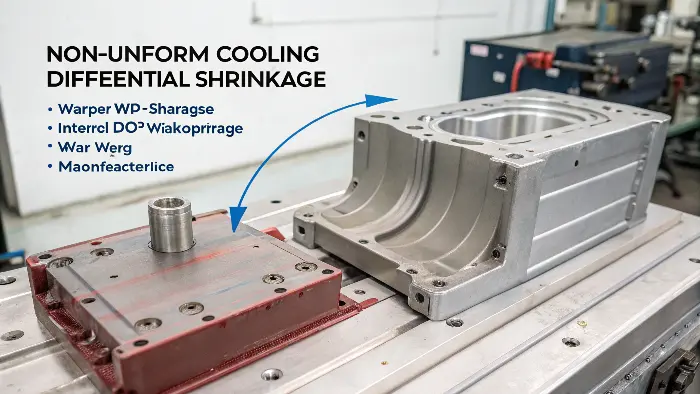
To truly get to the bottom of warpage, I always look at three key areas: the mold itself, the processing parameters we set on the machine, and the plastic material we’re using. The problem almost always lies in one or more of these categories.
The Role of Mold Design
Often, the problem is literally built into the tool. A poorly designed mold can make it impossible to produce a straight part, no matter how much you adjust the machine settings.
- Cooling Channels: This is the number one culprit in mold design. If the cooling lines are spaced too far apart, are closer to one side of the part than the other, or are partially blocked, you will get "hot spots" on the mold surface. The plastic on the hotter side will cool slower, shrink less, and cause the part to warp toward that hot side.
- Gate Location: The gate is where the plastic enters the cavity. Its location determines how the plastic flows and packs out the part. A single gate on a long part, for example, will cause the plastic near the gate to be highly packed and stressed, while the plastic at the far end is less packed. This difference in packing leads directly to differential shrinkage and warpage.
- Ejection System: If ejector pins are placed on thin, weak areas of the part or if they push on the part while it’s still too hot, they can physically bend it during ejection.
The Impact of Processing Parameters
This is where you have the most immediate control. Small adjustments here can have a big impact on the final part.
| Parameter | How it Affects Warpage | My Experience |
|---|---|---|
| Mold Temperature | Too high or uneven temperature is a major cause. | I always check both halves of the mold with a pyrometer. A difference of even 5-10°C can be enough to cause warpage. |
| Melt Temperature | Too high can increase the total amount of shrinkage. | While true, I find this has less impact than mold temperature. It’s a secondary adjustment. |
| Packing Pressure | Too high or too long creates high stress, especially near the gate. | This is a big one. Reducing packing pressure is often one of the first things I try. It "relaxes" the part. |
| Cooling Time | Too short means the part is ejected before it’s rigid enough. | This is the easiest fix. Adding 5-10 seconds to the cooling time can often solve the problem instantly. |
Material Selection and Handling
Sometimes, you’re fighting the material itself. If a part has glass fibers for reinforcement, those fibers tend to align in the direction of the plastic flow. The plastic will shrink very little in the direction of the fibers, but much more in the direction perpendicular to them. This difference (anisotropy) is a powerful force for warpage. Also, never underestimate proper material handling. Materials like Nylon or Polycarbonate must be dried properly. Any moisture left in the pellets will turn to steam in the barrel, causing inconsistencies that lead to internal stress.
How to fix warping injection molding?
You understand the complex causes of warpage, but now you need a practical checklist of solutions to apply on the factory floor. The clock is ticking on your production run, and you need to implement fixes that work. It can feel overwhelming to know which parameter to adjust first for the best results. Here is a clear, step-by-step guide to fixing warped parts, moving from the simplest adjustments on the machine to more involved changes.
To fix warping, start with processing adjustments as they are the quickest to implement. Increase the cooling time to allow the part to stabilize and become more rigid before ejection. Lower the melt and mold temperatures to reduce the overall shrinkage rate, but ensure the mold temperature is uniform across both halves. You can also lower the injection and packing pressure to reduce locked-in stress. If these fail, use a cooling fixture to hold the part’s shape after ejection. A permanent fix may require modifying the mold’s cooling or the part’s design.
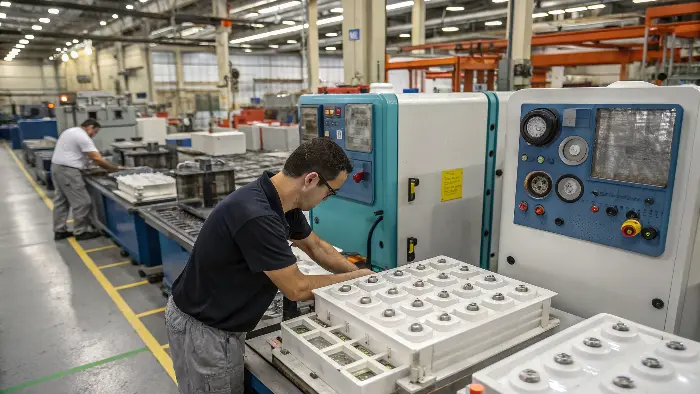
When I’m faced with a warped part, I approach it like a doctor diagnosing a patient. I start with the least invasive treatments first and only move to more complex "surgeries" if necessary.
Level 1: Adjusting Processing Parameters
These are the knobs and buttons on the molding machine. They are your first line of defense because they are fast and free to change.
- Increase Cooling Time: This is my go-to first step. The part is warping because it’s not stable when it leaves the mold. Giving it more time to cool and solidify inside the mold is often all it takes. Try adding 20-30% more cooling time and see what happens.
- Reduce Pressures: Focus on the packing or holding pressure. This is the pressure applied after the mold is full, and it’s responsible for locking in a lot of stress. Try reducing the packing pressure by 10-15% and see if the part "relaxes."
- Adjust Temperatures: Check for a uniform mold temperature. If one side is hotter, the part will warp. Try to get both halves within 5°C of each other. You can also try lowering the overall mold and melt temperatures slightly to reduce the total amount of shrinkage, but be careful not to go so low that you cause other defects like short shots.
Level 2: Using External Tools
If process changes aren’t enough, the next step is to control the part after it leaves the mold.
- Cooling Fixtures (Jigs): This is a fantastic trick that has saved many projects for me. A cooling fixture is a custom-made holder, often built from aluminum or wood, that matches the perfect shape of your part. Immediately after the robot pulls the part from the mold, it places it into this fixture. The fixture holds the part flat and true as it finishes cooling to room temperature. This is especially effective for long, flat parts that are prone to bowing.
Level 3: Modifying the Mold and Part Design
This is the most involved and expensive solution, reserved for when the problem is fundamental.
- Improve Mold Cooling: This might mean adding new cooling channels, cleaning out existing ones, or adding baffles or bubblers to get water into difficult-to-reach hot spots.
- Change Gate Location: Sometimes, moving the gate or adding a second gate can create a more balanced plastic flow, leading to more uniform packing and shrinkage.
- Modify the Part Design: As a designer, this is where you can be a hero. If a part is warping, look at its geometry. Can you add ribs or gussets to increase its stiffness? Most importantly, can you make the wall thickness more uniform? Coring out thick sections is the best way to design a stable, warp-free part from the very beginning.
How do you solve injection molding problems?
Warpage is just one of many potential issues you’ll face in injection molding. As a designer or engineer, you’ll encounter everything from flash and sink marks to short shots and burn marks. Without a consistent strategy, troubleshooting can feel like a chaotic fire-drill every time a new problem appears on the production line. Let’s zoom out and establish a universal problem-solving framework that you can apply to any situation.
To solve any injection molding problem, adopt a systematic, four-step approach. First, accurately identify and define the specific defect. Second, analyze the potential causes by considering the four key pillars: the part design, the mold, the processing parameters, and the material. Third, make only one change at a time and carefully document the result. Finally, once the problem is solved, standardize the new process to prevent it from happening again. This methodical process saves time and eliminates guesswork.
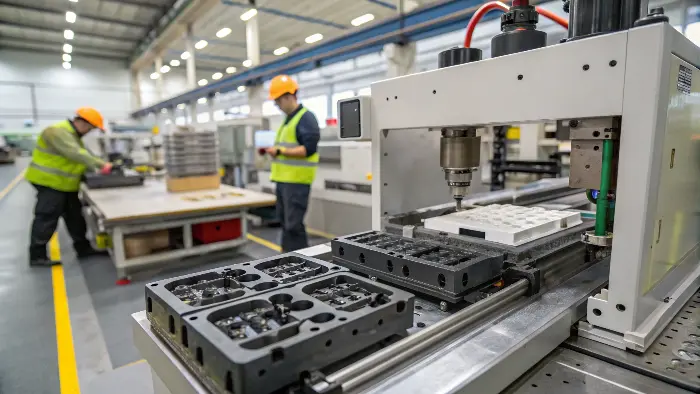
Over my years in the industry, I’ve learned that reacting emotionally or guessing gets you nowhere. A calm, logical process is the only way to get consistent results. I teach my teams to think in terms of a simple, repeatable framework.
Step 1: Define the Problem Clearly
You have to know exactly what you’re trying to fix. Don’t just accept a report that the "parts are bad." Ask questions.
- What is the exact defect? (e.g., "warpage, bowing up in the center")
- Where on the part is it happening? (e.g., "along the 200mm length")
- When does it happen? (e.g., "on every cycle," or "only when the machine heats up")
- How bad is it? (e.g., "it’s bent by 2mm over the 200mm length")
Taking a picture and measuring the defect is always a good idea.
Step 2: Analyze the Four Pillars of Molding
Every injection molding outcome is a result of the interaction between four things. I always use a simple table to organize my thoughts and make sure I don’t miss anything.
| Pillar | Key Questions to Ask |
|---|---|
| Part Design | Is the wall thickness uniform? Are there sharp corners causing stress? Could ribs or gussets add stiffness? Is the material choice appropriate for the design’s geometry? |
| Mold | Is the cooling balanced and efficient? Is the gate in the right spot for balanced flow? Are the vents clean and allowing air to escape? Is the mold showing signs of wear and tear? |
| Processing | What is the cooling time? What are the melt/mold temperatures? What are the injection/packing pressures and speeds? Is the overall cycle time consistent from shot to shot? |
| Material | Is it the right grade of plastic for the application? Is it being dried to the manufacturer’s specification? Is there a chance of contamination or a bad batch of material? |
Step 3: Implement and Document Changes
This is the most critical rule in troubleshooting: Change one thing at a time. If you change the cooling time and the packing pressure at the same time, you’ll never know which one was the real solution. Make a single, logical change based on your analysis, run a few parts, and see what happens. I insist that my team keeps a simple log: "Original setting," "Changed setting," and "Result." This document becomes an incredibly valuable knowledge base for the future.
Step 4: Standardize the Solution
Once you’ve found the combination of settings that produces a good part, don’t just walk away. Update the official process sheet for that part. Make sure the new parameters are saved in the machine’s controller. Communicate the change to all shifts. This ensures that the problem stays solved and doesn’t reappear the next time the part is run.
Conclusion
Dealing with bent and warped parts is a challenge, but it’s entirely manageable. Remember that warpage is caused by uneven shrinkage, which creates internal stress. The solution always involves balancing your process, starting with simple adjustments to cooling time and pressure. For tougher cases, cooling fixtures and design modifications are powerful tools. By adopting a systematic, four-pillar approach to troubleshooting, you can solve not just warpage, but any molding defect with confidence and skill.
