You have taken weeks to get a product design right and when you send sample design out of the machine those designs are incomplete. A "short shot" or under filling as it is also known is the most frustrating of the defects. It consumes costly material, time of expensive machines, as well as jeopardizes the overall schedule of your project. You must have a good method to identify and repair this expensive yet very common malady and you have to get it fast.
You will require a methodical solution to the problem of inadequate filling. The quickest remedies entail modifications of the process parameters of your machine. You should first raise the injection pressure, injection speed as well as the melt temperature of the plastic. You are required to also make sure that your mold is well vented to allow trapped air to escape. Another highly frequent and highly unrecognized cause is the lack of holding pressure, so ensure that setting is high enough to pack out the part after the initial fill.
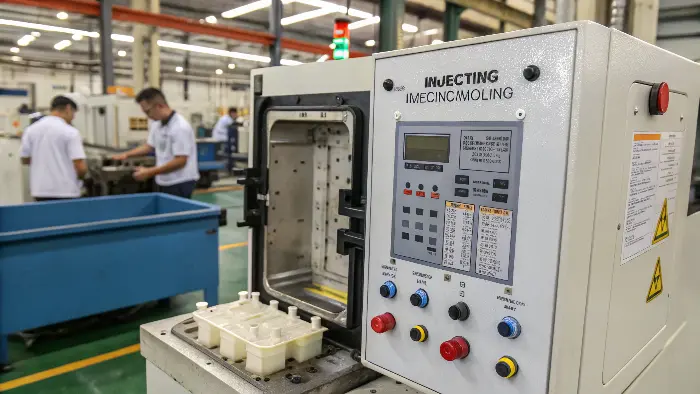
This is a quick-fix guide, and it is a wonderful place to start. Your immediate problem is probably going to be solved by it. However, in order to become really proficient at molding and avoid repeating these issues, we should look deeper into the causes of those. It is differentiating a good technician and great. It is knowledge of the why in the defect that makes a great technician. Let us examine the simpler causes and see more complex solutions. Your current problem is only one issue that this knowledge will set right, but it will also make you an efficient designer and engineer in all other projects in the future.
What is the most common cause of a mold cavity not having enough material injected into it?
You have a short shot in front of you, and you do not know where to start with troubleshooting. You begin to doubt everything. And is it the machine? The material? The mold, itself? Such trial-and error is time-wasting and may even cause some other issues once you manipulate the incorrect parameter. Neither is it clear, and this is frustrating when there is a deadline pending. Identifying the most frequent grounds will allow you to develop a rational list of checkpoints so that you could locate the core of the issue fast and effectively.
The most usual cause of under-filling is usually connected with processing parameters. A weak injection pressure or velocity is a first suspect, because the plastic simply does not have enough power and time to reach the very distant corners of the cavity. There are also other common reasons such as low melt temperature that makes the plastic too viscous in order to flow freely. Mother of all sins is poor mold venting which pins the air in the cavity and physically obstructs the flow of plastic and prevents it to go further.
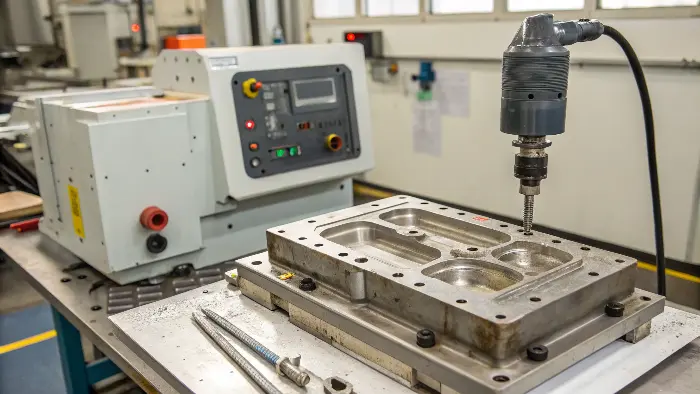
We have to examine the issue in three primary ways, i.e., the process, the mold, and the material to get to the bottom of this. All of them may become the only source of the problem or add to it. I have witnessed so many projects that have been delayed due to the fact that the team was looking at the wrong area but the problem was somewhere.
Processing Parameter Issues
This is where you should always start your investigation because the adjustments are fast and don’t require taking the mold out of the machine. The key is to understand how each parameter affects plastic flow.
- Injection Pressure/Speed: If the pressure or speed is too low, the plastic flow front will freeze before the mold is full. It’s a simple case of not pushing hard or fast enough.
- Holding Pressure: This is a critical one I mentioned earlier. After the main injection phase fills most of the cavity, the holding pressure phase is supposed to "pack out" the part, compensating for shrinkage as the plastic cools. If this pressure is too low, you’ll see sinks or short shots, especially in thicker sections.
- Melt Temperature: Plastic that is too cold is like thick honey. It’s sluggish and resists flowing into thin walls or complex features. A small increase in temperature can dramatically improve its ability to fill the mold.
Mold Design Flaws
Sometimes, no amount of process tweaking can fix a fundamental flaw in the mold’s design.
- Inadequate Venting: This is a huge one. As plastic enters the cavity, the air inside needs a way to escape. If the vents are too small, non-existent, or clogged, the trapped air gets compressed. This compressed air pushes back against the plastic flow, stopping it dead in its tracks.
- Gate and Runner Size: The gate is the doorway into the part, and the runners are the hallways leading to it. If they are too small, they create a bottleneck. The plastic loses too much pressure and heat just trying to get through, leaving it with no energy left to fill the part.
Material Problems
Finally, don’t forget the plastic itself.
- Viscosity: Different batches of the same material can have slight variations in viscosity. A more viscous batch might require higher pressure or temperature to fill properly.
- Moisture: For hygroscopic materials like Nylon or Polycarbonate, moisture is the enemy. If the plastic isn’t dried properly before molding, the water turns to steam in the barrel. This steam can interfere with the filling process and cause a host of other defects.
Here is a simple table to help you diagnose the issue:
| Category | Potential Cause | How to Check |
|---|---|---|
| Process | Low Injection/Holding Pressure | Review machine settings. |
| Process | Low Melt Temperature | Check temperature controller readings. |
| Mold | Blocked Vents | Visually inspect the mold parting line. |
| Mold | Undersized Gates/Runners | Review the mold design drawings. |
| Material | High Viscosity | Check the material data sheet. |
| Material | Wet Material | Check drying equipment and procedure. |
How do you solve injection molding problems?
It can be seem at times that solving one of the problems relating to injection moulding, makes another come about. You crank the pressure on to correct a short shot, and bang you have flash. This is a hap-hazard non-efficient trial and error method of which the stress of meeting deadlines on projects looms. You require a stable system and not random repairs. With a clearly defined troubleshooting approach, making use of a step by step methodology, that chaos can change into a more controlled, foreseeable routine.
The best way to approach injection mold issue solving is to begin with making the easiest checks. Check the material and the hopper of the machine to be sure of any apparent problems. Note the process parameters such as temperature, pressure and speed then. In case, it does not work, proceed to examine the mold itself with issues such as blocked vents or gates. The paramount commandment is to take records of each and every change that you implement. This step-by-step process assists you to single out the variable that creates the issue without creating further ones.
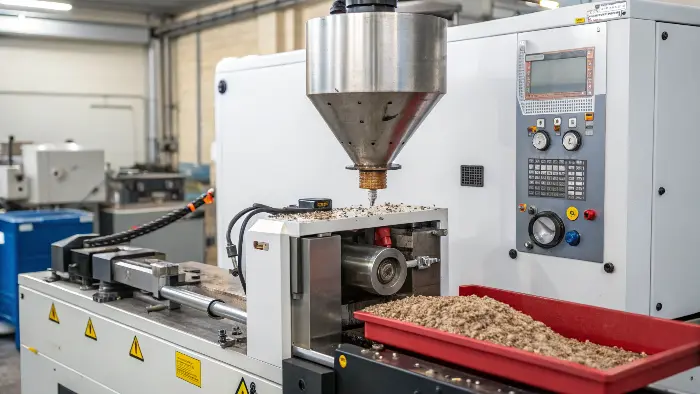
Within the years of the industry experience, I discovered that not only the troubleshooters who have all the questions, but also those who know the questions to ask actually are the best troubleshooters. I came up with a straightforward model of my teams based on the Four M-s. It assists to structure your thoughts and not to overlook anything able to be noticed. When we get a problem such as a short shot, we do not simply start opening dials. We hesitate and think.
Step 1: Observe and Document
Write everything before you alter anything. What time is the defect? And what point (part) of it is where? Is it transpiring on each shot or just some? Is there occurrence in every cavity of a multi-cavity mold? Take pictures. Note the settings of the machine as it is [now]. This baseline is the lone truth. Without it; you fly blind.
Step 2: Analyze the "Four M’s"
Now, think about the potential causes by breaking them down into four categories. This structure prevents you from getting tunnel vision and focusing only on the machine settings.
| Category | Potential Problems Related to Short Shots |
|---|---|
| Man (Operator) | Was the process set up correctly? Was a change made recently? |
| Machine | Is the nozzle partially blocked? Is the check ring worn, causing inconsistent shot size? Is the heater band working? |
| Material | Is it the correct material? Is it properly dried? Could it be a bad batch from the supplier? |
| Mold | Are the vents clogged with residue? Is a gate blocked? Has the mold temperature changed? |
By going through this checklist, you often find the culprit in an unexpected place. I remember a time we chased a short shot problem for hours by adjusting process parameters, only to find that the operator had loaded the wrong grade of polypropylene, which had a much higher viscosity.
Step 3: Make One Change at a Time
This is the golden rule. After having a hypothesis writing a single little change of your analysis of four MTM. As an example, add 5 percent in the pressure of injection. After that, just run a few parts and observe the results. Has the problem been improved, worsened, or remained unchanged? Write down the outcome. When you change everything simultaneously you are not sure which one of them is the correct solution. It is this strict practice that is the distinction between the professionals and the amateurs. This might seem more sluggishly, but in the end, it is far more time-saving than it may be.
How to avoid short fill in injection molding?
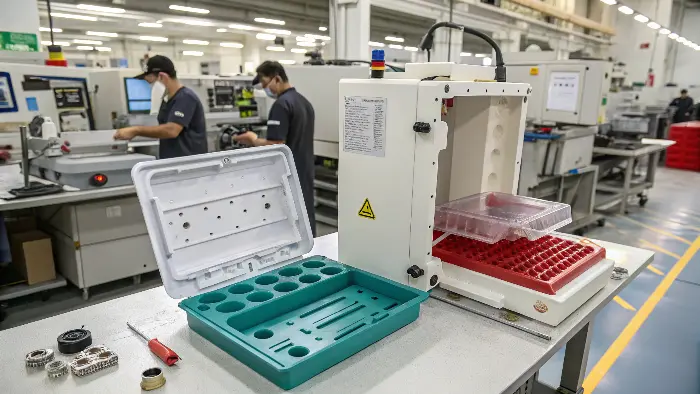
It is good to have a solution to the problem but preventing it is even better. This is where you as a designer/Engineer come in to add tremendous value. It has to do with the change of state of mind when you become a reactive person to when you become proactive. I have witnessed this change in entire operations. My teams did not have to spend their days to troubleshoot, but rather spent their time in optimizing and enhancing
Design for Manufacturability (DFM)
This is the foundation of prevention. A well-designed part is easy to mold.
- Uniform Wall Thickness: This is the most important DFM principle. When wall thicknesses are consistent, the plastic flows evenly and fills the part predictably. Avoid abrupt changes from thick to thin sections, as the plastic will always hesitate when it hits a thin area.
- Generous Radii: Sharp internal corners create flow resistance and are stress concentration points. Adding generous radii, or fillets, helps the plastic flow smoothly around corners, improving filling and creating a stronger part.
- Flow Path: Consider how the plastic will travel from the gate to the end of the part. Keep this flow path as short and simple as possible.
The Power of Mold Flow Analysis (MFA)
That is your crystal ball. MFA is a simulating computer program that foretells the way in which the plastic is supposed to circulate within your mold structural design. It can reveal precisely where exactly short shots may appear, where the air is going to be trapped and furthermore where there are going to be weld lines. I have also had a client on a complicated housing of an electronic appliance. At one glance, the original design was beautiful, but the MFA forecasted an enormous ball-shoot of a sensitive region. Based on the outcomes of the simulation, we were capable of shifting the placement of the gate and introducing some vents in the CAD-model. This minor modification, made in a couple of hours with a computer cost them tens of thousands of dollars and thousands of trouble free hours of delays by not having to redo their molds.
Establishing a Robust Process
A robust process is one that will tolerate the small, unavoidable deviations that still occur in real-world production conditions—small deviations in material temperature, humidity, or machine efficiency. Instead of attempting to discover a single setting that will function, you will use an approach like Design of Experiments (DOE) to find an entire window of setting that produces good parts (a range of pressures, temperatures, and speeds). This gives you a more stable, more predictable process, virtually eliminating the possibility of defects like short shots to suddenly occur.
How do you detect short shots in injection molding?
Short shot is also among the flaws in injection molding. Short shot occurs when the resin solidifies before the end of the mold, leading to failure to accurately replicate the product form. Short shots are most likely to occur in thin-walled as well as small-scale molded items.
The most common method of sensing short shots is by having internal pressure sensors within the mold and reading data from the internal pressure sensors to verify the distance the resin has traversed via the mold. This is, however, a procedure that must be modified on the mold as well as internal pressure sensors to be purchased, resulting in further costs on the product. There is, as such, a growing need for a more cost-effective and efficient method of sensing short shots.
Some Other Ways for Short Shot Detection in Injection Molding
Short shots in injection molding are detected by the following methods:
Visual Inspection:
Visual examination of the molded parts usually reveals if there are short shots or not. A short shot usually features a sink mark or void where the plastic fails to fill the mold.
Dimensional Analysis:
Size checks of the molded components may be applied to determine short shots. When the part falls outside the tolerable size range, the plastic might not have filled the mold.
Defect Analysis:
Examination of defects with the molded components, including sink marks and warping, is also a means of determining short shots. Sink marks and warping will result if the plastic fails to fill the mold.
Process Monitoring:
Real-time monitoring of processes can detect short shots when they happen. Real-time injection pressure, injection rate, and molten plastic temperature monitoring will enable the cause the plastic is not filling the mold cavity to be identified.
Identification of the Presence of Short Shots in Injection Molding Components:
For all the new and middle-level engineers who are not conscious of the existence of short shots at most, then it may be difficult to determine whether or not this defect already exists most of the time. But there are cases that show that there are short shots that you must correct. Some of these cases include:
A sink mark or a void in an area of a plastic component indicates that the plastic failed to fill the area in the mold cavity, resulting in a short shot.
An out-of-spec plastic component in terms of size may indicate that the plastic failed to fill the mold cavity.
Warpage or contamination of a plastic part could be a short shot if the plastic did not fill the mold cavity.
How to increase productivity in injection molding?
You are operating your machinery and shipping component parts but somehow you feel you can be doing more. You are well aware that you are doing less parts every hour. You are being eaten by inefficiencies such as long cycle time and high scrap rate due to defects such as short shots, and it is getting difficult to compete. You are trapped into the trend of barely surviving. With methodical process optimization, the misgivings of your process and removing wasteful defects, you can transform sizable productivity and profitability throughout.
There are two main areas in the process of increasing productivity of injection molding i.e., decreasing the cycle time, and lowering the scrap rate. Issues that can be solved such as short shots result in zero scrap in that defect. To decrease the cycle time, then attention should be paid to minimize the cooling time which is the most time consuming section of the cycle. Another way of saving material and time is through the use of technologies such as hot runner systems which allow the elimination of a runner. Other significant productivity increases are produced when part removal is automated and a preventative maintenance schedule put in place.
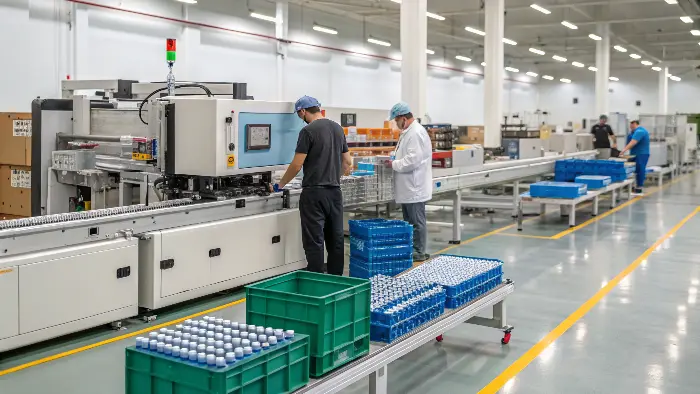
The term productivity does not merely mean how fast to run the machine but how smart and how steady. Each time that you are required to pull a machine down to troubleshoot a short shot you are spending money. Each item in the scrap bin costs you profits. So all the topics we have been covering such as methodical problem-solving to anticipated design all leads to a better and more efficient profitable enterprise.
Cycle Time Reduction Strategies
The total cycle time is the sum of filling, packing, cooling, and mold movement/ejection time. Cooling is almost always the longest portion.
- Cooling Optimization: Ensure your mold has well-designed cooling channels that are placed strategically to cool the part evenly and quickly. Using turbulent water flow, not slow laminar flow, is much more efficient at removing heat.
- Hot Runner Systems: A traditional "cold runner" mold creates a piece of scrap plastic with every shot. A hot runner mold keeps the plastic molten all the way to the part, eliminating the runner. This not only saves material but also reduces cycle time because you don’t have to wait for a thick runner to cool down.
- Parallel Movements: Modern machines can perform actions at the same time. For example, you can start injecting plastic for the next shot while the mold is still closing. Using these features can shave precious seconds off every cycle.
Minimizing Scrap and Downtime
This is the most direct link between problem-solving and productivity.
- Defect Elimination: As we’ve seen, a stable, robust process that avoids defects like short shots is the number one way to reduce scrap.
- Preventative Maintenance: Don’t wait for things to break. A scheduled maintenance program for your molds and machines (like cleaning vents, checking for worn components, and lubricating moving parts) prevents the unexpected downtime that kills productivity.
The relationship between problems and productivity is clear:
| Problem | Direct Cost | Indirect Cost | Productivity Solution |
|---|---|---|---|
| Short Shot | Scrap Material, Wasted Energy | Machine Downtime, Labor for Troubleshooting | Optimize Process, Improve Mold Venting |
| Long Cycle Time | Higher Energy Use Per Part | Lower Machine Output, Higher Labor Cost Per Part | Optimize Cooling, Use Hot Runners |
| Unplanned Downtime | None (Machine is Off) | Lost Production, Missed Deadlines | Implement Preventative Maintenance |
By focusing on these areas, you move from a reactive mode to a high-performance one.
Conclusion
Finally, effective resolution of insufficient filling has to do with no magic bullet. It is the issue of the shift in strategy. It begins with getting the real reasons of it pressure, temperature and venting. It goes on with logical operation of troubleshooting problems in a systematic manner. Most importantly, it results to designing superior parts and molds to foresee the problems ever occurring. This process is what companies have to perfect, to turn the frustrations of defects into increased productivity and really great products.
