Inconsistent part quality, high scrap rates, and erratic production cycles can sap your bottom line and damage your reputation with customers. What if you could get rid of the firefighting and create a system that guarantees stable, efficient production? I’m going to show you how to methodically optimize your injection molding process, turning chaos to control and waste to profit.
Optimizing an injection molding process is a matter of systematically adjusting important variables such as temperature, pressure, and time to strike the ideal balance. You’re aiming for the most part quality, the shortest cycle time, and the best cost. This scientific process eliminates guessing and substitutes it with science. It makes your process stable and repeatable, and it eliminates typical defects such as sink marks, warpage, and short shots. You ultimately reach the "sweet spot" for consistent, reliable, and profitable runs."
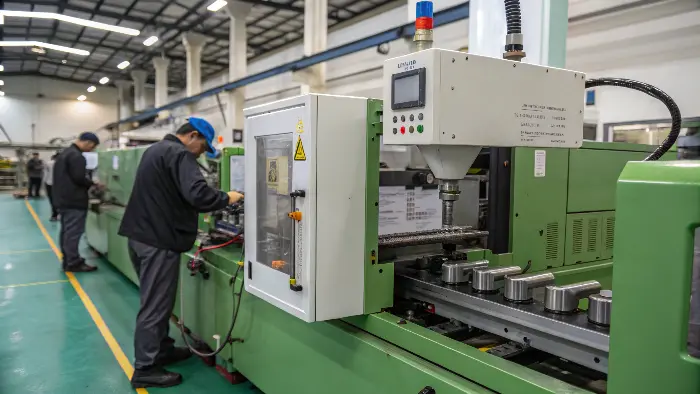
Who cares how it sounds on paper, how does it work on the factory floor? The trick is to quit tinkering around and begin working in a logical step-by-step procedure. It starts by having a clear idea of what a smooth optimized process entails and then decomposing the process to attain this. So here are the details so you can begin taking meaningful steps today.
What is optimization of injection molding process?
Ever feel like you’re flying blind with your machine parameters and hoping it’ll all work out? This "set it and forget it" approach is a trap. It generally conceals latent inefficiencies and quality problems that only emerge later, causing huge headaches. Real optimization is not knowing the "why" of every parameter. Let’s precisely describe what an optimized process is really like, so you can transition from random fiddling to careful, meaningful improvement.
Process optimization of injection molding is the scientific optimization of every variable to produce a broad and stable manufacturing window. It’s not a matter of producing a good part; it’s a matter of producing a perfect part every time, with the biggest margin for error. It means optimizing the plastic material, mold design, and machine settings. The goal is to realize peak performance with consistent quality, shortest cycle time, and less waste.
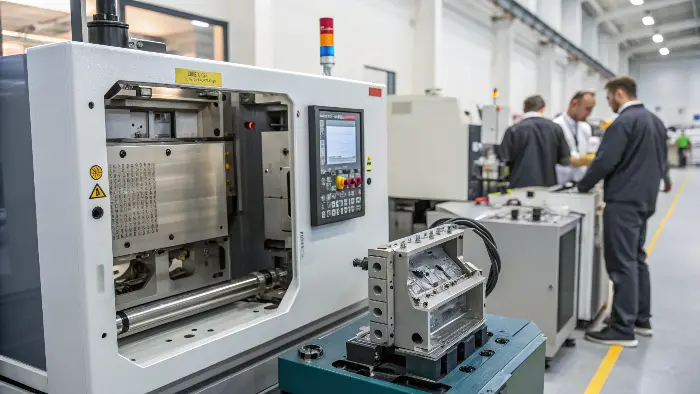
Early on, when I just started, I had the idea that optimization was simply doing whatever we could so that the machine is faster. I had a customer who felt proud of its cycle time however; scrap was almost 15 percent. They were producing bad components at an increasing rate that was costing them a fortune. We considered one step back and pursued the stable window of the process process. It is the width of conditions (pressure, temperature, speed) in which you may make a good part. A non-optimized process possesses a small window; that is to say, any minute difference such as what a slight alteration in material temperature might cause allows a defect to emerge. The window of optimized process is broad and therefore it is robust and reliable.
The Three Pillars of Optimization
Everything in injection molding comes down to the interaction between three key elements. You cannot optimize one without considering the others.
- Material: Every polymer has unique characteristics. Its viscosity, melt temperature, and shrink rate all dictate how it will behave. You must respect the material supplier’s datasheet as your starting point.
- Mold: The mold is the heart of the operation. Its design dictates everything. Are the cooling channels efficient? Is the gate located correctly? Is there proper venting to let air escape? A poorly designed mold can never be fully optimized.
- Machine: The injection molding machine provides the pressure, speed, and control. Its capabilities—like clamp tonnage and shot size—must be matched to the mold and the part.
Thinking about these three pillars helps you diagnose problems. Is a defect caused by the material, the mold, or the machine settings? A truly optimized process is one where all three are working in perfect harmony.
| Aspect | Non-Optimized Process | Optimized Process |
|---|---|---|
| Approach | Guesswork, trial and error | Data-driven, systematic |
| Process Window | Narrow and unstable | Wide and robust |
| Scrap Rate | High and unpredictable | Low and consistent (<1%) |
| Cycle Time | Inconsistent, often padded | As short as possible, stable |
| Focus | "Just make it work" | Repeatability and efficiency |
The 8 Key Parameters in Injection Molding Process Optimization to Avoid Defects
1. Temperature Control for Plastic or Melt
To melt plastic consistently, proper temperature control is required. Different materials have different temperature needs, and keeping the right temperature range minimizes problems like incomplete melting or thermal deterioration.
Mold Temperature: Changing the mold temperature influences the part’s crystallinity, shrinkage, and cycle time. Keeping the mold at the required temperature ensures that the resin has the proper mechanical properties.
2. Injection Speed
The speed at which molten plastic is injected into the mold impacts the filling pattern, part density, and overall quality. Fill speed also affects the packing phase of the molding process. Adjusting the injection speed helps to avoid problems like flow lines or air traps.
3. Cooling Time
This refers to the time the part spends in the mold after filling and packing. Proper cooling time is critical for avoiding warpage and ensuring that the part forms uniformly. It also affects the overall cycle time of the injection molding process.
4. Injection Molding Machine Calibration
Regular calibration of the injection molding machine is necessary for maintaining accuracy in the process. This includes calibration of the machine pressure, temperature, and timing settings.
5. Mold Design and Maintenance
Well-designed, properly vented, gated, and cooled molds are critical to optimization. Regular maintenance of molds prevents issues such as wear, corrosion, or damage that affect the quality of parts.
6. Monitoring and Control Systems
Installation of advanced monitoring and control systems (e.g., CoPilot®) enables real-time monitoring of several parameters. This allows real-time deviations to be detected and immediate corrective action to be taken, making it possible to continually improve the injection molding process
7. Plastic Material Selection
Choosing the right plastic material is crucial for the injection molding process. Different materials have different melting points, shrinkage rates, and flow properties.
8. Screw Speed and Backpressure
Screw Speed: The rotational speed of the screw in an injection molding machine influences the material’s total shear. Screw speed should be chosen according to the kind of material and additive content. The correct screw speed ensures that the screw’s rotation and geometry generate the appropriate amount of shear.
Back Pressure: Maintaining the correct back pressure on the screw ensures that the molten plastic is properly mixed and homogenized. It also helps to prevent voids and improve part quality.
How can you systematically improve your injection molding process?
You realize that you can make your process better, but so many variables, you have no idea where to begin. Where do you even begin? Randomly flipping settings is a recipe for frustration. It wastes valuable time and expensive material, and all too frequently makes things worse. The solution is a systematic, step-by-step procedure which removes the guesswork. I’m going to share with you the exact 8-step method I use to diagnose and optimize any injection molding process.
To optimize your injection molding process, you must go through a rigorous, data-driven procedure. Begin with a comprehensive mold function check and short shot test to observe the plastic filling the cavity. Then, perform a gate seal study to reach the correct hold time. Then, inspect the first sample parts and take accurate measurement of all process data. Use this data for quality control, then implement targeted mold or process adjustments. Then, produce new samples, re-run quality checks, and verify the new, widened process window.
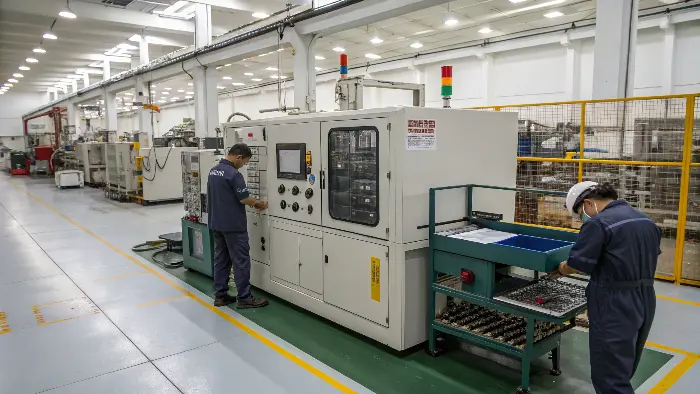
This systematic procedure is at the core of what we term to be scientific molding. It is about developing the procedure in the mind of the plastic instead of the machine. The steps are successional where one leads to the next in a sense that, the path is logically constructed of a given problem to a sound solution. I have applied this blueprint a number of times to address and therefore resolved problems that teams had labored over in months. It is effective since it is not sentimental but the science of physics.
My 8-Step Optimization Blueprint
Follow these steps in order. Do not skip any. Each one provides critical data for the next.
- Mold Function Check: Before injecting any plastic, make sure the tool itself is perfect. Check that slides move freely, ejector pins retract fully, and cooling channels are clear and have adequate flow. A faulty mold will doom your process from the start.
- Short Shot Test: This is the foundation. Start with a very low shot size and increase it incrementally (e.g., by 10% of the part weight) until the part is 95-99% full. Do not apply packing pressure yet. This test shows you exactly how the plastic flows and fills the cavity, revealing any flow imbalances in multi-cavity tools.
- Gate Seal Study: Once the part is visually full, you need to determine the gate seal time. This is one of the most critical steps. Keep the fill settings the same, but apply hold pressure. Make parts at increasing hold times (e.g., 1 sec, 2 sec, 3 sec…). Weigh each part. The part weight will increase and then plateau. The point where it stops increasing is your gate seal time. This ensures the gate is frozen before you release pressure, preventing sink and voids.
- Sample Part Evaluation & Data Logging: Now, produce a small run of sample parts using the settings you’ve established. Meticulously record every single parameter on the machine. This is your baseline.
- Quality Control: Take those sample parts and measure them against the print. Check all critical dimensions, look for visual defects (flash, sink, splay), and assess the overall quality.
- Process & Mold Adjustments: Compare your QC results to your data. Is there flash? Maybe your clamp tonnage is too low or your injection speed is too high. Are there sink marks even after the gate seal study? You might need more hold pressure or better cooling near a thick section. Make one targeted adjustment at a time.
- New Sample & QC Test: After making an adjustment, run new samples and repeat the quality control tests. Did the change fix the problem? Did it create a new one? This iterative loop is key.
- Process Window Validation: Once you are making good parts, you need to define your stable process window. Deliberately vary key parameters (e.g., melt temp +/- 10°C, hold pressure +/- 5%) to see how wide your acceptable range is. The wider the window, the more robust your process will be in day-to-day production.
How can you reduce injection molding cycle time without sacrificing quality?
Management is always requiring more output, and the easiest lever to understand seems to be cycle time. Are you being forced to cut corners? Simply turning up the machine without a plan is dangerous. It usually leads to an increase in flash, short shots, or warpage defects. It completely negates any productivity gain. There are smarter ways to shave precious seconds off your cycle time that can even improve part quality and stability.
To improve cycle time without sacrificing quality, you need to study its building blocks. The best place in this instance is most likely in reducing cooling time, typically more than half the cycle. You also reduce mold open/close time through optimized machine parameters and part ejection made quick and smooth. Lastly, applying hot runners or cold runner design optimization can greatly reduce material solidification and injection time. A careful planning is always better than mere acceleration.
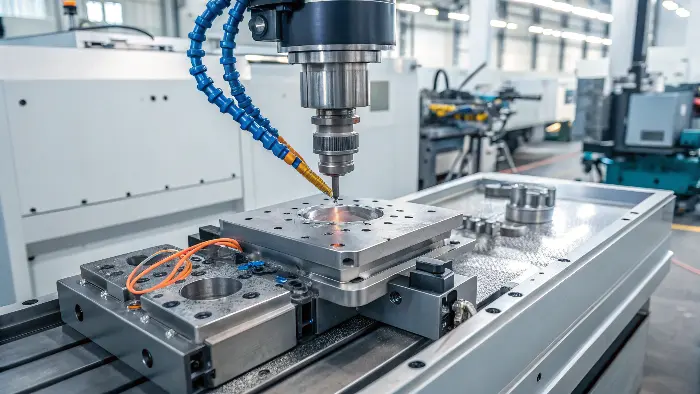
I remember a project for a consumer electronics client where every second counted. The initial cycle time was 28 seconds. By just "speeding things up," the scrap rate went through the roof. We stopped and broke the cycle down. We found that the cooling time was a massive 18 seconds, far more than needed. By improving the water flow in the mold’s cooling channels and adjusting the steel temperature, we cut the cooling time to 12 seconds. We also programmed the robot to enter as the mold was opening, not after. These changes alone brought the cycle down to 21 seconds and made the part quality more consistent.
Deconstructing the Cycle Time
To find savings, you first need to know where the time is being spent. Every cycle consists of these main phases:
| Cycle Phase | Description | Potential for Reduction |
|---|---|---|
| Mold Close & Clamp | The machine closes the mold and applies clamp tonnage. | Medium. Optimize machine speed and pressure profiles. |
| Fill Time | The screw pushes molten plastic into the mold cavity. | Low. Usually determined by part design and material. |
| Pack & Hold Time | Pressure is maintained to pack out the part and compensate for shrinkage. | Low. Determined by the gate seal study. Shortening this causes defects. |
| Cooling Time | The part solidifies inside the mold. This is usually the longest phase. | High. This is your biggest opportunity for savings. |
| Mold Open & Eject | The machine opens and the part is ejected. | Medium. Optimize speeds and use automation. |
Strategies for Time Reduction
Focus your efforts where they will be most beneficial.
- Cooling Optimization: This is your top priority. Make sure you have turbulent water flow (not sluggish, laminar flow) through your cooling channels to get the optimum heat transfer. In high-risk areas, use mold inserts of high-conductivity material such as beryllium copper. In new molds, conformal cooling channels along the part geometry are a game-changer.
- Concurrent Actions: New machines are able to conduct actions concurrently. For instance, the screw can begin plasticizing (melting) the next shot while the existing part still cools down. Use your machine’s options for these concurrent actions.
- Automation: A part can be removed quicker and more precisely by a robot than a human. It can also be programmed to go into the mold space sooner and undertake secondary operations minimizing part handling.
- Mold & Part Design: You have plenty of say in this as a designer. Thin, even wall sections cool much faster than thicker ones do. An excellent ejection system ejects the part cleanly and quickly. And while it’s a greater upfront cost, a hot runner system eliminates the cold runner, saving material and eliminating the time spent for the runner to cool down completely.
What are the most important KPIs for injection molding?
Are you counting the numbers that matter? It’s easy to get overwhelmed in a sea of data, counting things that make you busy but don’t necessarily tell you if your company is succeeding. Vanity metrics can hide real issues. To run a world-class molding facility, you need only to count a few Key Performance Indicators (KPIs) that give you an unvarnished, transparent, and actionable snapshot of your operation.
The three key KPIs employed in injection molding are Overall Equipment Effectiveness (OEE), Scrap Rate, and Cycle Time. OEE is the holy grail, a measure of your overall productivity in the combination of machine availability, performance, and quality. Scrap Rate measures your material waste and process defects directly, which impact your bottom line. Cycle Time measures your production rate. All three KPIs together provide the complete picture of your process’s efficiency, quality, and profitability, and they also indicate to you directly where you need to make improvements.
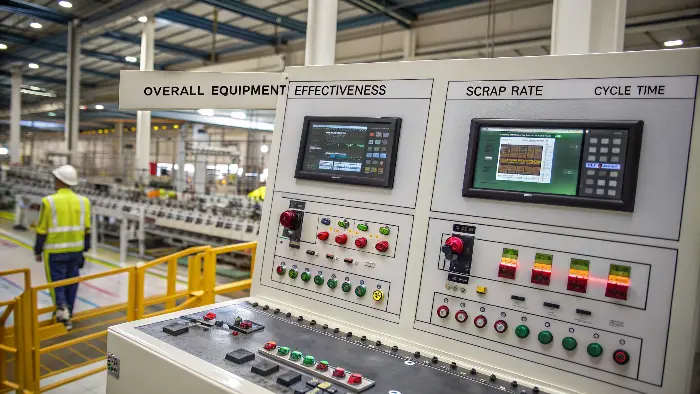
Focusing on the right KPIs changes everything. It shifts the conversation from "Are we busy?" to "Are we effective?". I insist that all my partner factories track OEE. It’s the ultimate lie detector. A machine can be running all day (high availability), but if it’s running at half its ideal speed (low performance) and making 10% bad parts (low quality), it’s not a productive asset. OEE captures all of this in a single, powerful number.
Understanding OEE: The Ultimate Metric
OEE tells you what percentage of your planned production time is truly productive. A world-class OEE score is 85% or higher. It’s calculated by multiplying three factors:
OEE = Availability x Performance x Quality
- Availability: This measures losses from downtime. It’s the percentage of time the machine was actually running compared to the time it was scheduled to run. Losses include setup/changeover time, machine breakdowns, and waiting for materials.
- Formula: (Run Time / Planned Production Time)
- Performance: This measures speed losses. It compares the actual output to the potential output while the machine was running. Losses include running at a slower cycle time than the ideal standard and minor stops.
- Formula: ((Ideal Cycle Time × Total Parts) / Run Time)
- Quality: This measures quality losses. It’s simply the percentage of good parts out of the total parts produced. It accounts for all parts that are scrapped or need to be reworked.
- Formula: (Good Parts / Total Parts)
Here is a simple example:
| Metric | Calculation | Result |
|---|---|---|
| Planned Time | 8-hour shift = 480 mins | |
| Downtime | 30 min setup + 30 min breakdown | 60 mins |
| Availability | (480 – 60) / 480 | 87.5% |
| Ideal Cycle Time | 30 seconds | |
| Total Parts Made | 700 | |
| Performance | (30s x 700) / (420 mins x 60s) | 83.3% |
| Good Parts | 650 (50 were scrap) | |
| Quality | 650 / 700 | 92.9% |
| OEE | 87.5% x 83.3% x 92.9% | 67.7% |
As you can see, even with decent individual scores, the final OEE reveals there is significant room for improvement.
Beyond OEE: Other Critical Metrics
Though OEE is the monarch, you should also closely monitor these KPIs:
- Scrap Rate: Track that as a percentage, but more importantly, as a dollar figure. It’s nice to know that your scrap rate is 3%. It’s a much larger issue to know it’s costing you $5,000 a month.
- Cycle Time Consistency: Don’t concentrate solely on mean cycle time. Concentrate on its standard deviation. A stable, consistent cycle time means a healthy process. A very variable cycle time means instability.
- Cost Per Part: This is the holy grail of business. It combines material cost, machine time (cycle time and overhead rates), and labor. Whatever you optimize should ultimately be for the purpose of decreasing the cost per part without sacrificing quality.
Conclusion
Improving your injection molding process is not voodoo, it’s science. It begins by trading off of guesswork for a more scientific, data based approach. If you comply with a simple methodology like the 8 one that o use, by reducing time cycle in smart way and by measuring meaningful KPI as for instance OEE, you can change your operations. This ultimately results in consistency of quality, improved efficiency as well as profitability, and creates a base for long-term achievement in this competitive industry.
