You’ve spent weeks perfecting your plastic part design, but you’re worried about how it will actually mold. Hidden issues like weak spots or ugly surface marks could derail the entire project, costing time and money. What if you could see inside the mold before any steel is cut, predicting and fixing problems before they happen? That’s the power of flow analysis, and understanding its results is the key to a successful part.
To make better design decisions using flow analysis, you need to interpret the key results correctly. Focus on the fill time animation to see how the plastic flows, check for balanced filling, and identify potential weld lines and air traps. Analyze the pressure maps to ensure it’s within the machine’s limits. Look at temperature distribution to spot cooling issues. Use these insights to adjust wall thickness, gate locations, and part geometry, ensuring a robust and manufacturable design before committing to tooling.
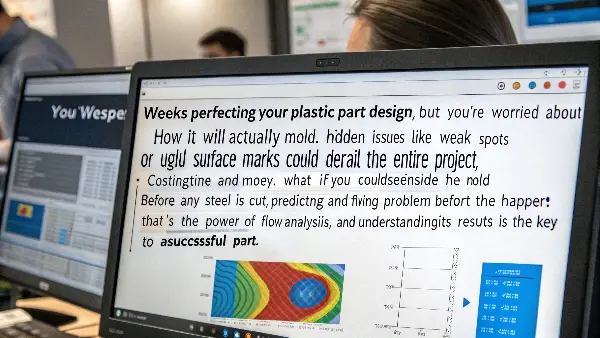
When I first started out, I saw flow analysis reports as colorful but confusing pictures. I knew they were important, but I didn’t know how to turn those images into specific actions. It was only after seeing a few projects run into trouble—problems the simulation had predicted—that I realized I needed to learn this language. It’s the language of how plastic behaves under pressure and heat. Once you understand it, you can avoid a ton of headaches down the line. It transforms you from just a designer into a true manufacturing partner. Let’s start by breaking down the essential results you’ll see.
What Are the Key Outputs You Should Look for in a Mold Flow Analysis?
Opening a flow analysis report for the first time can feel overwhelming. You see dozens of plots with different colors and scales, and it’s hard to know where to start. You might worry about missing a critical piece of information that could lead to a major molding defect. If you focus on the wrong things, you could waste time on minor issues while a bigger problem goes unnoticed, putting your project at risk.
Focus on five key outputs in your analysis: Fill Time, Injection Pressure, Temperature Distribution, Weld Lines, and Air Traps. The Fill Time animation shows how the melt front advances, revealing if the flow is balanced. Injection Pressure tells you if the part is even moldable. Temperature maps highlight potential hotspots or cooling issues. Finally, Weld Line and Air Trap plots pinpoint the exact locations of these common and critical defects, guiding your design revisions.
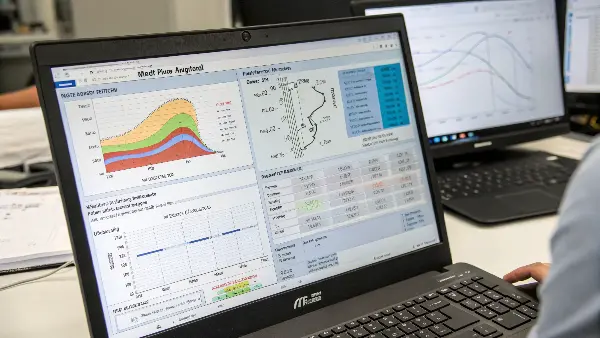
Understanding these core outputs is the foundation for making smart design choices. Think of it as learning to read a map before starting a journey. Each plot tells you a part of the story about how your design will come to life. Let’s break down what each one means in a practical sense. It’s not just about the theory; it’s about what you need to do next.
Fill Time Analysis
The fill time animation is your first and most important view. It’s a video showing how the plastic melt front moves through the cavity. You are looking for a smooth, uniform, and balanced flow. If one side of the part fills much faster than the other, it can cause uneven packing, leading to warpage. I remember a project with a long, thin part where the plastic raced down one side. The simulation showed it clearly, so we added a small flow leader on the other side to balance it out, which saved the tool.
Injection Pressure & Temperature
The pressure plot tells you the force needed to fill the mold. If this pressure is too high, it might exceed what the injection molding machine can deliver. High pressure is often a sign of walls that are too thin or a flow path that is too long. The temperature plot is equally important. It shows the temperature of the plastic at the end of the fill. Large variations can indicate poor cooling design or hesitation, which can affect the part’s final properties.
Weld Lines and Air Traps
These plots show you exactly where potential defects will form. Weld lines happen where two flow fronts meet, creating a potential weak spot. Air traps occur where air gets cornered by the melt front with no way to escape through vents. Both can ruin a part’s appearance and structural integrity.
Here’s a quick reference table:
| Analysis Output | What to Look For | Why It’s Important |
|---|---|---|
| Fill Time | Unbalanced flow, hesitation, "racetrack effect" | Affects warpage, packing, and overall part consistency. |
| Injection Pressure | Pressures near or exceeding machine limits | Determines if the part is physically moldable. |
| Temperature | Large temperature variations, hotspots | Influences material properties and cooling time. |
| Weld Lines | Lines in cosmetically or structurally key areas | Indicates weak points and surface blemishes. |
| Air Traps | Pockets of trapped air at the end of fill paths | Can cause burn marks, voids, and incomplete filling. |
How Can You Use Flow Analysis to Pinpoint and Fix Weld Lines?
You’ve designed a beautiful part, but the flow analysis shows a prominent weld line right across a visible surface. This is a common frustration for designers. A weld line can be a cosmetic nightmare or, even worse, a structural failure waiting to happen. Ignoring it could lead to product recalls and unhappy customers. How do you deal with this without compromising your original design intent? It feels like you’re stuck between a rock and a hard place.
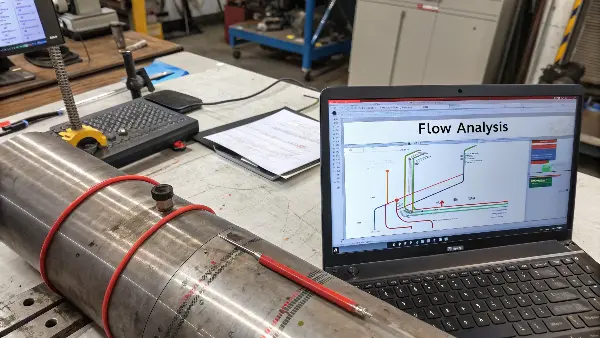
To fix weld line issues using flow analysis, first, identify their location and severity on the weld line plot. If a line is in a critical area, try moving the gate location. This changes the entire flow pattern and can shift the weld line to a less conspicuous or non-structural area. Another effective strategy is to adjust wall thickness locally, creating a "flow leader" to encourage one flow front to fill an area before another, thus preventing them from meeting head-on.
Dive deeper Paragraph:
Weld lines are one of the most common issues we tackle with flow analysis. They are unavoidable in any part with holes or multiple gates. The goal isn’t always to eliminate them but to control where they form, so they don’t compromise the part’s look or strength. I learned this the hard way on a consumer electronics housing. We had a nasty weld line right where the company logo was supposed to go. The flow analysis had predicted it, but we thought we could live with it. We couldn’t. We had to modify the tool, which was a costly delay.
Step 1: Identify and Evaluate
First, look at the weld line plot. The software will show you exactly where the melt fronts meet. The analysis can also often tell you the angle at which they meet. A smaller "meet angle" (closer to 180 degrees) results in a stronger, less visible weld line because the two fronts merge more gently. A sharp angle means a more abrupt, weaker joint. Ask yourself: Is this weld line on a cosmetic surface? Is it in an area that will experience high stress, like near a snap-fit or a screw boss?
Step 2: Relocate the Gate
Your primary tool for moving a weld line is the gate location. Running the simulation with different gate positions is fast and easy. Try moving the gate to the other end of the part, or from the side to the center. Each change will create a different filling pattern and move the weld lines. Your goal is to push them into an area where they don’t matter as much, like an internal surface, a textured area, or a region under low stress.
Step 3: Modify Part Geometry
If changing the gate isn’t enough, you can make small tweaks to the part itself.
- Create a Flow Leader: Intentionally thicken a section of the part slightly. Plastic will always flow along the path of least resistance, so this thicker channel will fill first and "lead" the flow, preventing two fronts from meeting in that area.
- Adjust Wall Thickness: You can use sequential valve gating (if the tool allows for it) or minor wall thickness changes to alter the timing of how different sections fill, which also changes where weld lines form.
By systematically using the simulation to test these changes, you can solve most weld line problems on your computer instead of on the factory floor.
What’s the Best Way to Use Flow Analysis for Gate Placement?
Choosing where to put the gate on a plastic part often feels like a mix of science and guesswork. If you get it wrong, you could end up with a part that’s full of defects like weld lines, air traps, or warpage. The pressure to make the right call is high because once the mold is built, changing the gate location is expensive and time-consuming. You need a reliable way to find the optimal spot before any metal is cut.
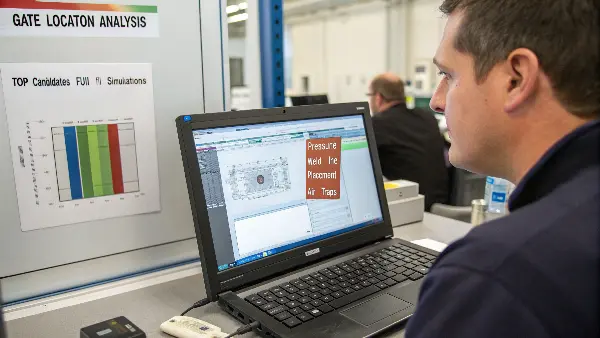
Use flow analysis to find the best gate location by running a "Gate Location Analysis." This feature suggests optimal positions based on achieving a balanced flow path and minimizing injection pressure. After getting these suggestions, run full fill simulations for the top 2-3 candidate locations. Compare their results for fill pattern, pressure, weld line placement, and air traps. The best location is the one that provides the most uniform fill with the fewest potential defects in critical areas.
Dive deeper Paragraph:
Gate placement is arguably the most critical decision you’ll make that influences molding success. It dictates how the entire part fills. In my early days, we relied on experience and rules of thumb, like "gate into the thickest section." While that’s often good advice, complex parts defy simple rules. Flow analysis takes the guesswork out of it. It’s like having x-ray vision to see how each potential gate location will perform.
Using the Gate Location Analysis Tool
Most mold flow software has a dedicated tool for this. You define the surface of the part where a gate could potentially be placed, and the software runs a simplified analysis. It then overlays a color map on your part. The "blue" or "green" areas are typically the best spots, indicating locations that will result in the lowest injection pressure and a more balanced flow. The "yellow" and "red" areas are poor choices. This gives you a data-driven starting point and helps you avoid obviously bad locations.
Comparing Candidate Locations
This initial analysis might give you several good options. The next step is to create a full simulation for each of the top two or three candidates. This is where you dig into the details.
- Look at the Fill Pattern: Does the gate location create a balanced, multi-directional flow, or does it cause "racetracking" down one side? A balanced fill is crucial for minimizing warpage.
- Check Weld Line Placement: Where do the weld lines form with each gate option? One option might place a weld line in a harmless spot, while another puts it right on an A-surface.
- Analyze Air Traps: Does a particular gate location create dead ends where air can’t escape? Trapped air leads to burn marks and short shots. Choose the option that pushes air toward planned vents at the parting line.
- Review Injection Pressure: Compare the peak injection pressure required for each location. A lower pressure is always better, as it puts less stress on the material and the machine.
I had a case with a large, flat cover. The initial thought was a central gate, but the analysis showed it would cause hesitation marks. The gate location tool suggested an edge gate with a flared design. We simulated it, and it produced a beautiful, uniform fill. That simple virtual test saved us a major tooling headache.
How Does Flow Analysis Help You Predict and Solve Warpage Issues?
You’ve molded your part, and it comes out of the tool looking like a potato chip. Warpage is one of the most frustrating and complex problems in injection molding. It can be caused by uneven cooling, material shrinkage, or internal stresses from the part’s geometry. Trying to fix it after the fact is a painful process of trial and error, involving endless tweaks to the part, tool, and process settings, all while your deadline looms closer.
Flow analysis predicts warpage by simulating three key factors: differential shrinkage, differential cooling, and orientation effects (for fiber-filled plastics). The analysis shows a warped view of your part, exaggerating the distortion to make it easy to see. To solve warpage, you use these results to make design changes. Start by ensuring uniform wall thickness. Then, adjust rib patterns and locations to add stiffness without creating thick sections. Finally, work with the mold designer to optimize cooling channel layouts based on the simulation.
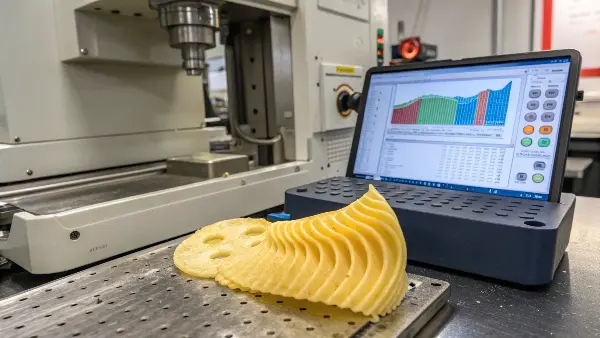
Warpage happens because plastic doesn’t shrink uniformly as it cools. Thicker sections shrink more than thinner sections. The side of the part closer to a hot part of the mold will shrink differently than the side near a cool part. For plastics with glass fibers, the way those fibers align during flow also creates internal stresses that cause the part to bend. A warpage analysis simulates all these factors together to give you a prediction of the final, distorted shape of your part.
Interpreting the Warpage Plot
The simulation output will show your part bending, twisting, or bowing. The displacement plot uses a color map to show you which areas are moving the most and in what direction (X, Y, or Z). This helps you visualize the problem clearly. The software will show the part bending in a specific way. Your job is to understand why it’s bending that way by looking at the underlying causes.
- Differential Shrinkage: Is one area shrinking much more than another? Look at the volumetric shrinkage plot. This is almost always tied to variations in wall thickness.
- Differential Cooling: Check the temperature plot at the time of ejection. Are there significant hot spots? This points to a problem with the cooling circuit in the mold.
- Orientation Effects: If you’re using a fiber-filled material, look at the fiber orientation plot. If fibers are aligned one way in a thin section and another way in a thick section, it creates massive internal stress.
Strategies for Fixing Warpage
Once you know the cause, you can start fixing it in the design phase.
| Cause | Design Solution |
|---|---|
| Differential Shrinkage | Aim for a completely uniform wall thickness. If not possible, make transitions gradual. Core out thick sections. |
| Differential Cooling | While this is mainly a tool design issue, you can help by avoiding features that are hard to cool, like deep, isolated ribs. |
| Orientation Effects | Adjust rib patterns and wall thicknesses to influence fiber alignment. Sometimes, changing the gate location can change the orientation pattern. |
| Lack of Stiffness | Add ribs or gussets strategically to stiffen the part against the bending forces. The analysis will show you which direction it wants to bend. |
I once worked on a long, flat enclosure. The initial analysis predicted a severe bow. By looking at the cause plots, we saw it was due to differential shrinkage from a few thick bosses on one side. We cored out the bosses and added a symmetrical rib pattern, and the next simulation showed the warpage was reduced by over 70%, well within the acceptable tolerance.
Conclusion
Ultimately, flow analysis is your crystal ball for plastic part design. It lets you test your ideas, find hidden problems, and optimize your part for manufacturing before you commit to expensive tooling. By learning to interpret fill time, pressure, weld lines, and warpage results, you can make informed decisions that save time, reduce costs, and lead to a much better final product.
