Dull or inconsistent colors in your plastic products can really drag down their appeal and even hurt your brand’s reputation. It’s frustrating when the final product doesn’t match your vision, leading to potential rejects and lost sales. But what if there was a reliable way to achieve vibrant, consistent colors every single time?
Color masterbatch is your key to unlocking superior product aesthetics. It’s a concentrated mix of pigments or additives blended into a carrier resin, then formed into easy-to-use granules. Using masterbatch in injection molding ensures consistent color, better dispersion, and easier handling than raw pigments, significantly boosting your product’s look and perceived value.
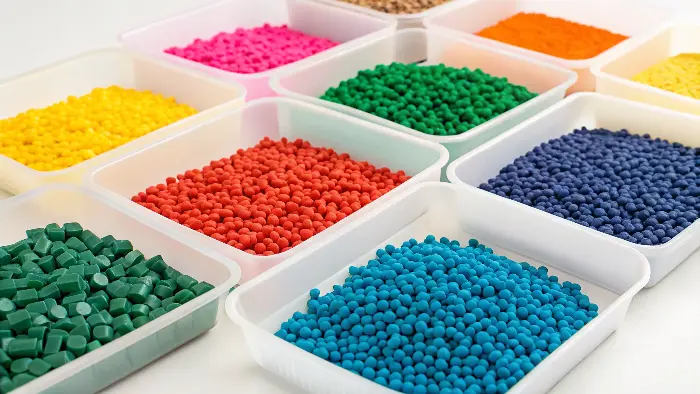
I’ve seen firsthand how the right approach to color can transform a product from ordinary to extraordinary. It’s not just about looks; it’s about quality and brand identity. Let’s dive into how you can leverage color masterbatch effectively. We’re here at CKMOLD to share what we know, helping you master this crucial aspect of molding.
What Exactly is Color Masterbatch and Why is it a Game Changer for Plastic Products?
Trying to get that perfect, repeatable color in your plastic parts can be a real headache. You know the feeling – one batch is slightly off, leading to customer complaints or, worse, rejected parts. This inconsistency costs time and money. Thankfully, color masterbatch offers a straightforward and highly effective solution to nail your colors consistently.
Color masterbatch is a solid additive where concentrated pigments are encapsulated within a carrier resin. This pre-dispersed form is a game changer because it ensures uniform color distribution, simplifies handling, reduces dust in your workshop, and provides far more consistent results compared to adding raw, powdered pigments directly into your polymer melt.
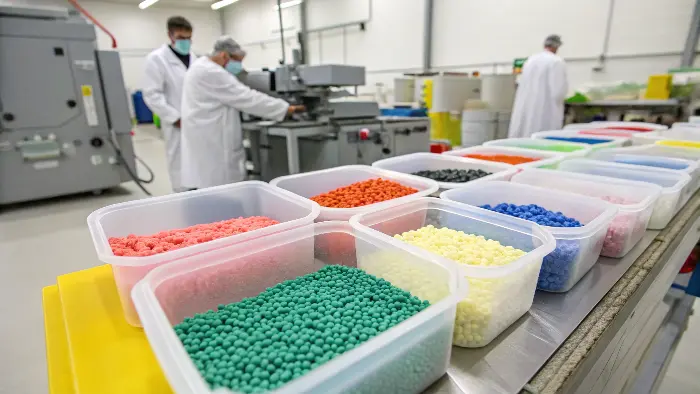
When I first started in the mold industry, we often struggled with raw pigments. The mess, the inconsistency – it was a constant challenge. Then, masterbatch became more prevalent, and it was like night and day.
Think of masterbatch as a highly concentrated colorant. The pigments are already thoroughly mixed with a carrier resin, which is usually compatible with the main plastic you’re using. This mixture is then pelletized.
Here’s why it’s so beneficial:
- Superior Dispersion: Because the pigment is already pre-dispersed in the carrier resin, it mixes much more evenly with your base polymer during molding. This means no more streaks or color clumps.
- Consistency: Batch-to-batch color consistency is dramatically improved. You set your let-down ratio (the proportion of masterbatch to raw polymer), and you get reliable results.
- Ease of Handling: Pellets are clean and easy to handle, dose, and store. Compare this to fine pigment powders that can create dust, leading to contamination and health concerns.
- Cost-Effectiveness: While the upfront cost per kilogram of masterbatch might seem higher than raw pigment, the reduced rejection rates, faster color changes, and cleaner operations often lead to overall cost savings.
- Protection of Pigments: The carrier resin protects the pigments from degradation during processing.
Let’s look at a quick comparison:
| Feature | Color Masterbatch | Raw Pigments |
|---|---|---|
| Dispersion | Excellent, uniform | Can be poor, prone to streaks/clumps |
| Handling | Clean, easy (pellets) | Dusty, messy (powders) |
| Consistency | High batch-to-batch consistency | Variable, depends on mixing |
| Dust/Safety | Minimal dust, safer | High dust, potential health hazard |
| Equipment Wear | Lower | Can be higher due to abrasiveness |
For product designers like Jacky, this means you can be more confident that the vibrant red you specified for a new electronic casing will actually be that exact vibrant red in mass production.
How Do You Select the Right Color Masterbatch for Your Injection Molding Project?
Choosing the wrong color masterbatch can be a costly mistake, potentially ruining an entire production run. Imagine the frustration of discovering that the color isn’t stable at processing temperatures or that it fades quickly in sunlight. This means wasted materials, lost time, and a hit to your budget. Understanding the key selection criteria is crucial for success.
To select the right color masterbatch, you must consider its compatibility with your base polymer, the specific color shade and its required fastness properties (like light and heat stability), any regulatory needs (e.g., food-grade), and your injection molding process conditions. The let-down ratio (LDR) is also vital for achieving the desired color intensity accurately.
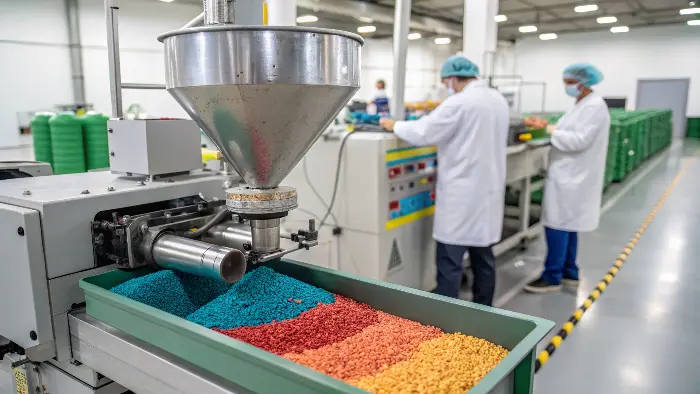
I always tell my clients, including designers like Jacky who are deeply involved in material specification, that selecting masterbatch isn’t just about picking a color from a chart. It’s a technical decision. Here’s a breakdown of what you need to consider:
-
Base Polymer Compatibility: This is paramount. The carrier resin in the masterbatch must be compatible with the plastic you are molding (e.g., PE, PP, ABS, PC, PET, Nylon). Incompatibility can lead to poor dispersion, delamination, or reduced mechanical properties. For instance, a masterbatch designed for Polypropylene (PP) might not work well with Polycarbonate (PC).
-
Color Requirements:
- Hue, Saturation, Brightness: Be precise. Provide a Pantone reference, a physical sample, or CIELAB values.
- Opacity/Transparency: Does the part need to be opaque, translucent, or transparent? This affects pigment selection and loading.
- Special Effects: Do you need metallic, pearlescent, fluorescent, or phosphorescent effects? These require specific types of pigments and carriers.
-
Performance Requirements:
- Lightfastness: How well will the color resist fading when exposed to UV light? Critical for outdoor products. (Measured on a Blue Wool Scale, 1-8, with 8 being best).
- Heat Stability: Can the pigments withstand the processing temperatures of your injection molding machine without degrading or changing color?
- Chemical Resistance: Will the part be exposed to chemicals, oils, or solvents?
- Migration Resistance: Will the colorant bleed or migrate to the surface or into adjacent materials? Especially important for food packaging or multi-component parts.
-
Regulatory Compliance:
- Food Contact: If the part is for food packaging or kitchenware, the masterbatch must comply with regulations like FDA (USA) or EFSA (EU).
- Toy Safety: Standards like EN 71 (EU) or ASTM F963 (USA) restrict heavy metals.
- Environmental: RoHS (Restriction of Hazardous Substances), REACH (Registration, Evaluation, Authorisation and Restriction of Chemicals).
-
Processing Conditions: Your specific molding parameters (temperature profile, shear rates, residence time) can influence color development and stability. Share these with your masterbatch supplier.
-
Let-Down Ratio (LDR): This is the ratio of masterbatch to natural polymer (e.g., 1:25 or 4%). A lower LDR (e.g., 1%) means a more concentrated, often more expensive, masterbatch but can offer better cost-in-use for high volume. A higher LDR (e.g., 4%) is less concentrated. The LDR affects the final cost and the ease of achieving uniform dispersion.
Here’s a table summarizing these factors:
| Factor | Key Considerations | Why it Matters |
|---|---|---|
| Polymer Compatibility | Match carrier resin to base polymer (PE, PP, ABS, PC, etc.) | Prevents processing issues, ensures part integrity |
| Color Specification | Pantone, sample, CIELAB values, opacity, special effects | Achieves desired aesthetic and brand identity |
| Lightfastness | Resistance to UV degradation (Blue Wool Scale 1-8) | Prevents fading in outdoor or light-exposed items |
| Heat Stability | Withstands processing temperatures without color change | Ensures color consistency during molding |
| Regulatory Needs | FDA, EN 71, RoHS, REACH compliance | Ensures product safety and market access |
| Let-Down Ratio (LDR) | Percentage of masterbatch to be added (e.g., 1-5%) | Impacts cost, dispersion, and color intensity |
Taking the time to define these requirements clearly will help you and your supplier choose the perfect masterbatch for your application.
Case Studies: How CKMOLD Solves Complex Color Challenges in Injection Molding Projects?
Sometimes, off-the-shelf color solutions just don’t meet the unique demands of a specific project. You might be aiming for a very particular shade, a special effect, or need color to perform under extreme conditions. This is where standard approaches fall short and can stall innovation. At CKMOLD, we thrive on these complex color challenges, turning them into success stories.
CKMOLD addresses intricate color challenges by combining our deep understanding of material science with precise color matching technology and the development of custom masterbatch formulations. We’ve successfully helped clients achieve unique metallic finishes, ensure color stability in high-temperature applications, and perfectly match brand-specific colors with exceptional accuracy, bringing their design visions to life.
I remember a project with a client, let’s call him Jacky, a product designer working on a new line of high-end kitchen appliances. He wanted a very specific, deep metallic red for the main housing, made from ABS. The challenge was not just the color itself, but ensuring it looked perfectly uniform, without any flow lines or streaks, which can be common with metallic pigments.
-
Challenge 1: Unique Metallic Finish for Consumer Electronics
- The Problem: Jacky’s team had tried several standard metallic masterbatches, but they either didn’t match the target color precisely or showed visible flow lines after molding, especially around complex features of the housing. This was unacceptable for a premium product.
- Our Approach: We first did a detailed color analysis using a spectrophotometer to get the exact CIELAB values of his target red. Then, we worked on a custom masterbatch formulation. The key was selecting a carrier resin highly compatible with his specific grade of ABS and using metallic flakes of a particular size and shape that were less prone to orienting with the flow. We also advised on gate location and processing parameters (like injection speed and melt temperature) to minimize flow visibility.
- The Outcome: After a couple of iterations and trials, we delivered a masterbatch that produced a stunning, uniform metallic red. Jacky was thrilled, and the product line was a huge success, praised for its aesthetics.
-
Challenge 2: Color Stability for Medical Device Components
- The Problem: Another client needed a light blue color for a medical device component made from Polycarbonate (PC). The parts would undergo steam sterilization. The initial masterbatch they used showed significant color shift after just one sterilization cycle.
- Our Approach: We identified that the pigments in their existing masterbatch were not stable enough for high temperatures and moisture. We selected specific organic pigments known for their excellent heat and hydrolysis resistance, suitable for PC. We also ensured the carrier resin and any additives were medical-grade and wouldn’t leach.
- The Outcome: The new masterbatch provided consistent color that remained stable even after multiple sterilization cycles, meeting all regulatory and performance requirements.
These examples show that solving complex color issues often requires more than just pigment selection. It involves understanding the base polymer, the molding process, and the end-use application. It’s about a holistic approach, which is what we specialize in at CKMOLD.
What are the Best Practices for Implementing Color Masterbatch in Your Production Line?
So, you’ve carefully selected the perfect color masterbatch for your project. That’s a great start! But even the best masterbatch can lead to disappointing results if it’s not implemented correctly on your production line. Poor practices can cause color variations, streaks, or other defects, leading to frustration and wasted resources. Following best practices is key to a smooth and efficient coloring process.
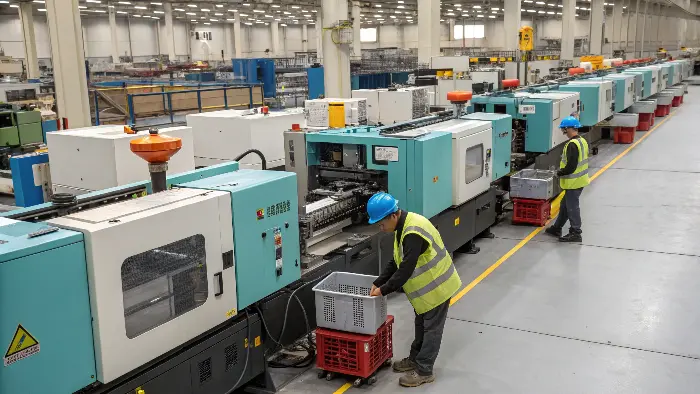
Key best practices for masterbatch use include proper drying of both the masterbatch and base polymer if needed, accurate dosing with calibrated equipment, ensuring sufficient mixing in the screw and barrel, and maintaining consistent processing temperatures. Regular equipment cleaning is also crucial to prevent any cross-contamination between different colors or materials.
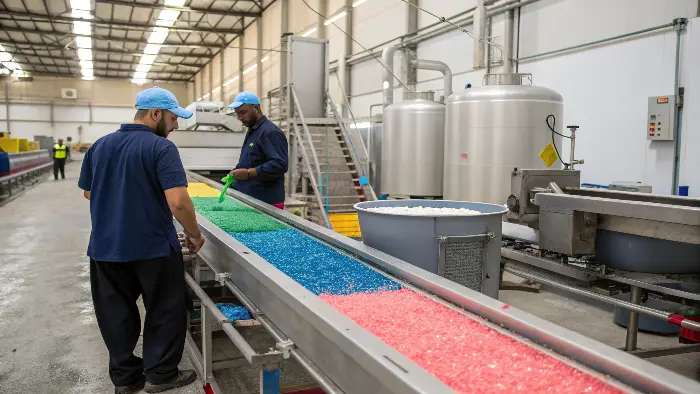
Over the years, I’ve seen many production floors, and the difference between a well-managed coloring process and a problematic one is often down to a few simple, yet critical, steps. Here’s what I always emphasize:
-
Storage and Handling:
- Store masterbatch in a cool, dry place, away from direct sunlight. Original packaging is best.
- Minimize exposure to moisture, as some carrier resins or pigments can be hygroscopic.
-
Drying:
- Many base polymers (like PC, PET, Nylon, ABS) require thorough drying before processing.
- Some masterbatches, especially those with hygroscopic carriers or pigments, may also need drying. Always check the supplier’s recommendations. Insufficient drying is a common cause of splay marks or silver streaks.
-
Accurate Dosing (Let-Down Ratio – LDR):
- Use calibrated dosing equipment. Gravimetric feeders (dosing by weight) are generally more accurate than volumetric feeders (dosing by volume), especially for critical applications or small LDRs.
- Ensure the LDR is consistently maintained. Even small variations can lead to noticeable color shifts.
-
Sufficient Mixing:
- The injection molding machine’s screw is responsible for melting the polymer and mixing in the masterbatch. A general-purpose screw with a good mixing zone is usually adequate.
- Ensure sufficient back pressure and appropriate screw speed to promote thorough distributive and dispersive mixing. Too little mixing can cause streaks; too much shear can sometimes degrade pigments.
-
Consistent Processing Parameters:
- Maintain stable melt temperatures, injection speeds, and cycle times. Fluctuations can affect color consistency.
- The temperature profile along the barrel should be optimized for both the base resin and the masterbatch.
-
Equipment Cleaning:
- Thoroughly clean hoppers, feeders, the screw, and barrel when changing colors or materials to prevent cross-contamination. Natural polymer or a specific purging compound can be used. This is especially critical when going from a dark color to a light one.
-
Quality Control:
- Compare molded parts against your color standard (plaque, Pantone chip) under consistent lighting conditions (e.g., a light booth).
- Keep records of masterbatch batches and corresponding production runs for traceability.
Here’s a quick troubleshooting guide for common issues:
| Issue | Potential Cause(s) | Possible Solution(s) |
|---|---|---|
| Streaks/Swirls | Poor mixing, masterbatch incompatibility, low melt temp. | Increase back pressure, check screw design, verify compatibility, increase temp. |
| Color Variation | Inconsistent LDR, fluctuating process temps, wet material | Calibrate doser, stabilize temps, dry material properly |
| Specks/Contam. | Contamination in hopper/machine, degraded material | Clean equipment thoroughly, check for hot spots, use purging compound |
| Splay/Silvering | Moisture in material or masterbatch | Dry resin and masterbatch as per recommendations |
By paying attention to these details, you can ensure that the color masterbatch performs as expected, giving you high-quality, consistently colored parts. It’s all part of mastering the molding process.
Conclusion
In essence, color masterbatch is a powerful tool for enhancing your plastic products, offering consistent, vibrant colors and simplifying your manufacturing process. By understanding its types, selection criteria, and best implementation practices, you can significantly elevate your product’s aesthetic appeal and market value. CKMOLD is here to share knowledge and help you succeed.
