Managing various pressures in injection molding becomes confusing when one learns about clamping pressure, injection pressure, and back pressure simultaneously. This can be a challenge in properly establishing a process. I’m here to make the classification of these pressures clear and what each of them does, and you’ll be in complete command of your molding.
The most fundamental level at which injection molding machines are classified is by clamping pressure, or tonnage. This is the pressure the machine exerts on the two mold halves to hold them together during the injection stroke. Machines are available in small 5-tonners to huge 4000-ton monsters. Above the fundamental classification, you have significant process pressures like injection pressure, holding (or VP) pressure, and back pressure. Each one controls a particular portion of the cycle to yield an ideal part.
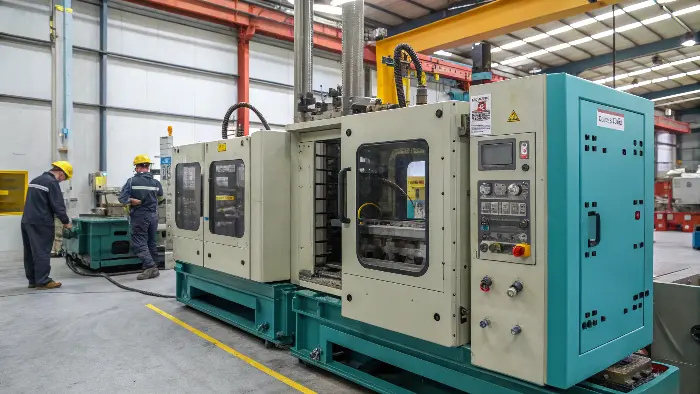
Understanding that tonnage is the machine’s rating is the first step. But the real magic of molding happens when you master the pressures that shape the plastic inside the mold. These are the settings you’ll adjust every day to solve problems and improve quality. To become a true expert, you need to know what each pressure does and how they work together. Let’s explore the typical values you’ll be working with.
What are the typical pressures for injection molding?
Don’t you feel intimidated by the large variety of pressure settings for injection molding? Applying the wrong pressure is an easy way to introduce flaws such as flash or short shots to your part, costing you precious time and costly material. Allow me to guide you through the common pressure ranges for every stage of the process. This will provide you with a surefire starting point for any molding endeavor you undertake.
The typical injection pressures range from 5,000 to 20,000 PSI but can vary considerably depending on the plastic material and part design. Holding pressure, which is used to pack out the part, is generally 50-70% of the maximum injection pressure. Back pressure is significantly lower, usually between 50 and 300 PSI. Finally, the clamping force must be sufficient to withstand the injection pressure. A rough rule of thumb is to apply 2 to 5 tons of pressure per square inch of the projected part area.
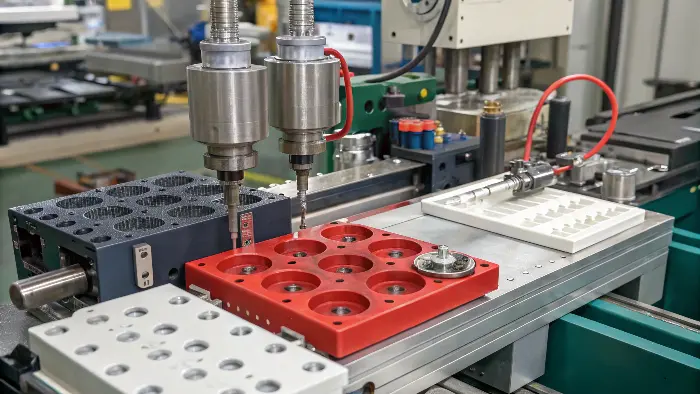
To really get a handle on this, it helps to think about each pressure as having its own job. They aren’t just random numbers; they are precise forces we use to control the plastic at every step.
Clamping Pressure (Tonnage)
This is the brute force which holds the mold closed. In the event that your injection pressure exceeds your clamping pressure, the mold will be pushed open a little and plastic will be extruded, forming a thin layer referred to as flash. The clamping force you require is a function of the size of your part and the viscosity of the plastic. A thicker material or a bigger piece needs more force to hold the mold closed.
Injection and Holding Pressure
Injection pressure is the pressure exerted to force the molten plastic into the mold cavity which is empty. It must be sufficient to fill the whole mold within a short period of time before the plastic begins to cool and harden. We then go to pressure hold when the mold is almost full. It is a lower and more consistent pressure which adds more material into the cavity to replace the shrinkage that occurs as the plastic cools.
Back Pressure
This is a more subtle pressure. As the screw turns to prepare the next shot of plastic, back pressure creates resistance. This resistance helps to mix the plastic and any additives, like colorants, more thoroughly. It also helps to remove any trapped air or gas, leading to a more consistent and dense melt.
Here is a table with some general guidelines for common materials. Remember, these are just starting points.
| Material | Typical Injection Pressure (PSI) | Typical Holding Pressure (% of Injection) | Tonnage Factor (tons/in²) |
|---|---|---|---|
| Polypropylene (PP) | 5,000 – 12,000 | 40% – 60% | 2 – 3 |
| ABS | 8,000 – 18,000 | 50% – 70% | 3 – 4 |
| Polycarbonate (PC) | 10,000 – 25,000 | 50% – 75% | 4 – 5 |
| Nylon (PA66) | 9,000 – 20,000 | 50% – 70% | 3 – 5 |
I remember a project with a very thin-walled electronics housing made from PC. We had to push the injection pressure to its limit, close to 25,000 PSI, just to fill the part completely. It was a real challenge to balance that with the clamping force to prevent flash while still getting a full part. It taught me that these numbers are not set in stone; they are tools to solve a puzzle.
How to calculate plastic pressure?
Are you primarily guessing your pressure settings and then fiddling around until it works? This trial-and-error process results in variable parts and extremely long setup times, which detracts from productivity. I’ll demonstrate the simple formulas and factors to take into account when determining your key pressures. This will enable you to tackle each new mold setup with more ease and accuracy.
You start to estimate plastic pressure in terms of clamping force. A rough rule of thumb is to employ an approximate part area in square inches and multiply by a tonnage factor for the material, generally between 2 and 5. A 10-square-inch ABS part (factor of 3) needs at least 30 tons. Estimation of injection pressure is harder and is generally accomplished by mold flow computer programs or material supplier charts. Holding pressure is then set as a percentage, generally 50-70% of maximum injection pressure.
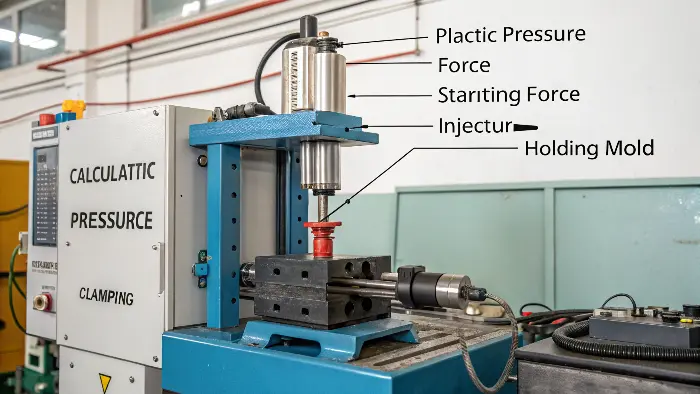
Let’s break these calculations down so you can use them on your next project. While software can do a lot of the heavy lifting, understanding the principles behind the numbers is what separates a good designer from a great one.
Calculating Clamping Force (Tonnage)
This is the most straightforward calculation and your first step in choosing the right machine.
- Formula: Clamping Force (Tons) = Projected Area (in²) × Tonnage Factor (tons/in²)
- Projected Area: This is the "shadow" area of your part and its runners if you were to look at it from the direction of the clamp. You can easily get this from your CAD software.
- Tonnage Factor: This number depends on the material’s viscosity (how easily it flows) and the part’s design. Thicker materials and parts with long, thin flow paths need a higher factor.
Here’s a table of common tonnage factors to help you estimate.
| Material Viscosity | Tonnage Factor (tons/in²) | Example Materials |
|---|---|---|
| Low | 2 – 3 | Polystyrene (PS), Polypropylene (PP) |
| Medium | 3 – 4 | ABS, Nylon (PA) |
| High | 4 – 5+ | Polycarbonate (PC), Glass-Filled Nylon |
Let’s try an example. Imagine we are molding a simple cover plate from ABS. Its projected area is 30 square inches. Looking at the table, ABS has a factor of around 3-4. Let’s use 3.5 to be safe.
30 in² × 3.5 tons/in² = 105 tons.
So, you would need a machine with at least 105 tons of clamping force. I would probably choose a 120-ton or 150-ton machine to have a safety margin.
Estimating Injection Pressure
It is highly complicated to calculate the precise injection pressure required. It is dependent on flow length, wall thickness, gate size, melt temperature, and mold temperature. Here is where the mold flow simulation software comes in so handy. It is able to forecast pressure requirement accurately. In case you do not have access to simulation software, the datasheet of the material supplier is the best starting point. They will give a recommended range. Then you can begin at the low end of the range and raise the pressure until the mold is filled to the top without flashing.
What is Injection Pressure in injection molding?
1. Material Properties
Viscosity: The viscosity of the plastic material straight impacts the injection pressure needed. The materials of high viscosity, such as those of the thermoplastics, require more pressure to flow well enough into the mold.
Flow Rate: If materials have varying flow characteristics, they react to varying pressures. A material with a high flow rate will have less pressure to fill the mold compared to a material with a low flow rate.
2. Mold Design
Cavity Volume and Mold Complexity: Increased and more detailed mold cavity volume necessitates greater injection pressures. Thin walled and highly detailed regions have more flow resistivity.
Number of Cavities: Multi-cavity molds require more pressure to fill multiple cavities at the same time and evenly. The addition of every cavity contributes to more total flow resistance.
Gate Location and Design: Where the gates are placed, how they’re shaped, and how large they are affect how easily molten plastic gets into the mold. Poor gate design might produce high requirements for pressure and potential defects.
Thickness of Wall: Thicker walls tend to have more requirements for larger injection pressures so that the material will flow well and fill the mold without voids or defects.
3. Injection Moulding Machine Capability
Clamping Force: Clamping force of the injection mold machine must be sufficient to hold mold halves together at high pressures. Insufficiency of clamping force may yield mold opening and flash formation.
Barrel Temperature: Properly controlled barrel temperature ensures consistent melting of the plastic, and that affects the pressure needed to force the material into the mold.
4. Injection Process Parameters for Molding
Injection Speed: The speed at which molten plastic is injected into the mold affects the pressure. Injection speeds tend to rise at higher pressures. Injection speeds tend to require higher pressures to oppose flow. Cooling Time: The cooling time affects the material’s solidification within the mold. The right amount of cooling helps the component maintain shape under pressure and reduces flaws such as warping and sink marks.
What is VP pressure in injection molding?
Have you ever listened to engineers discuss the "VP switchover" and not known what they were referring to? Simply having this one setting a little out of whack is a frequent source of big defects such as ugly sink marks or sloppy flash. Let us clear up what VP pressure is and why the shift from injection to holding is simply crucial for making perfect plastic parts.
VP pressure is another term for holding pressure or packing pressure stage. "V" stands for Velocity (the injection stage, controlled by rate) and "P" stands for Pressure (the holding stage, controlled by pressure). The VP switchover is the critical moment when the machine stops injecting at high rate and starts exerting a consistent lower pressure. This holding pressure packs out the part to compensate for material shrinkage after it cools, preventing defects.
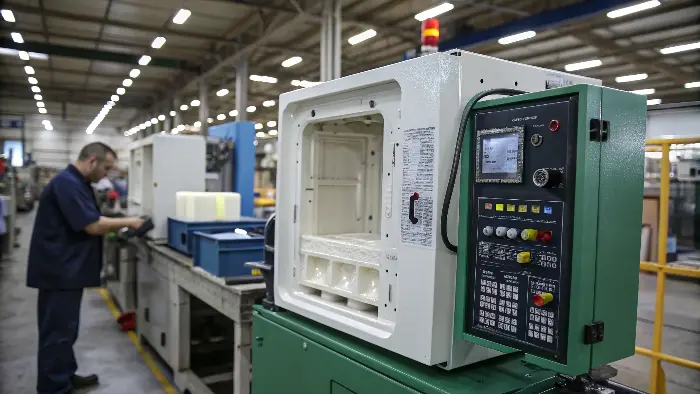
To truly understand its importance, you need to see the molding process as two distinct filling stages. Getting the transition between these two stages just right is key.
The Injection Phase: Filling the Mold
During the first stage, the goal is to fill the mold cavity as quickly and consistently as possible. We control this phase by setting the injection speed (velocity). We want to get about 95-98% of the plastic into the mold during this stage. We are not worried about pressure yet; we are just focused on speed. The machine uses whatever pressure is necessary to achieve the set speed.
The VP Switchover Point
This is the most crucial point in the filling process. It is where we switch our filling strategy to one of packing by pressure. When we switch too soon, when the mold is only 90 percent full, there will not be enough plastic to fill out the part, and you will have short shots or sink marks. By switching over too late, we will have already attempted to inject 100 percent of the plastic into the mold at high speed, resulting in a massive pressure spike, overpacking the part and flash.
The Holding Phase: Packing and Compensating
After the switchover occurs, we are in the holding pressure (VP pressure) phase. We now use a steady, constant pressure. This force forces a slightly greater amount of material into the cavity to compensate the volume the plastic shrinks and loses as it cools. It is this packing action which provides you with a solid, dense part with good surface finish and no sink marks. The holding pressure is normally maintained until the gate solidifies.
I had a project once on a thick-walled handle which just would not clear the deep sink marks in the center. The machine operator continued to increase the holding pressure as he thought that could help, but it did not. I examined the process settings and noticed that the VP switchover was controlled by the position of the screw and was occurring prematurely. We have modified it to change over a fraction of a second later so that the mold is 98 percent full before it is packed. The sink marks are no more. It taught me that there are times when it is not how hard you press, but when you press.
Injection System Pressure and Injection Pressure.
The hydraulic system of the injection molding machine provides injection pressure. The source pressure passes or applies to the injection hydraulic cylinder, and then via the screw, it is applied to the injection melt. Melt is then transported out of the nozzle into the main channel of the mold and pushed into the main mold cavity.
Injection machine pressure and System Pressure Roles.
Injection Machine Pressure: During injection, the plastic should be exposed to high injection pressure where the pressure should overcome the resistance of the flow to fill the mold cavity. Not only does the degree of injection pressure influence the quality and dimensional accuracy of the molded products, but also the behavior of plastic melt, as well as the consistency of the injection process.
System Pressure: System pressure has a direct relationship with system precision stability, and power used in injection molding.
Variations between Injection machine pressure and system pressure.
Different Functions
The injection pressure mostly works on the melt injected into the mold in order to overcome the resistance to flow and viscosity of the plastic. The system pressure influences the injection cylinder and converts into injection pressure, which supplies the kinetic energy needed at that moment to propel the hydraulic oil.
Various Adjustment Methods:
The pressure of injections is controlled using PID control system, and the system pressure is primarily controlled using the control circuit of the hydraulic system and its boosting unit.
Different Response Times:
Injecting pressure is adjusted rapidly, response times within milliseconds, so the control system responds addressed to the present pressure value in a timely manner. Adjusting system pressure is more gradual and takes time to pressurize the hydraulic system to the desired high pressure.
What is back pressure in plastic injection molding?
Do you consider back pressure as a minor setting or even ignore it? Failure to pay attention to this setting can result in an unexpected amount of issues, such as varying shot sizes, splay, and bad color mixing, all of which will negatively affect your final part quality. I will tell you what back pressure really does and how you can use this simple adjustment to make your process much more stable.
Injection molding Back pressure Back pressure is a controlled resistance applied to the front of the screw as it rotates and retracts to ready the next shot of plastic. Its primary task is to make sure that the molten plastic is homogeneous and dense. This pressure aids in the homogenization of colorants and additives, expelling trapped air or gases, and results in a far more uniform shot size between cycles. It is a major parameter of process stability.
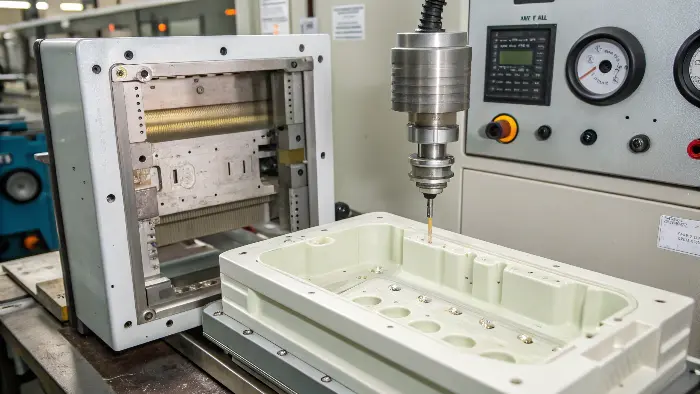
Think of back pressure as gently compacting the snow as you make a snowball. Without that compaction, you get a loose, airy ball that falls apart. With plastic, it’s the same idea. A little bit of pressure during the melting stage makes a huge difference in the quality of the melt.
The Role of Back Pressure
The screw rotates and pushes the plastic pellets out of the hopper. They are melted and warmed as they travel. The screw also travels backwards to create space to accommodate this newly melted plastic. Back pressure is an adjustment that increases the difficulty of the screw to reverse. This back pressure makes the plastic be agitated more violently in the screw flights and that there are no air pockets in the melt prior to injection.
However, using back pressure is a balancing act. It has both advantages and disadvantages that you need to consider.
| Pros of Using Back Pressure | Cons of Using Back Pressure |
|---|---|
| Improved Melt Consistency: Creates a more uniform melt temperature and density. | Longer Cycle Times: It takes longer for the screw to recover for the next shot. |
| Better Mixing: Ensures colorants and additives are mixed in evenly. | Higher Melt Temperature: The extra work can increase melt temperature, risking material degradation. |
| Removes Trapped Gases: Pushes out air and moisture, reducing defects like splay. | Increased Screw Wear: Puts more stress on the screw and barrel. |
| Consistent Shot Weight: A denser melt leads to more repeatable shot sizes. | Potential for Drooling: Higher pressure in the nozzle can cause plastic to leak out. |
Setting the Right Back Pressure
The trick is to apply just enough back pressure to fix a given issue. Never begin high. The best place to start is 50-100 PSI. In case you notice poor mixing indications (e.g. color streaks) or splay on your parts, you may slowly raise the back pressure in small steps of 25-50 PSI until the issue disappears.
One job I remember we were casting parts in a bright red color using a natural base material and a red color concentrate. The initial segments that emerged out of the machine were a tangle of pink and red streaks. The operator had not put in any back pressure. We put on approximately 150 PSI of back pressure. This increased the cycle time by approximately one second, but the parts emerged a perfect, uniform red. This was an easy repair that mattered. With sensitive materials such as PVC or PC you must be extremely careful, as excessive back pressure will burn the material.
Conclusion
The key to learning injection molding is to understand pressure. We have observed that machines are categorized according to their clamping power or tonnage. However, the actual control of the process is achieved through the control of injection pressure, holding (VP) pressure and back pressure. They all have their own specific and important role to play. With the transition to intentional, quantifiable changes, you will be able to achieve a steady quality, reduce defects, and run an efficient operation. The way to master molding is to master these pressures.
