Designing molds for food-grade products is a huge responsibility. A small mistake can lead to contamination, product recalls, and damage to your brand’s reputation. The stakes are incredibly high, and there’s no room for error. But by focusing on a few key areas, you can confidently create molds that produce safe, high-quality parts every time.
To master mold design for food-grade plastics, you must prioritize five key areas. First, select the right certified food-safe plastic resin. Second, use appropriate mold materials like stainless steel with a high-polish finish. Third, design the mold structure to eliminate undercuts and sharp corners for easy cleaning. Fourth, optimize gate and vent design to prevent material degradation. Finally, implement precise temperature control to ensure material stability and part integrity. These steps are crucial for safety and quality.
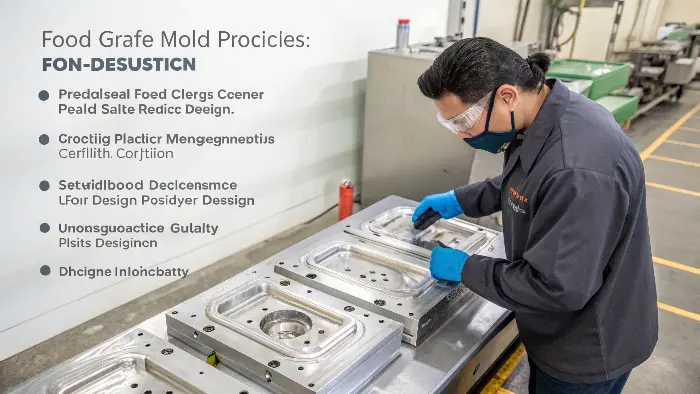
I’ve spent years in the mold industry, and I’ve seen firsthand how critical these details are, especially when people’s health is on the line. I remember a client who came to us after a failed product launch. Their previous supplier cut corners on the mold, and the resulting containers failed safety tests. It was a costly lesson for them. Getting it right isn’t just about good business; it’s a moral obligation. Let’s break down each of these five considerations. I want to share what I’ve learned so you can approach your next food-grade project with total confidence.
Which Food-Grade Plastics Are Best and How Do They Affect Mold Design?
Choosing a plastic for a food-contact application seems simple, but it’s not. Picking the wrong material can lead to chemical leaching, failed compliance tests, and a product that’s completely unsafe for consumers. It’s a costly mistake you can’t afford to make. Understanding the common food-grade plastics and their properties is the first step to a successful and safe design.
The best food-grade plastics include PP, HDPE, PET, and PC, each with specific uses. Your choice directly impacts mold design. For example, semi-crystalline materials like PP and HDPE have higher shrinkage rates, requiring precise mold dimension calculations. Crystalline structure also affects cooling time and potential for warpage. You must design the mold’s cooling channels and shrinkage allowance specifically for the chosen certified food-grade material to ensure dimensional accuracy and part safety.
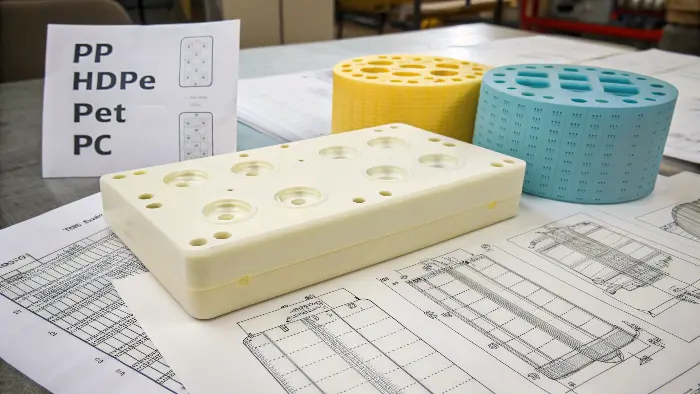
Your entire project starts with the material. You can’t design a good mold without first knowing exactly what you’re going to inject into it. For food-grade applications, this is even more important. You must use plastics that are certified by regulatory bodies like the FDA in the USA or EFSA in Europe. Never assume a standard grade is acceptable. Always ask the material supplier for the food-contact compliance certificates. Once you have your certified material, you can analyze how its properties will influence your mold design.
Understanding Material Properties
Different plastics behave differently. Some are rigid, some are flexible. Some are clear, some are opaque. These properties are determined by their molecular structure. For example, Polypropylene (PP) is a semi-crystalline polymer, which gives it good chemical resistance and toughness, making it great for reusable containers. Polyethylene Terephthalate (PET), on the other hand, is amorphous but can become semi-crystalline, offering excellent clarity and barrier properties, which is why it’s used for soda bottles.
Impact on Mold Design
This is where the material choice directly affects your work as a designer. The shrinkage rate is one of the biggest factors. Semi-crystalline materials like PP and HDPE have higher and more complex shrinkage than amorphous materials like PC. You have to account for this precisely in your mold cavity dimensions, or your final parts will be out of spec. I always create a table to keep things straight.
| Plastic Material | Common Food-Grade Use | Key Mold Design Consideration |
|---|---|---|
| PP (Polypropylene) | Reusable containers, caps | High shrinkage (1.5-2.5%). Requires excellent cooling to control warpage. |
| HDPE (High-Density Polyethylene) | Milk jugs, cutting boards | High shrinkage (1.5-3.0%). Good flow, but watch for warpage. |
| PET (Polyethylene Terephthalate) | Drink bottles, food jars | Lower shrinkage (~0.2-0.5%). Requires high mold temps for clarity. |
| PC (Polycarbonate) | Reusable water bottles, food processor bowls | Very low shrinkage (~0.5-0.7%). Needs high injection pressure and temp. |
Understanding these relationships is fundamental. You can’t just use a generic shrinkage value. You must get the specific value from the material’s datasheet and design your mold around it.
Why Are Mold Material and Surface Finish So Critical for Food-Safe Parts?
You’ve designed a perfect part, but what about the mold itself? Using standard tool steel like P20 can lead to rust and corrosion, which can transfer to the plastic parts. A rough surface finish can harbor bacteria, making cleaning impossible and rendering the final product unsafe. Selecting the right mold material and specifying a high-quality surface finish is non-negotiable for food-grade applications.
Mold material and surface finish are critical because they directly contact the plastic. Stainless steel, like S136, is the preferred material as it resists rust and corrosion, preventing contamination. A high-polish, mirror-like surface (SPI-A1 or A2) is essential. This smooth finish ensures easy part ejection without release agents and, more importantly, prevents microscopic pits where bacteria could grow. It makes the final plastic part easier to clean and sterilize, a core requirement for food safety.
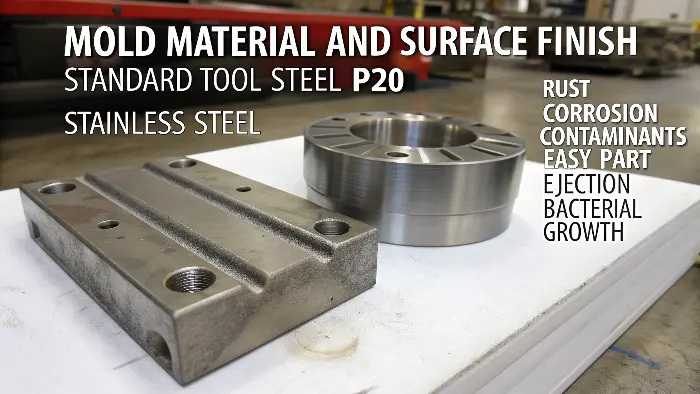
I learned this lesson the hard way early in my career. We tried to make a food container using a standard P20 mold to save costs for a client. During a long production run with high humidity, we started seeing tiny rust spots on the mold surface. We had to stop production, clean the mold, and scrap thousands of parts. From that day on, I made it a rule: for food-grade, we only use stainless steel. It’s a higher upfront cost, but it saves you from much bigger costs and risks down the line.
Choosing the Right Steel
The industry standard for high-quality, food-grade molds is pre-hardened stainless steel. The most common choice is S136 (or its equivalent, DIN 1.2083 / AISI 420). This type of steel has excellent corrosion resistance, which is its most important feature for this application. It won’t rust, even in damp environments or when molding materials that can release corrosive gases. It also has the ability to be polished to a very high, mirror-like finish. This isn’t just for looks.
The Importance of a Flawless Finish
The surface of the mold cavity creates the surface of your plastic part. For food-contact items, that surface needs to be perfect. We use the SPI (Society of the Plastics Industry) standards for finishes. For food-grade molds, you should always specify an SPI-A1 or SPI-A2 finish. This is a mirror polish achieved by using fine diamond powders. A rougher surface, even one that looks smooth to the naked eye, has microscopic peaks and valleys. These tiny imperfections are perfect hiding spots for bacteria and make the final plastic part difficult to clean properly. A mirror finish ensures a smooth, non-porous surface on the plastic part, which helps with both part ejection from the mold and the end-user’s ability to keep the product sanitary.
How Can Mold Structure Prevent Contamination and Improve Cleanability?
A mold’s internal geometry is complex. But hidden sharp corners, deep ribs, or complex undercuts in your part design create areas in the mold that are impossible to clean properly. These spots can trap degraded plastic or bacteria, contaminating every part you produce. By simplifying the design and focusing on cleanability from the very beginning, you can build a safer, more reliable mold.
A well-designed mold structure prevents contamination by eliminating features that trap material or bacteria. This means designing parts with generous draft angles and large radii instead of sharp internal corners. Avoid deep, narrow ribs and unnecessary undercuts that require complex lifters or slides. A simpler, smoother cavity surface is not only easier to machine and polish but also ensures the final plastic part can be thoroughly cleaned and sterilized, which is fundamental for food-contact products.
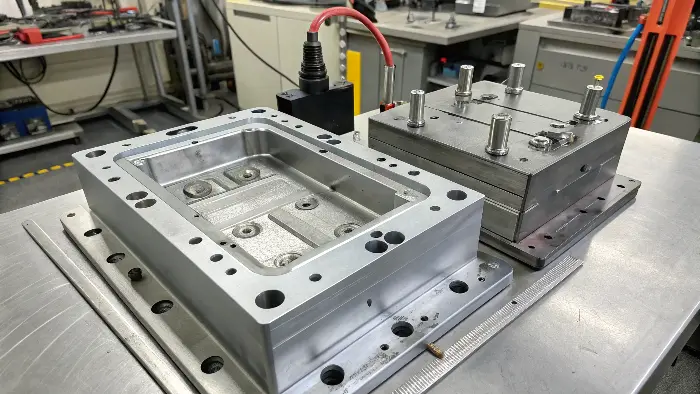
Think about it from a practical standpoint. If you can’t easily reach every surface of the mold cavity to polish and clean it, then you have a potential contamination point. This principle of “sanitary design” comes from the food processing equipment industry, and we must apply it to our molds. Every decision you make about the part’s geometry affects the mold’s cleanability.
Embracing “Sanitary Design” Principles
Sanitary design is all about smooth, accessible surfaces. The number one rule is to avoid sharp internal corners. In a mold, a sharp internal corner is difficult to machine perfectly and even harder to polish. It creates a stress concentration point in the final part and a place for material to get stuck in the mold. Always replace sharp corners with the largest possible radius or fillet. A radius of at least 0.5mm is a good starting point, but bigger is always better. This creates a smooth, flowing surface that is easy to clean and polish.
Designing for Easy Demolding and Cleaning
Your design should also make the part easy to eject from the mold. This means using generous draft angles (at least 1-2 degrees, more if possible) on all vertical faces. Good draft reduces the friction and vacuum forces during ejection, which means you are less likely to need a mold release agent. Mold release agents are chemicals you want to avoid in food-grade production whenever possible. Furthermore, try to simplify or eliminate complex mechanisms like lifters or slides that create undercuts. These mechanisms have moving parts and crevices that are very difficult to clean and can trap old material or grease. If an undercut is absolutely necessary, design the lifter or slide so that it is easily accessible for cleaning and maintenance.
What’s the Right Way to Design Gates and Vents for Food-Grade Applications?
Getting melted plastic into the mold cavity seems straightforward. But poor gate design can cause high shear stress, burning the plastic and releasing harmful chemicals. Inadequate venting traps air, leading to incomplete fills and burn marks from compressed, superheated gas. Proper gate and vent design is crucial for maintaining the plastic’s integrity and producing a safe part.
The right way to design gates is to ensure smooth, low-shear flow of plastic into the cavity. Use full-round runners and larger, fan, or tab gates to minimize friction and prevent material degradation. For venting, ensure adequate channels are placed at the end of the flow path and in any potential air traps. This prevents dieseling (burn marks from trapped, compressed air), which can compromise the material’s chemical stability and the safety of the final food-contact part.
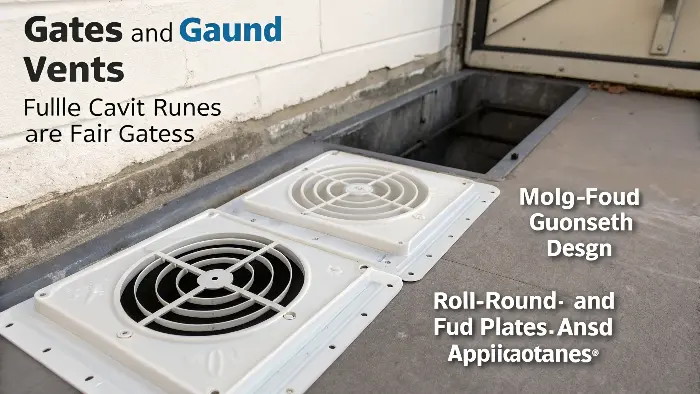
The way plastic enters the mold is a violent process. It’s under immense pressure and moving very fast. If you force it through a tiny opening or a sharp corner, you generate a huge amount of frictional heat. This is called shear heating. This extra heat can literally burn the plastic at a molecular level, breaking down the polymer chains and potentially creating harmful byproducts. This is unacceptable for any product, but especially for one that will hold food.
Gate Design for Material Integrity
The goal is to get the plastic into the cavity as gently as possible. Start with the runners—the channels that lead to the gate. Full-round runners are best because they have the least surface area for a given volume, which reduces heat loss and pressure drop. When it comes to the gate itself, avoid tiny pin gates or submarine gates if you can. While they are good for automatic degating, they create very high shear. For food-grade parts, a tab gate or a fan gate is often a better choice. These gates have a larger cross-sectional area, which slows the plastic down and reduces shear as it enters the cavity. The gate should also be placed in a non-critical area of the part, away from surfaces that will experience high stress or direct food contact.
Venting to Prevent Defects and Contamination
As plastic fills the cavity, the air that was inside needs to escape. If it can’t get out, it gets compressed and heats up dramatically—this is called the diesel effect, just like in a diesel engine. This superheated air can scorch the plastic, leaving black burn marks. These marks are not just cosmetic defects; they are areas of degraded, potentially unsafe material. To prevent this, you must have adequate vents. Vents are very shallow channels (usually 0.01-0.03mm deep) machined into the parting line of the mold. They are shallow enough to let air out but too small for the plastic to escape. You need to place vents at the very end of the flow path and anywhere else air might get trapped, like at the top of deep ribs.
How Does Precise Temperature Control Impact the Safety of Food-Grade Plastics?
Mold temperature is a key variable in any injection molding process. For food-grade plastics, inconsistent or incorrect temperatures can be disastrous. Too hot, and the material can degrade, leaching chemicals. Too cold, and you introduce internal stresses, making the part brittle and prone to cracking. Implementing a precise and uniform temperature control system is essential for safety and quality.
Precise temperature control is vital because it directly affects the plastic’s stability and final properties. An optimized and uniform mold temperature ensures the material melts and solidifies correctly without thermal degradation, which could release harmful substances. It also controls the material’s crystalline structure, shrinkage, and warpage. This leads to dimensionally stable, stress-free parts that perform as expected and maintain their integrity when in contact with food, preventing cracks or failures that could pose a safety risk.
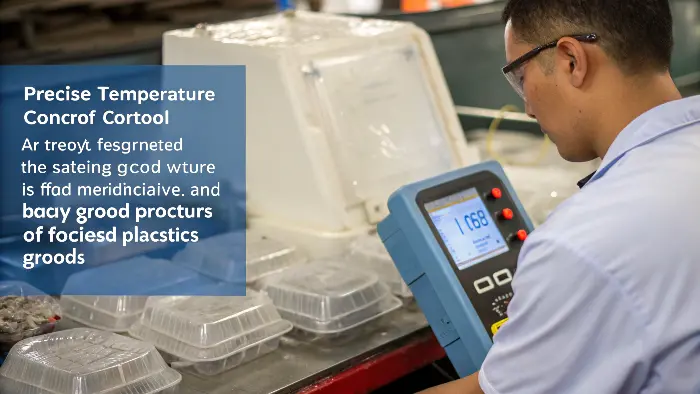
Think of the mold as an oven that’s also a freezer. It has to maintain a very specific temperature to “bake” the part correctly, then cool it down at the right rate to “freeze” its shape. If the temperature is uneven across the mold surface, one part of the product will cool faster than another. This causes warpage and, more dangerously, creates locked-in stress. A stressed part might look fine, but it can crack or break easily when used, which is a major safety hazard for a food container.
The Goal: Uniform Mold Temperature
The key to good temperature control is uniformity. You want the entire surface of the mold cavity to be at the same temperature. The best way to achieve this is with well-designed cooling channels. Traditional cooling channels are just straight lines drilled through the mold block. A much better, though more complex, method is conformal cooling. Conformal cooling channels follow the shape of the part, ensuring that every area gets the same amount of cooling. This results in a much more uniform temperature, which reduces cycle time, minimizes warpage, and produces a more stable, safer part.
Hot Runners and Temperature Management
Many food-grade molds, especially for high-volume parts like caps and closures, use hot runner systems. A hot runner keeps the plastic in a molten state all the way from the machine nozzle to the gate. This eliminates the runner scrap, saving material and energy. However, it adds another layer of complexity to temperature control. The temperature in the hot runner manifold and nozzles must be controlled with extreme precision. If it’s too hot, the plastic will sit there and degrade over time. If it’s too cool, the gates can freeze off. For food-grade applications, using a high-quality hot runner system with precise thermocouple feedback at each nozzle is not a luxury; it’s a necessity for ensuring material integrity and safety.
Conclusion
Mastering mold design for food-grade plastics comes down to a deep respect for the end-user’s safety. By carefully selecting materials, insisting on high-quality mold steel and finishes, designing for cleanability, optimizing flow paths, and controlling temperature, you build safety into the very foundation of the product. These five considerations are your blueprint for creating safe, reliable, and high-quality food-contact parts that you and your customers can trust.
