Have you ever designed a perfect plastic part on your computer, only to feel a bit lost about how it actually gets made? The journey from a digital file to a physical product can seem like a complex, hidden process. This uncertainty can be frustrating, especially when production quality and costs are on the line. I’m here to walk you through the entire process, making it simple and clear.
The plastic molding process works by melting plastic pellets and injecting them under high pressure into a custom-made metal mold. Inside the mold, the molten plastic fills a cavity shaped like your part. It then cools and solidifies. Once it’s hard, the mold opens, and the finished plastic part is ejected. This highly repeatable process is the backbone of modern manufacturing, used to create everything from car parts to toy bricks, ensuring consistency and efficiency for mass production.
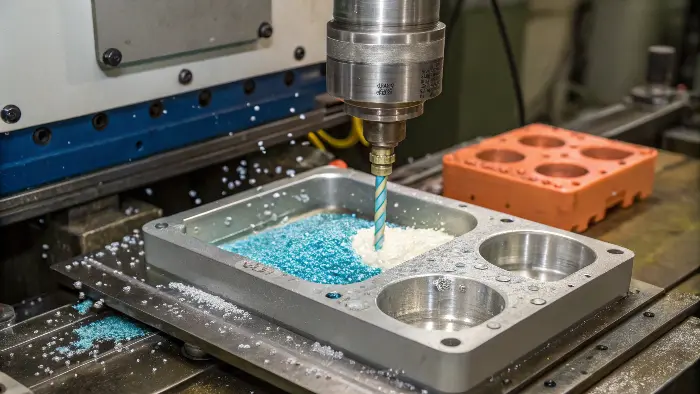
I’ve spent my entire career in this industry, from working on the factory floor to running my own mold company. I’ve seen firsthand how a solid understanding of this core process can transform a good design into a great, profitable product. It’s not as complicated as it looks, and I want to break it down for you. We’ll look at the overall steps, how the machines work, and even explore different types of molding. Let’s dive in and master this together.
What is the process of plastic molding?
Knowing the general idea of plastic molding is one thing, but understanding the full sequence of events is another. It’s easy to feel like you’re missing a step when you think about the journey from a raw design to a finished product. This can lead to costly oversights in planning. I want to give you a clear roadmap, showing every key stage from start to finish.
The plastic molding process is a multi-step journey that begins long before any plastic is melted. It starts with designing the part for manufacturability (DFM), followed by the intricate creation of the mold itself. Next, the right plastic material is selected and prepared. The core manufacturing cycle then begins: clamping the mold, injecting the plastic, cooling the part, and ejecting it. Finally, post-processing steps like trimming or assembly may be required to complete the product.
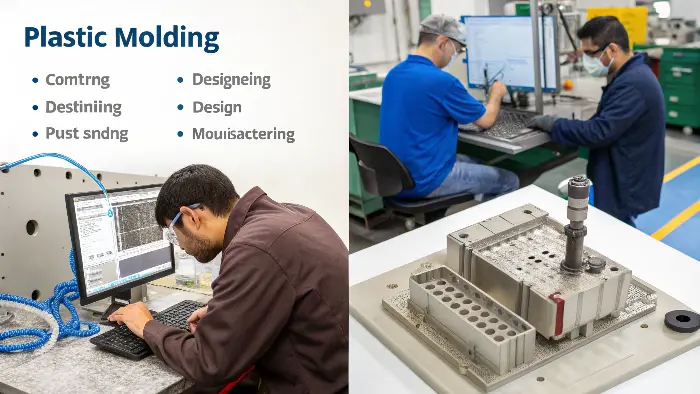
Let’s break down that journey into more detail. I always tell designers like Jacky that the work done before the part is molded is just as important as the molding itself. It’s a chain of events where each link has to be strong.
Step 1: Design and Prototyping
Everything starts with your CAD file. But a great-looking design isn’t always a manufacturable one. This is where Design for Manufacturability (DFM) analysis comes in. We look at things like wall thickness, draft angles, and the placement of ribs or bosses. Getting this right early on prevents huge headaches later. I remember a project where a client insisted on a zero-degree draft angle for a deep pocket. We had to explain that the part would never come out of the mold without getting damaged. A simple one-degree change saved the entire project. After DFM, we often create a prototype, maybe using 3D printing, to test the form and fit.
Step 2: Mold Making
This is where the magic really happens. Based on the final design, a mold, also called a tool or die, is machined from high-strength steel or aluminum. This is a highly skilled process involving CNC machining, EDM (Electrical Discharge Machining), and hand polishing to get the perfect surface finish. The mold isn’t just a simple cavity; it includes cooling channels, ejector pins, and often complex features like sliders or lifters for creating undercuts. The quality of this tool determines the quality of every part it produces.
Step 3: Production
Once the mold is ready and tested, we move to mass production. This involves:
- Material Preparation: Plastic resins, which look like small pellets, are dried to the correct moisture level.
- Machine Setup: The mold is installed in an injection molding machine. The machine parameters—temperature, pressure, injection speed—are carefully set based on the material and part design.
- Molding Cycle: The machine runs automatically, repeating the injection, cooling, and ejection cycle to produce parts.
- Quality Control: Throughout the run, parts are checked to ensure they meet all specifications.
This structured process ensures that every single part, from the first to the ten-thousandth, is virtually identical.
How does a plastic molding machine work?
The injection molding machine is the heart of the factory, but its size and complexity can be intimidating. If you don’t understand how this powerful equipment functions, you can’t truly optimize your part design or troubleshoot production issues effectively. Let’s demystify this machine and look at its core components and how they work together to create your part.
A plastic molding machine has two main parts: the injection unit and the clamping unit. The injection unit acts like a syringe; it melts plastic pellets in a heated barrel and injects the resulting liquid plastic into the mold. The clamping unit is a powerful press that holds the two halves of the mold tightly shut during injection and then opens the mold to release the finished part. These two units work in perfect sync to repeat the molding cycle with precision.
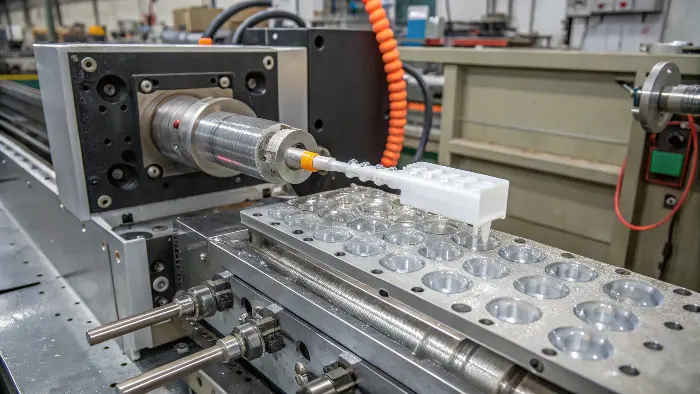
When I first started in the factory, I spent weeks just watching these machines run. Understanding their rhythm is key. Let’s look closer at the two main systems and how they contribute to the process.
The Clamping Unit: The Muscle
The clamping unit is all about force. Its job is to hold the mold closed against the immense pressure of the injected plastic. If it doesn’t, the plastic can seep out, creating a flaw called "flash." The force it can apply is called its tonnage. A small machine might be 50 tons, while a massive one for making car bumpers could be 4,000 tons or more.
- How it works: It uses either a hydraulic piston or a mechanical toggle system to move the "movable platen," one side of the mold, to close against the "stationary platen."
- Why it matters: Choosing a machine with the right tonnage is critical. Too little, and you get flash. Too much, and you’re wasting energy and money on a machine that’s bigger than you need.
The Injection Unit: The Precision
The injection unit is where the plastic is prepared and delivered. It’s a masterpiece of control.
- The Hopper: This is where the raw plastic pellets are loaded.
- The Barrel and Screw: From the hopper, the pellets fall into a heated barrel. Inside the barrel is a large, rotating screw. As the screw turns, it does three things at once: it pushes the pellets forward, it melts them with a combination of heat from the barrel’s heaters and the friction of its own movement, and it mixes them into a consistent, liquid state.
- The Nozzle: Once enough molten plastic is ready at the front of the barrel, the screw stops rotating and acts like a plunger, pushing the plastic at high speed and pressure through a nozzle and into the mold.
Here’s a simple table comparing the main types of machines you’ll encounter:
| Machine Type | How it’s Powered | Best For | Key Advantage |
|---|---|---|---|
| Hydraulic | Hydraulic oil and pumps | Large, heavy parts | High clamping force, durable |
| Electric | Electric servo motors | Small, high-precision parts | Energy efficient, clean, repeatable |
| Hybrid | Combination of electric and hydraulic | General purpose | A good balance of force and efficiency |
Understanding these two systems helps you appreciate that a molding machine isn’t just one thing; it’s a coordinated system of power and precision working together.
What are the three stages of plastic molding?
We’ve talked about the overall process, but what happens inside the machine during each cycle? It’s easy to think of it as just "inject and eject," but the reality is more nuanced. Breaking the cycle down into its core stages helps you understand where quality is controlled and how cycle time can be optimized. Let’s focus on the three critical stages that every single part goes through.
The three fundamental stages of the plastic molding cycle are injection, cooling, and ejection. The injection stage fills the mold cavity with molten plastic. The cooling stage allows the plastic to solidify and take its final shape, and this is typically the longest stage. Finally, the ejection stage is when the mold opens and the finished part is pushed out, completing the cycle and preparing the machine for the next one.
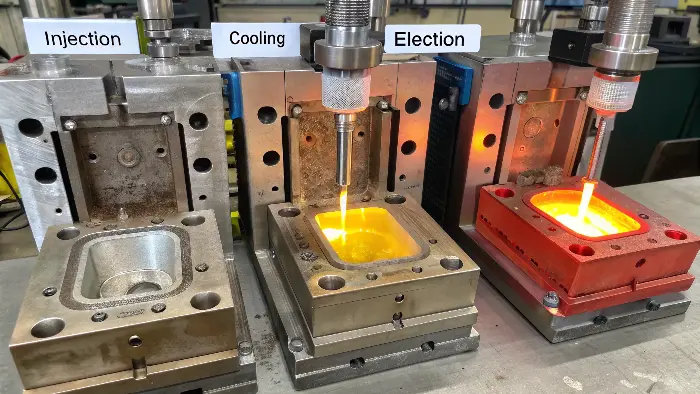
Optimizing these three stages is my obsession. It’s where we make money or lose it. A few seconds saved on the cooling time, multiplied by a million parts, adds up to a huge amount of savings for a client. Let’s look at what happens in each stage.
Stage 1: Injection (Filling and Packing)
This stage is incredibly fast, often lasting just a few seconds. But it’s actually two phases in one.
- Filling: The screw pushes the molten plastic into the mold cavity as quickly as possible to prevent it from freezing prematurely. The speed of this fill is a critical parameter. Too slow, and you get "short shots" where the mold doesn’t fill completely. Too fast, and you can get burn marks or other defects.
- Packing/Holding: As the plastic in the mold starts to cool, it shrinks. To compensate for this, after the cavity is filled, the machine applies a constant, lower pressure called "packing" or "holding" pressure. This pushes a little more plastic into the cavity to make up for the shrinkage, ensuring the part is dense and free of sink marks.
Stage 2: Cooling
This is the waiting game, but it’s where the part’s final properties are locked in. As soon as the plastic touches the cooler walls of the mold, it starts to solidify. The cooling stage is the time from the end of the packing phase until the part is solid enough to be ejected without deforming. This stage often accounts for more than half of the total cycle time. The design of the cooling channels within the mold is paramount. Poor cooling can lead to warped parts and long, inefficient cycles.
Stage 3: Ejection
Once the part is sufficiently cool, the clamping unit opens the mold. Then, a system of pins or plates, known as the ejector system, pushes the part out of the cavity. The part must be designed with slight tapers on its walls, called draft angles, to make this release easy. I once worked on a part with almost no draft. The ejector pins were actually punching holes through the part instead of pushing it out. We had to stop production and modify the mold—a costly lesson in the importance of good design. After ejection, the mold closes, and the entire cycle begins again.
What is the process of blowing plastic mold?
You see them every day: water bottles, milk jugs, shampoo containers. These items are hollow, light, and strong. But they can’t be made with the standard injection molding process we’ve been discussing. So how are these hollow shapes created? This requires a different but related technique that is perfect for making containers. Let’s explore the fascinating process of blow molding.
Blow molding is a manufacturing process for forming hollow plastic parts. It begins by creating a tube-like piece of molten plastic, called a parison. This parison is then clamped inside a two-part mold. Compressed air is blown into the parison, inflating it like a balloon and pushing it against the cold walls of the mold. Once the plastic cools and solidifies into the desired shape, the mold opens and the part is ejected.
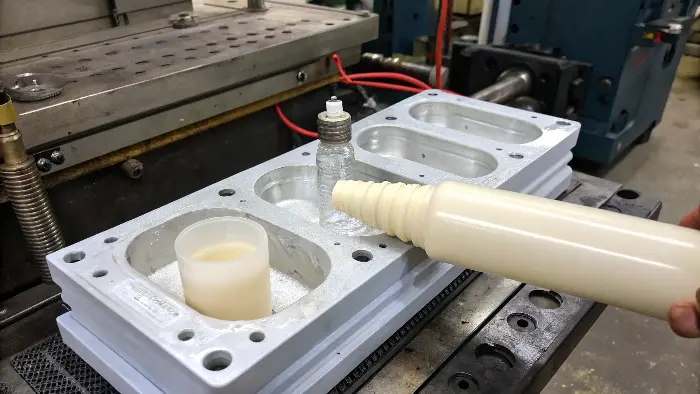
Blow molding is a specialty, but it’s a huge part of the plastics industry. The basic principle is simple—it’s like a high-tech version of glass blowing. However, there are a few different ways to do it, each suited for different products.
Extrusion Blow Molding (EBM)
This is the most common method, especially for things like milk jugs, detergent bottles, and industrial drums.
- How it works: A continuous stream of molten plastic is extruded downwards from a die, forming a hollow tube (the parison). When the parison reaches the right length, the mold closes around it, pinching one end shut. Air is then blown into the open end, inflating the parison to the shape of the mold. The excess plastic, called "flash," is trimmed off after molding.
- Best for: High-volume, low-cost containers.
Injection Blow Molding (IBM)
This method offers more precision and is often used for smaller medical and cosmetic bottles that require high accuracy, especially in the neck and thread area.
- How it works: This is a two-step process. First, a "preform" is created using injection molding. This preform looks like a test tube with the final threads already molded on it. Then, this still-warm preform is transferred to a second station, the blow mold. Air is blown in to expand the preform into the final bottle shape.
- Best for: Small, high-precision bottles with no flash to trim.
Stretch Blow Molding (SBM)
This is a variation of IBM and is the process used to make carbonated drink bottles from PET plastic.
- How it works: An injection-molded preform is made. It is then reheated and stretched in both length (with a rod) and width (with high-pressure air) inside the blow mold. This biaxial stretching aligns and orients the polymer molecules, which dramatically increases the bottle’s strength, clarity, and gas barrier properties. This is why a thin soda bottle can hold so much pressure.
Each method has its place, but they all share the same core idea: using air pressure to shape a hollow plastic form.
Conclusion
As we’ve seen, the plastic molding process is a precise and versatile manufacturing method. It’s a journey that starts with a thoughtful design and a well-crafted mold. Understanding how the machine works and the critical stages of injection, cooling, and ejection gives you the power to create better products. And knowing about specialized techniques like blow molding opens up even more possibilities. I hope this has made the process clearer for you.
