Are you trying to figure out the right number of cavities for your new injection mold? It’s a tough decision. Choosing too few can slow down production and increase costs per part, while choosing too many can lead to a huge upfront investment in a tool that’s too complex. Let’s break down how to find that perfect balance for your project and master your molding.
To determine the number of mold cavities, you must balance your required annual production volume against the total project cost. Key factors include the injection molding machine’s capacity (tonnage, shot size), the part’s complexity and size, and the mold’s manufacturing cost. A higher cavity count increases output but also raises initial tooling investment and requires a larger, more expensive machine. The goal is to find the most cost-effective solution that meets your production targets.
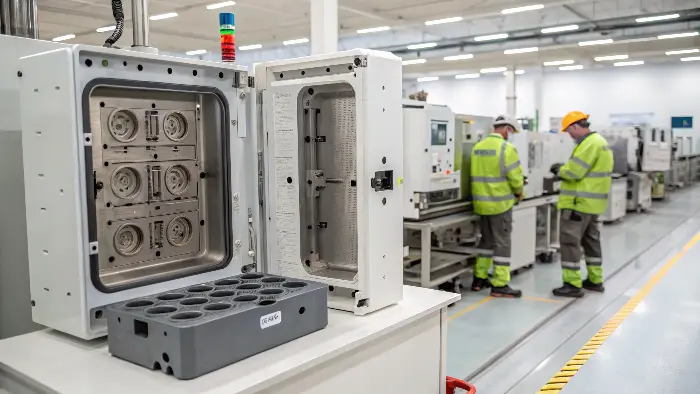
Getting this decision right is one of the most critical steps in planning a new product. I remember a project early in my career where we opted for a high-cavity mold to chase a low per-part price, but we underestimated the complexity. The tool took longer to build and debug, delaying the product launch and eating up all the potential savings. It was a hard lesson. To make sure that doesn’t happen to you, let’s dive deeper into the details, starting with the very basics.
What is the number of cavities in a mold?
You hear "cavity count" thrown around in meetings and on quotes, but what does it actually mean for your part and your budget? Misunderstanding this fundamental concept can lead to real confusion during design reviews and cost negotiations. Let’s clarify exactly what a mold cavity is and why the number you choose is so important for the success of your project.
The number of cavities in a mold refers to the number of identical impressions, or hollow spaces, that create the final parts during a single injection cycle. A single-cavity mold produces one part per cycle, while a multi-cavity mold, like an 8-cavity mold, produces eight parts simultaneously. This number directly impacts production speed, per-part cost, and the initial tooling investment. More cavities mean higher output but also a more complex and expensive mold.
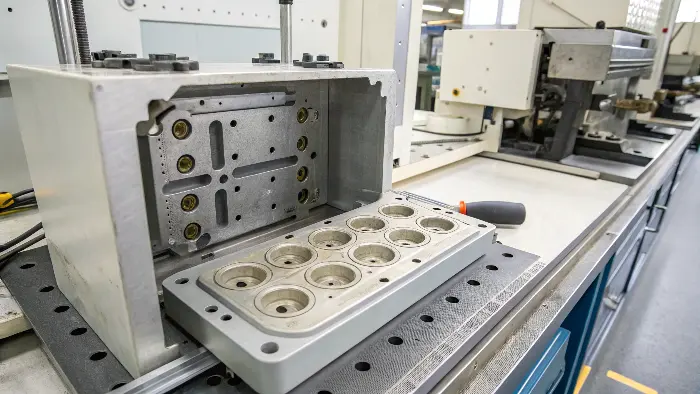
Think of it like a baking tray. A single-cavity mold is like a single, standalone muffin cup. It makes one muffin at a time. It’s simple and cheap to get started. A multi-cavity mold is like a full 12-muffin tray. You produce a dozen muffins in the same amount of time it takes to bake one, which is far more efficient if you’re planning a bake sale. In injection molding, each "muffin cup" is a precisely machined cavity that forms your part. The number of these cavities in a single mold base determines your output per cycle.
Single-Cavity vs. Multi-Cavity Molds
The choice between a single-cavity and a multi-cavity tool depends entirely on your project’s goals. I once worked on a medical device prototype where a single-cavity mold was the perfect choice. It allowed us to get functional parts in hand quickly and affordably. We could test the design, make adjustments, and iterate without a huge financial commitment. Once the design was finalized and we needed to scale up for a market launch, we invested in a 16-cavity mold to meet the high-volume demand. Each tool served its purpose perfectly at different stages of the product lifecycle.
Here’s a simple breakdown to help you compare them:
| Feature | Single-Cavity Mold | Multi-Cavity Mold |
|---|---|---|
| Initial Cost | Lower | Higher |
| Production Speed | Slower | Faster |
| Cost Per Part | Higher | Lower (at high volume) |
| Tool Complexity | Simpler | More Complex |
| Maintenance | Easier and cheaper | More involved and costly |
| Machine Size | Can run on smaller machines | Requires larger machines |
| Best For | Prototypes, low-volume runs | High-volume mass production |
Understanding this fundamental trade-off is the first step. You’re balancing upfront cost against long-term production efficiency.
What is a 2+2 cavity mold?
Have you ever seen a quote that mentions a "1+1" or "2+2 cavity" mold and wondered what that meant? Sometimes these are called "family molds," and not understanding them could mean you’re missing out on a very clever strategy to save both time and money. Let’s demystify this common mold configuration and figure out when it’s the right choice for your components.
A "2+2 cavity mold," often called a family mold, is a type of multi-cavity mold that produces different but related parts within the same tool during a single cycle. For example, it could create two left-hand parts and two right-hand parts of a casing, or a product base and its corresponding lid. This approach is cost-effective for producing assembly components, as it requires only one mold instead of multiple separate ones. However, it demands careful design to ensure balanced filling and consistent quality across the different parts.
Family molds are a fantastic tool in our toolbox, but they aren’t a universal solution. The key is that the parts are a "family"—they belong together in the final assembly. I had a client who was developing a small electronic enclosure. It had a top half and a bottom half. Instead of building two separate molds, which would have been expensive, we designed a 1+1 family mold. This single tool produced one top and one bottom with every shot. It cut their tooling investment nearly in half and ensured they always had a matching set of parts, which simplified their inventory management.
When to Use a Family Mold
The ideal scenario for a family mold is when you have multiple parts for the same assembly that share the same plastic material and have roughly similar sizes or volumes. This makes it easier to manage the flow of plastic into each cavity.
Challenges of Family Molds
The biggest challenge with family molds is balancing the runner system. The runner is the channel that delivers molten plastic to each cavity. If one part is much larger or more complex than the other, the plastic will naturally want to fill the easier path first. This can lead to uneven filling, causing defects like short shots (incomplete parts) in one cavity and flash (excess plastic) in another. We spent a lot of time using mold flow simulation software on that enclosure project to ensure the runners were perfectly balanced. That extra design work upfront was critical to the mold’s success.
Here’s a look at the pros and cons:
| Aspect | Pros of Family Molds | Cons of Family Molds |
|---|---|---|
| Cost | Lower initial tooling cost (one mold vs. many). | Higher design and balancing complexity. |
| Efficiency | Produces a complete assembly set in one cycle. | Difficult to balance filling for different parts. |
| Inventory | Matched quantities of parts, simplifying inventory. | A defect in one cavity can affect the whole shot. |
| Material | Perfect for parts made of the same plastic. | Not suitable for parts requiring different materials. |
A family mold can be a brilliant cost-saver, but it requires more engineering expertise to get right.
How do you calculate the optimal number of cavities?
You need to decide on a cavity count for your mold, but it feels like you’re just guessing. This is a high-stakes decision. If you guess wrong, you either overspend on a complex tool you don’t truly need or you build a tool that can’t keep up with your production demand, creating a bottleneck. Let’s walk through the key factors so you can calculate the best number for your project.
To calculate the optimal number of cavities, you must perform a cost-benefit analysis. Start with your total required production quantity and project timeline. Then, evaluate the trade-offs between a higher initial mold cost (for more cavities) and a lower per-part molding price. Consider the constraints of available injection molding machines, specifically their shot size and clamping force (tonnage). The goal is to find the "economic number of cavities" where the total cost (tooling + production) is minimized over the project’s life.
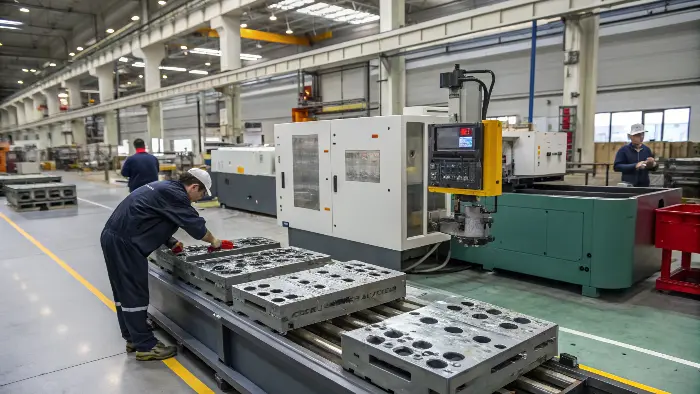
This isn’t about finding the absolute cheapest mold or the absolute cheapest part price. It’s about finding the lowest total cost for the number of parts you need to produce. I call this finding the "economic sweet spot." It requires a little bit of math, but it’s worth the effort. You need to look at the entire picture, not just one piece of it.
Key Calculation Inputs
To do this analysis, you need a few key pieces of information:
- Total Production Volume: How many parts do you need over the product’s lifetime (or annually)?
- Mold Cost: Get quotes for molds with different cavity counts (e.g., 1, 2, 4, 8 cavities). The cost will go up with each step.
- Part Price: Get quotes for the molding price per part for each cavity option. As the cavity count goes up, the price per part will go down because you’re making more parts per hour.
- Machine Hour Rate: The cost to run the injection molding machine. Larger machines needed for multi-cavity molds have a higher hourly rate.
Finding the Economic Number of Cavities
Let’s run through a simplified example. Imagine you need to produce 500,000 parts. You get the following quotes:
| Number of Cavities | Mold Cost | Cycle Time (s) | Parts per Hour | Molding Cost per Part | Total Cost for 500,000 Parts (Mold + Molding) |
|---|---|---|---|---|---|
| 1 | $15,000 | 25 | 144 | $0.20 | $15,000 + (500,000 * $0.20) = $115,000 |
| 2 | $25,000 | 28 | 257 | $0.12 | $25,000 + (500,000 * $0.12) = $85,000 |
| 4 | $40,000 | 30 | 480 | $0.07 | $40,000 + (500,000 * $0.07) = $75,000 |
| 8 | $70,000 | 35 | 822 | $0.04 | $70,000 + (500,000 * $0.04) = $90,000 |
In this scenario, the 4-cavity mold is the winner. It provides the lowest total cost to produce the 500,000 parts. The 8-cavity mold has a cheaper part price, but its high initial tooling cost makes it more expensive overall for this specific volume. If the production volume were 5 million parts, the 8-cavity mold would likely become the more economical choice. This is the analysis that moves you from guessing to making an informed, data-driven decision.
How do you calculate mold tonnage?
You’ve done the economic analysis and decided on the perfect number of cavities. Great! But there’s one more crucial step: will the mold actually fit and run in the available injection molding machines? Designing a mold that’s too big for the press is a classic, costly mistake. Let’s cover the essential calculation for mold tonnage to ensure your tool and machine are a perfect match.
To calculate the required mold tonnage (clamping force), you first determine the projected area of all parts and the runner system in a single shot (in square inches or cm²). Then, you multiply this total projected area by a material-specific pressure factor, which typically ranges from 2 to 8 tons per square inch. For example, a part with a 50 sq. inch projected area using a material with a factor of 3 would require at least 150 tons of clamping force. Always add a safety margin of 10-15%.
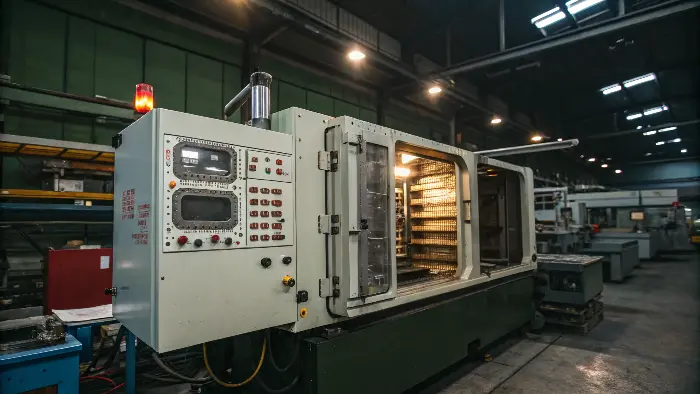
Clamping tonnage is the force the injection molding machine uses to hold the two halves of the mold shut during the injection process. Think of it as a giant vise. When molten plastic is injected under thousands of PSI of pressure, it creates an immense force that tries to push the mold halves apart. If the clamp force is too low, the mold will flash, creating a mess and defective parts. If it’s too high, you can damage the mold or waste energy using an oversized machine.
The Tonnage Calculation Formula
The basic formula is straightforward:
Clamping Force (Tons) = Part Projected Area (in²) x Material Factor (tons/in²)
Let’s break that down. The Projected Area is the 2D "shadow" of your parts and the runner system as viewed from the direction of the clamp. It’s the total surface area that the injection pressure will be pushing against. For a multi-cavity mold, you must add up the projected area of all the cavities plus the area of the runner that feeds them.
Material Pressure Factors
Different plastics flow differently. Low-viscosity (runny) plastics like Polypropylene require less pressure, while high-viscosity (stiff) plastics like Polycarbonate require much more. This is captured in the material factor.
Here’s a table of some common materials and their typical factors:
| Plastic Material | Viscosity | Typical Pressure Factor (tons/in²) |
|---|---|---|
| Polystyrene (PS) | Low | 2 – 3 |
| Polypropylene (PP) | Low | 2 – 3 |
| Polyethylene (PE) | Low | 2 – 4 |
| ABS | Medium | 3 – 5 |
| Polycarbonate (PC) | High | 5 – 8 |
| Nylon (PA) | High | 5 – 8 |
Let’s walk through a full example. We’re using our 4-cavity mold from before. Each part has a projected area of 8 square inches. The runner system has a projected area of 6 square inches. The material is ABS.
- Total Projected Area: (4 cavities * 8 in²/cavity) + 6 in² (runner) = 32 in² + 6 in² = 38 in²
- Find Material Factor: From the table, ABS has a factor of around 4 tons/in².
- Calculate Tonnage: 38 in² * 4 tons/in² = 152 tons.
- Add Safety Margin: I always add at least 10%. 152 tons * 1.10 = 167.2 tons.
This means I would need a machine with at least 168 tons of clamping force. I would likely specify a 180-ton or 200-ton press to be safe. This calculation ensures the mold you designed can actually be run effectively.
Conclusion
Determining the right number of mold cavities is a critical financial and logistical decision. It’s not just about making parts; it’s about making them profitably and on schedule. By balancing your production volume against tooling costs and ensuring your design matches machine capabilities, you can move from guesswork to a calculated, strategic choice. This analysis is the key to finding that sweet spot that makes your project a success.
