Injection molding is a broad term used for one of the most important processes in the manufacturing industry. It’s a process where a mold, typically metal with a cavity in its shape that is similar to the part in question, is used. Plastic is melted and forced into the mold and pushed back out. The process is repeated to produce thousands of identical parts. It’s safe to say that all high-volume plastic parts in the marketplace have come from an injection molding machine because the benefits of production with injection molding are numerous. These benefits are low cost per-part, short cycle time, wide selection of materials, and compatible, in-tolerance parts.
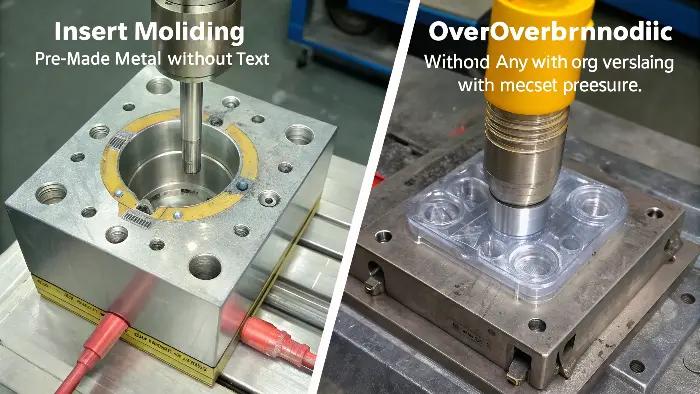
There are many sub-processes that add additional functions to the already diversified technology. Understanding these basic definitions is a great first step. But there is more to learn if you want to really use these methods well. We need to look closer at each one.
Insert molding vs. overmolding and their advantages, key differences, and applications will be explained in this article. This will help you about choosing the right method for what you need. Let’s explore them together.
What Exactly is Insert Molding and How Does It Work?
Have you ever looked at a plastic part with metal threads or electrical pins perfectly embedded in it and wondered how it’s made? This is often done using insert molding. If you don’t understand this process, you might miss a chance to make strong, multi-functional parts in a smart way.
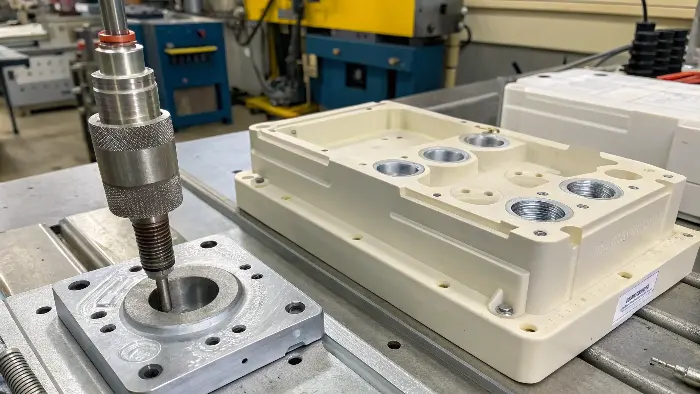
Insert molding is a manufacturing technique where a pre-formed component, known as an insert, is placed into a mold cavity. This insert is often metal, but it can also be ceramic or another type of plastic. Molten plastic is then injected into the mold, flowing around and encapsulating the insert to create a single, integrated piece.
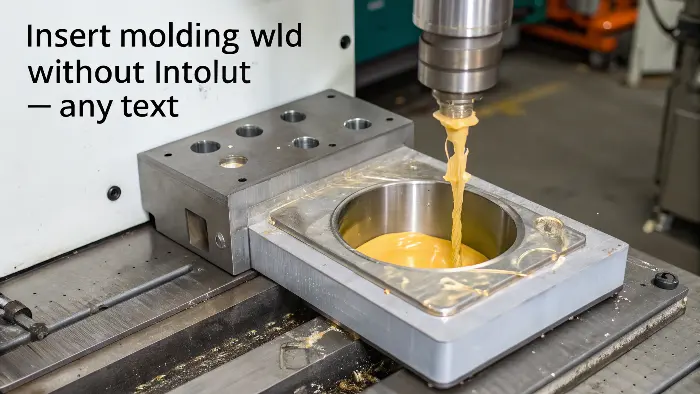
Let’s dive deeper into how insert molding works.
The process usually follows these steps:
- Insert Preparation: First, the inserts are made ready. This might mean cleaning them or even pre-heating them.
- Insert Placement: Next, an operator or a robot carefully places the insert into the mold.
- Mold Closing: The mold then closes, holding the insert securely in place.
- Plastic Injection: Hot, liquid plastic is injected into the mold. It flows around the insert.
- Cooling and Solidification: The plastic cools down and becomes solid.
- Part Ejection: Finally, the mold opens, and the finished part, with the insert now part of it, is taken out.
Common materials for inserts include brass, steel, stainless steel, and aluminum. Sometimes, ceramics or even other robust plastics are used. I remember a client I worked with. They were making a small electronic device. They struggled with attaching tiny metal connectors to the plastic case. It took a lot of time and sometimes the connection wasn’t strong. We suggested using insert molding. We molded the plastic case directly around the metal connectors. This change cut their assembly time way down. And the product became much more reliable. It showed me how powerful a good understanding of insert molding can be.
Key Aspects of Insert Molding
| Aspect | Description |
|---|---|
| Core Principle | Molten plastic is molded around a pre-placed insert. |
| Common Insert Materials | Metals (brass, steel, aluminum), ceramics, some plastics. |
| Plastic Injection | Typically involves a single shot of plastic material. |
| Main Benefits | Enhances part strength, integrates different material properties, reduces assembly steps and costs. |
| Typical Applications | Threaded fasteners, electrical contacts, bushings, custom connectors. |
Advantages of Insert Molding
Because of its benefits, insert molding has many uses. Here are some justifications for thinking about the process for your project.
- Insert molding is suitable for creating strong and reusable connections.
- It is cost-effective.
- It creates thousands of parts per day. The cost of the individual components can be considerably decreased by such economies of scale.
- helpful in producing thin-walled, untappable cases.
- It is no longer necessary to assemble parts.
- increases the performance of the part by enhancing the combination of metal and plastic components.
- Ideal for creating products that are dust, moisture, vibration, and pull-out resistant.
Insert molding Disadvantages
This possess has certain serious drawbacks:
Multiple Manufacturing Processes:
It typically entails a two-step process with specialty metal inserts being manufactured through costly processes like CNC cutting, die casting, or metal injection molding. This has per-part costs higher than fully injection-molded plastic parts.
Increased complexity of parts:
A deeper knowledge of metal and plastic processes design for manufacturability (DFM) rules is needed for special metal inserts, and therefore integration into a single, functional part is more difficult.
So, How Does Insert Molding Differ From Overmolding in Practice?
Knowing the basic definitions of insert molding and overmolding is a good start. But how are they really different when you’re making parts? If you choose the wrong one, you might end up with designs that don’t work well or cost too much. Let’s make these differences clear.
The main difference is that insert molding involves molding plastic around a separate, pre-existing insert, like a metal pin or a threaded bush. Overmolding, however, typically means molding one material (often a soft, flexible plastic) onto another previously formed part or substrate. This substrate itself could be a rigid plastic or even a metal component.
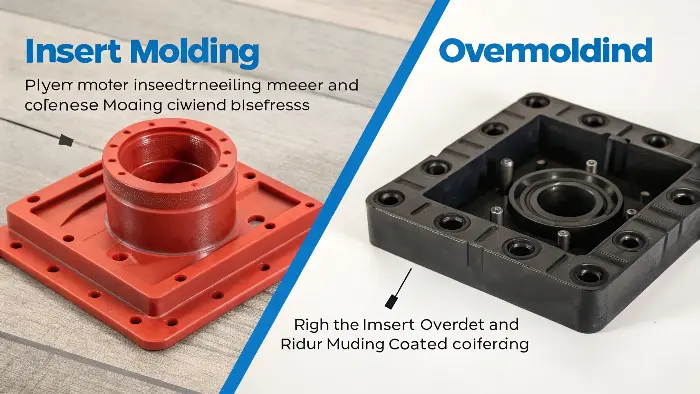
Let’s look closer at these differences.
The key is the sequence and the nature of the parts involved.
In insert molding, the insert is a distinct component that is placed into the mold before the plastic is injected. The plastic then surrounds this insert. Think of it like putting a cherry inside a cake before baking. The insert is often made of a different material, like metal, to add strength or a specific function. My insight about insert molding is that it uses one shot of molten plastic, but you do need to get or make the metal inserts separately. This is a crucial point for planning.
In overmolding, you usually start with a base part, called a substrate. This substrate could have been molded in an earlier step, or it could be a machined metal part. Then, a second material is molded over or onto specific areas of this substrate. This is like adding frosting onto a baked cake. My insight about overmolding sometimes involving two material injections is relevant here. If the substrate is plastic and molded first, that’s one injection. Then the overmold material is a second injection.
Comparing Insert Molding and Overmolding
| Feature | Insert Molding | Overmolding |
|---|---|---|
| Core Concept | Plastic is molded around a pre-placed, often non-plastic, insert. | A second material is molded onto an existing substrate (which can be plastic or metal). |
| Insert/Substrate | A separate component (e.g., metal pin, ceramic piece) placed in the mold. | An existing part, which could be a previously molded plastic item or a metal component. |
| Bonding Mechanism | Primarily mechanical interlock; sometimes chemical bonding if materials are compatible. | Often relies on chemical bonding between compatible materials; mechanical interlocks can also be designed. |
| Typical Use Cases | Adding strong threads, electrical contacts, bearings, or structural reinforcement. | Creating soft grips, seals, multi-color aesthetics, shock absorption, or vibration damping. |
| Process Steps | 1. Place insert. 2. Inject plastic. | 1. Create/place substrate. 2. Inject overmold material. |
I’ve seen projects where the lines can seem a bit blurry. For example, if you mold a soft plastic grip onto a metal tool handle, the metal handle acts like a substrate for overmolding. But you could also see the metal handle as a large insert. The important thing is to understand what you want to achieve. Are you embedding a small functional component (insert molding) or adding a surface layer for feel or function (overmolding)?
Is Overmolding the Same as Two-Shot Molding, or Are They Different Beasts?
You might hear people use "overmolding" and "two-shot molding" as if they mean the same thing. This can be quite confusing! They are related, but they are not always identical. Knowing the difference can really affect your manufacturing choices and costs.
Two-shot molding (also called dual-shot or multi-shot molding) is a specific type of overmolding. In two-shot molding, two different plastic materials are injected into the same mold during a single machine cycle. This often uses a special mold that can rotate or shift. General overmolding can also be done by molding over a part that was made in a completely separate process or machine.
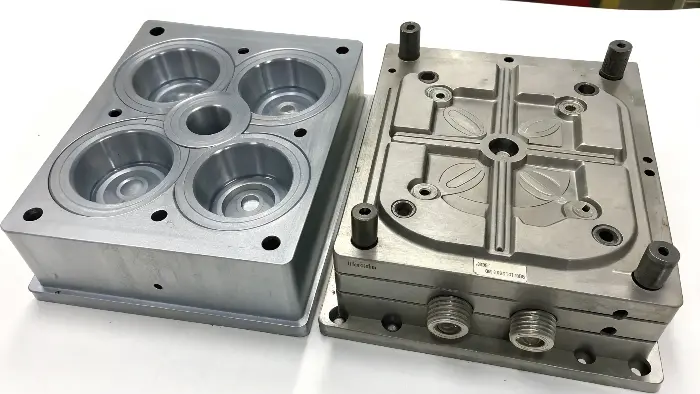
Let’s explore this further.
Two-shot molding is a very efficient process, especially for making many parts.
- It happens in one machine. The first material is injected to make the substrate. Then, the mold changes position (often by rotating), and the second material is injected over the first one.
- This needs special, complex injection molding machines and molds. These can be expensive to set up.
- If the two plastic materials are chosen carefully, they can form a very strong chemical bond.
- A common example is a toothbrush handle. The main body might be a hard plastic, and the grip area is a softer plastic. Two-shot molding can make these in one go.
Other overmolding methods are sometimes called sequential overmolding.
- Here, the substrate (the base part) is molded first. This might happen in one machine, and then the parts are moved.
- The substrate is then placed into a different mold (or a different cavity in a more complex mold system).
- The second material is then injected over this substrate.
- This method can be more flexible if you are making fewer parts, or if the two materials are very different and need separate processing conditions. It can also be used if the substrate is not plastic, for example, a metal part.
In my experience, choosing between them often comes down to volume and complexity. I worked on a project for a power tool. The client wanted a strong plastic body with a soft, comfortable grip. For the first prototypes and small production runs, we used sequential overmolding. We molded the hard plastic bodies, then manually placed them into another mold to add the soft grip. When they needed to produce many thousands, investing in a two-shot mold made more sense. It reduced the cost per part and sped up production a lot. It’s all about finding the right fit for the job.
Overmolding: General vs. Two-Shot
| Feature | General Overmolding (Sequential) | Two-Shot Molding |
|---|---|---|
| Process Cycle | It can involve multiple machines or separate molding cycles. | Both materials are injected in a single, integrated machine cycle. |
| Mold Complexity | We can use simpler molds for each step if done separately. | Requires highly complex molds, often with rotating or sliding sections. |
| Labor/Handling | May need manual or robotic transfer of the substrate to the next step. | Fully automated within the machine once set up. |
| Volume Suitability | Good for lower to medium volumes, or when materials are very different. | Best for high-volume production due to higher initial mold costs. |
| Relationship | Two-shot molding is one advanced method to achieve an overmolded part. | A specific, highly integrated overmolding technique using one machine. |
So, two-shot molding is a very efficient way to do overmolding for plastic-on-plastic parts, but overmolding is the broader concept of molding one material over another.
What Are the Signs That My Part Needs Insert Molding or Overmolding?
Now that you have a better idea of what insert molding and overmolding are, the big question is: which one should you choose for your specific part? Early decision-making in the design process can save you a great deal of time and money.
If your primary objective is to incorporate a distinct, frequently non-plastic component (such as a metal thread, electrical pin, or bearing) into a plastic part, insert molding is usually the best option. This is usually for strength, conductivity, or to provide a specific mechanical function. Opt for overmolding when you need to add a layer of a different material (often a softer plastic) onto an existing part (the substrate) to provide features like a soft grip, a seal, a different color, or shock absorption.
Let’s break down the decision process. As a product and mold designer like Jacky, you need to think about several things:
-
What is the main function you need?
- If you require electrical contacts embedded in plastic or sturdy metal threads for screws, insert molding is probably the solution. For example, putting brass threaded inserts into a plastic electronics enclosure.
- If you need a soft, comfortable grip on a handle, a waterproof seal between two parts, or a colorful, shock-absorbing bumper, then overmolding is probably the way to go. Think of a power drill handle with a rubbery grip.
-
What materials are you working with?
- If you are combining plastic with a distinctly different material like metal or ceramic, it’s often insert molding.
- If you are combining two different types or colors of plastic (for example, a rigid plastic like ABS with a flexible plastic like TPE), then it’s overmolding.
-
Are you trying to reduce assembly steps?
- Insert molding is great for this. Instead of manually screwing in an insert later, you mold it directly into the part. This saves time and labor.
- Overmolding, especially two-shot molding, can also reduce assembly by creating a multi-material part in one go, instead of making two separate parts and then joining them.
-
What are the cost implications?
- For insert molding, you have the cost of the inserts themselves, plus the process of placing them in the mold.
- The cost of the additional molding step and the second material are associated with overmolding. The cost per part can be low at high volumes if you opt for two-shot molding, but the molds are very costly and complicated.
I always tell my clients at CKMOLD to think about the end-user and the product’s purpose first. What problem does this feature solve? For instance, I worked with a company making high-end kitchen tools. They wanted their knife handles to be extremely comfortable and non-slip. It was ideal for overmolding a grippy, soft substance onto a sturdy plastic core. Another customer that manufactures industrial sensors required extremely durable mounting points. We used insert molding to embed stainless steel threaded inserts into the sensor housing. This made the sensors easy to install and very durable.
Quick Guide: Insert Molding or Overmolding?
| Consideration | Favors Insert Molding | Favors Overmolding |
|---|---|---|
| Added Component | Discrete part (e.g., metal screw, pin, bushing). | A layer or section of a different material (e.g., soft plastic grip). |
| Primary Goal | Add strength, conductivity, wear resistance, fastening points. | Add soft touch, grip, sealing, color contrast, shock absorption. |
| Material Combination | Typically plastic molded around metal or ceramic. | Often plastic molded onto another plastic; can also be plastic onto metal. |
| Assembly Impact | Significantly reduces assembly by integrating components. | Can reduce assembly, especially with two-shot molding for multi-material parts. |
| Substrate Nature | The insert itself is the "foreign" body. | An existing part (the substrate) gets covered or enhanced. |
A complicated section may occasionally even employ both strategies! The key is to understand what each process offers.
Conclusion
Both overmolding and insert molding are excellent techniques for creating intricate and useful plastic components. I hope by explaining the key differences in how they work, the materials they use, and where they are best applied, I’ve helped you. Knowing this helps you choose the best method. This knowledge lets you make your designs better and more cost-effective.
