Creating parts with both rigid strength and a soft-touch feel can be a real headache. Separate components mean assembly issues and more chances for things to break. I know this frustration well.
Mastering TPU overmolding involves selecting compatible materials, designing molds for strong bonding, and precisely controlling injection parameters like temperature and pressure for top-quality, durable parts.
TPU overmolding is a fantastic process. It lets us combine a hard, structural material with a soft, flexible TPU layer. Think of a power tool handle with a firm core and a comfortable, grippy exterior – that’s often TPU overmolding. My insight, based on years of helping clients like Jacky, is that success here comes down to getting three things right: the materials you choose, how you design the part and mold, and how carefully you control the actual molding process. It’s about making two different materials live happily together as one.
What Process Parameters Are Key for Successful TPU Overmolding?
Are you frustrated with TPU overmolded parts that delaminate or just don’t stick well? Incorrect process settings are a very common reason. I’ve seen this issue pop up many times.
Key process parameters for TPU overmolding include precise melt and mold temperatures for both substrate and TPU, along with controlled injection speed, pressure, and cooling time to ensure strong adhesion.
| Getting the process parameters right is absolutely critical for TPU overmolding. It’s not just about filling the mold; it’s about creating a strong, lasting bond between the TPU and the substrate material. I always tell my clients that we need to think about both molding stages. First, the substrate part must be molded correctly. Then, when we overmold the TPU, several parameters need careful attention. The melt temperature of the TPU is vital. Too cold, and it won’t flow well or bond properly. Too hot, and you risk degrading the TPU or even damaging the substrate. Mold temperature, especially at the interface where the TPU meets the substrate, also plays a big role. A warm substrate can significantly improve adhesion. Injection speed and pressure for the TPU need to be set to fill the part completely without causing flash or degrading the material due to excessive shear. Holding pressure helps pack the TPU properly and minimize any voids, especially at the bond line. Finally, adequate cooling time allows the bond to solidify and strengthen. And don’t forget, TPU is hygroscopic, so proper drying before molding is a non-negotiable first step to prevent defects. |
Parameter | Typical Consideration for TPU Overmolding | Impact if Incorrect |
|---|---|---|---|
| Substrate Temp. | Often pre-heated or molded to retain heat for better TPU adhesion. | Too cold: poor adhesion. Too hot: substrate deformation. | |
| TPU Melt Temp. | Specific to TPU grade, generally moderate to high. | Too low: poor flow, weak bond. Too high: degradation. | |
| Mold Temperature | Controlled to optimize TPU flow and adhesion, often warmer. | Affects cooling, shrinkage, and bond strength. | |
| Injection Speed | Moderate, to avoid shear degradation but ensure complete fill. | Too fast: shear, flash. Too slow: short shot, poor weld. | |
| Holding Pressure | Sufficient to pack out, prevent voids. | Too low: sinks, voids. Too high: flash, stress. | |
| Cooling Time | Adequate for bond solidification and part stability. | Too short: weak bond, warpage. |
I’ve helped many clients fine-tune these parameters. It often takes a few trials, but paying close attention here makes all the difference between a failed part and a successful, durable product.
What Materials Are Used in Overmolding?
Are you choosing material pairs for overmolding that just don’t want to stick together? This is a classic mistake that leads to weak bonds and parts that fail. I can help you avoid this.
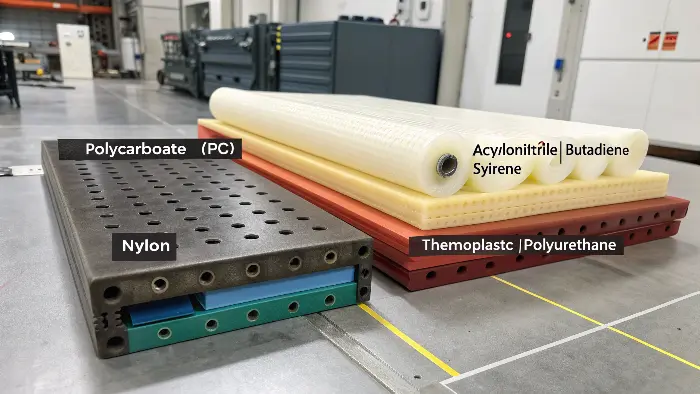
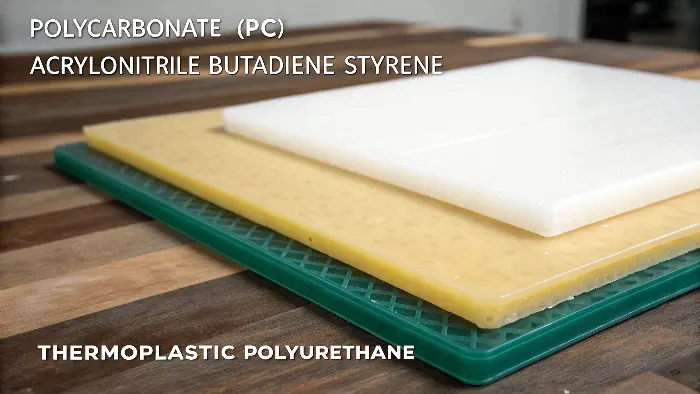
Overmolding typically uses a rigid substrate like PC, ABS, or Nylon, with a softer overmold material like TPU. Crucially, these materials must be compatible for good chemical bonding, or the design needs mechanical interlocks.
 Selecting the right combination of materials is perhaps the most fundamental step in successful TPU overmolding. My insight is that you need to think about adhesion from the very start. Will the TPU stick to the substrate chemically, or do we need to design in features to hold them together mechanically? For the substrate, common choices are rigid plastics. Polycarbonate (PC) is popular for its strength and clarity. ABS is another common one, often used for consumer products. Nylons (like PA6 or PA66) are great for toughness and chemical resistance. Polypropylene (PP) can be used, but bonding TPU to PP chemically can be tricky, often requiring special PP grades or surface treatments. The substrate material’s melt temperature and surface energy are key factors to consider for compatibility with the TPU. For the overmold material, TPU is excellent due to its abrasion resistance, good feel, and wide range of hardness. There are different types of TPU, mainly polyester-based and polyether-based. Polyester TPUs generally offer better adhesion to polar substrates like PC and ABS. Polyether TPUs provide better hydrolysis resistance and low-temperature flexibility. Achieving a strong bond relies on either chemical adhesion (where the materials fuse at a molecular level) or mechanical interlocking (where the TPU flows into designed undercuts, holes, or around features on the substrate). Often, a combination of both is best. |
Substrate Material | Compatible TPU Type(s) Example | Adhesion Notes |
|---|---|---|---|
| PC (Polycarbonate) | Polyester TPU | Good chemical adhesion possible. | |
| ABS | Polyester TPU | Good chemical adhesion generally. | |
| PC/ABS Blends | Polyester TPU | Often good adhesion, inherits properties from both PC and ABS. | |
| Nylon (PA6, PA66) | Specific TPU grades; Ester/Ether | Can be challenging; some specialized TPUs bond well. Mechanical interlocks often advised. | |
| PP (Polypropylene) | Specialized adhesion-modified TPUs or Polyolefin-based TPEs | Difficult chemical bond. Mechanical interlocks are usually essential. Surface treatment might help. |
I always recommend consulting material supplier datasheets and conducting adhesion tests with your specific material grades. It’s an investment upfront that saves a lot of trouble later.
How Do You Optimize Injection Molding Parameters for TPU Overmolding?
Are your TPU overmolded parts still showing issues like peeling or gaps, even with the right materials? Optimizing the injection molding process is the next vital step. I’ve guided many clients through this refinement.
Optimizing TPU overmolding involves systematically adjusting melt/mold temperatures, injection/holding pressures, and speeds. The goal is achieving ideal material flow, strong adhesion, and good part aesthetics without degrading either material.

Once you’ve chosen compatible materials and have a solid part design, the journey to perfect TPU overmolded parts moves to the molding machine. Optimization isn’t just about tweaking a single setting; it’s about understanding how different parameters interact, especially at the interface between the substrate and the TPU. My approach is always systematic.
I usually start with the recommendations from the TPU material supplier – they provide a good baseline. Then, the key is to focus on achieving a good melt state for the TPU as it contacts the substrate. If the substrate is too cold, or the TPU melt temperature is too low, you won’t get good molecular entanglement for chemical adhesion. Sometimes, we even consider pre-heating the substrate slightly before the TPU overmolding shot, if the machine setup allows, or by minimizing time between shots in a two-shot process.
The optimization process often looks like this:
- Ensure proper drying of the TPU. This is step zero.
- Set initial temperatures (melt, mold) based on datasheets.
- Adjust injection speed and pressure for the TPU. You want to fill the cavity smoothly and completely without causing excessive shear, which can degrade the TPU or flash the mold. I look for a good balance.
- Fine-tune holding pressure and time. This is critical for good packing near the interface and minimizing any tendency for the TPU to pull away from the substrate during cooling.
- Monitor cooling time. It needs to be sufficient for the bond to develop strength.
I often tell stories of projects where we methodically adjusted one parameter at a time, observing the effect on adhesion (using simple peel tests initially) and part appearance. For instance, slightly increasing the TPU melt temperature or the mold temperature on the substrate side often dramatically improves the bond. It’s an iterative process, but well worth the effort.What Are the Design Considerations for Overmolding?
Are you experiencing failures in your overmolded parts, like the TPU peeling off, even when you think you’ve got the materials and process right? The design of the part itself might be the underlying problem. I’ve seen this many times.
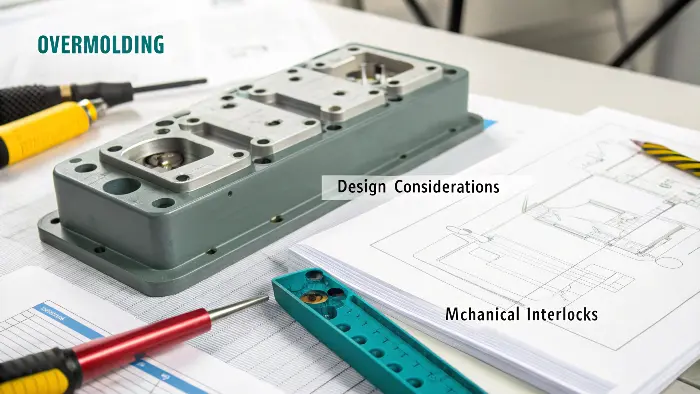
Key design considerations for overmolding include ensuring adequate wall thickness for both materials, incorporating mechanical interlocks for stronger adhesion, and designing for smooth material flow and proper venting, especially at the interface.
 A successful TPU overmolded part begins on the drawing board, or more accurately, in the CAD software. My insight here is that the design must actively support the bonding process, whether it’s chemical or mechanical. For the substrate part, you need to think about how the TPU will interact with it. If you’re relying on or want to enhance mechanical bonding, design features like grooves, undercuts, or through-holes that the TPU can flow into and lock itself. These features should be robust enough not to break. The substrate also needs sufficient structural integrity to withstand the pressure of the TPU injection without distorting. Uniform wall thickness is good practice here too. For the TPU layer, consider its thickness. Too thin, and it might not fill properly or provide the desired soft feel. Too thick, and you might increase cycle time or material cost unnecessarily. A common range I see is 1.5mm to 3mm, but it’s application-dependent. The transition from the TPU to the substrate is also important. Avoid feather edges for the TPU if possible, as these can be prone to peeling. A defined step or groove for the TPU to sit in is usually better. Also, avoid sharp internal corners in the TPU design, as these can be stress concentrators. From a mold design perspective for overmolding, if it’s a two-shot process, ensuring precise alignment of the substrate in the second cavity (for the TPU shot) is critical. Venting is also crucial, especially at the areas where the TPU meets the substrate and at the end of fill for the TPU. Trapped air can prevent proper bonding and cause defects. |
Design Feature | Purpose in Overmolding | TPU Specific Tip |
|---|---|---|---|
| Mechanical Interlocks | Enhance bond strength, especially with less compatible materials. | Grooves, holes, or textured surfaces on the substrate. Make them easy for TPU to fill. | |
| Substrate Wall Thickness | Provide structural support, withstand TPU injection. | Keep it reasonably uniform; avoid very thin sections near TPU flow. | |
| TPU Layer Thickness | Ensure functionality, feel, and complete fill. | Typically 1mm min. Avoid feather edges; aim for a defined thickness. | |
| Transition Areas | Manage stress, prevent peeling at TPU/substrate boundary. | Use steps or grooves for TPU termination. Generous radii on TPU edges. | |
| Gate Location (for TPU) | Promote adhesion, avoid defects like jetting or weld lines. | Gate to push TPU onto/into substrate features. Avoid gating on critical cosmetic areas. | |
| Venting | Allow air to escape from TPU cavity and interface. | Crucial at the end of fill and where TPU meets substrate to prevent air traps. |
Thinking about these design aspects early on will save a lot of headaches during production. I always work closely with designers like Jacky to ensure these details are covered.
Conclusion
Mastering TPU overmolding hinges on understanding material compatibility, thoughtful part and mold design, and precise control over process parameters. This approach creates superior, integrated components with enhanced durability and feel.
