Struggling with ABS part defects? Poor mold design might be the culprit. Discover crucial considerations for successful ABS molding.
Key considerations for ABS injection molds include proper gate design for flow, optimized runner systems to reduce waste, efficient cooling channels for cycle time, and effective ejection to prevent part damage.
Designing molds for ABS plastic requires careful thought. I’ve learned that if you get these elements wrong, you’ll face a host of problems. It’s not just about making a cavity; it’s about making it work efficiently. Let’s explore how to master each critical aspect of ABS mold design. Getting these right from the start saves a lot of headaches down the line.
Why Are Specific ABS Material Properties Crucial for Mold Design?
ABS parts warping or shrinking unpredictably? Its unique properties demand special attention. I believe understanding these is key to avoiding costly molding mistakes.
ABS has moderate shrinkage, good flow properties, and needs specific processing temperatures. These directly impact gate sizing, runner layout, cooling time, and even the ejection mechanism chosen for the mold.
ABS, or Acrylonitrile Butadiene Styrene, is a very common thermoplastic. I’ve used it in countless projects. It’s popular because it’s tough and resists impacts well. But, it also has specific characteristics that directly influence how we design molds. I remember one early project where we were using a general-purpose ABS grade. We didn’t double-check its specific shrinkage rate. The parts came out slightly too small. It was a tough lesson, as we had to adjust the steel, which cost us time and money.
Let’s look at some key ABS properties that affect mold design:
- Shrinkage: ABS usually shrinks between 0.4% and 0.7%. This might seem small. But it’s a critical number. You must build this shrinkage into the mold cavity dimensions. If you don’t, your final parts won’t meet the specifications.
- Melt Flow Rate (MFR): Different grades of ABS flow differently. This is indicated by the MFR. A higher MFR means the plastic flows more easily. This information helps decide the gate size and how the runner system should be designed.
- Processing Temperature: ABS has a fairly wide temperature range for processing. However, keeping the temperature consistent is very important. It affects how viscous the plastic is, how much it shrinks, and the final surface finish of the part.
- Moisture Absorption: ABS is hygroscopic. This means it absorbs moisture from the air. You must dry ABS pellets properly before molding. If you mold wet ABS, you can get splay marks on the part surface, or the parts might be weaker. I always insist on proper drying protocols in any facility I work with.
Understanding these basic properties is the first step. It helps you make smart choices as you design the entire mold.How Does Gate Design Impact ABS Part Quality?
Seeing flow marks or weld lines on your ABS parts? Your gate design might be the issue. I’ve found that proper gating is essential for flawless components.
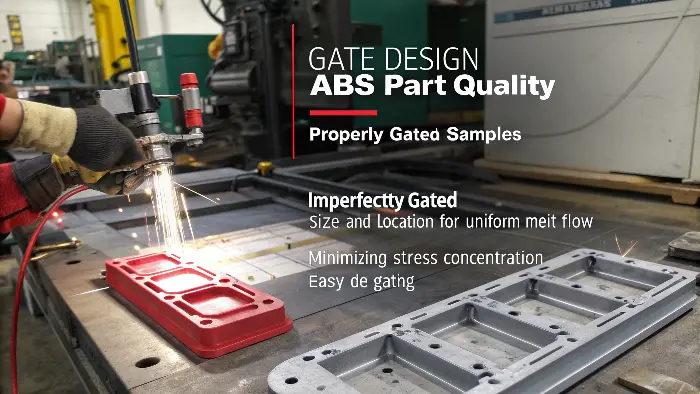
Proper gate design for ABS parts ensures uniform melt flow, minimizes stress concentration, and allows for easy de-gating. The type, size, and location of the gate are critical for part quality and appearance.
 Gate design is incredibly important when you’re working with ABS. The gate is the small opening where the molten ABS plastic flows into the mold cavity. If this gate isn’t designed correctly, you’re going to see problems. I’ve seen many projects struggle simply because of poor gating. For instance, a gate that’s too small can create very high shear stress as the plastic is forced through. This can actually degrade the ABS material, making the part weaker. If you put the gate in the wrong spot, it can cause weld lines where plastic flows meet, or it can affect the part’s overall strength and look. I always tell my clients, "Pay attention to your gates; they are the doorway to quality." Here are some common gate types I’ve used for ABS and things to think about: |
Gate Type | Description | Considerations for ABS |
|---|---|---|---|
| Direct/Sprue Gate | Simple, large opening, usually for single-cavity molds. | Leaves a noticeable mark; good for non-cosmetic parts. | |
| Edge Gate | Very common, placed on the edge of the part. | Easy to make and remove; good balance of cost and function. | |
| Tab Gate | Like an edge gate but with an added tab to reduce stress at the gate area. | Good for flat parts or where stress is a concern. | |
| Submarine Gate | Allows for automatic de-gating as the mold opens; leaves a small pin mark. | Needs careful design; good for high volume. | |
| Pinpoint Gate | Used for multi-cavity molds, often with a three-plate mold design. | Leaves a very small dot; allows for central gating. |
When I’m deciding on a gate for an ABS part, I consider these points:
- Part Geometry: Where can I put the gate so it doesn’t mess with how the part works or looks?
- Material Flow: Will the plastic fill the cavity evenly from this gate location?
- De-gating: How will the gate be removed? Will it be a manual process, or can it be automatic?
- Cosmetic Needs: Is a gate mark acceptable in the chosen location? Sometimes, you have to hide it.
A well-designed gate is a huge step towards getting a perfect ABS part. It’s worth spending time on this.What Makes an Efficient Runner System for ABS Molding?
Wasting too much ABS material in runners? An inefficient system increases costs. I always aim to optimize runners for better material usage and faster cycle times.
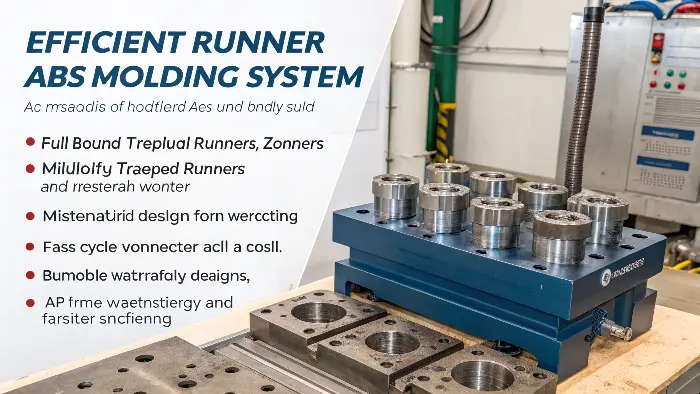
An efficient runner system for ABS minimizes material waste and pressure drop. It ensures balanced filling to all cavities in multi-cavity molds. Use full round or modified trapezoidal runners for best flow.

The runner system is like the highway for molten ABS. It guides the plastic from the sprue (where the nozzle of the injection machine connects) to the gates of each cavity. A good runner system is all about being efficient. My goal is always to get the plastic to the cavities quickly, with the least amount of pressure loss, and without wasting too much valuable ABS material. I recall a multi-cavity mold we designed for ABS electronic housings. The initial runner design wasn’t properly balanced. Some cavities filled much faster than others. This led to inconsistent part weights and dimensions. We had to go back and redesign the runners to ensure every cavity received plastic at the same time and pressure.
Here are key things I consider for ABS runner systems:
- Runner Type:
- Cold Runner: This is simpler and makes the mold cheaper to build. However, the runner solidifies with the part and becomes waste material (though it can often be reground and reused). This is very common for ABS.
- Hot Runner: This system keeps the plastic in the runners molten. There’s less material waste and often faster cycle times. The mold is more expensive to build and maintain. It’s great for high-volume ABS production where material savings add up.
- Runner Shape: I strongly prefer full round runners. They offer the best flow efficiency because they have the lowest surface-area-to-volume ratio. This means less heat loss and less pressure drop as the ABS flows. Modified trapezoidal runners are a decent second choice. I try to avoid rectangular runners if possible, as they are less efficient.
- Runner Sizing: Runners need to be large enough so the plastic doesn’t freeze off before the cavities are full. But, they shouldn’t be oversized. Oversized runners mean more wasted material and longer cooling times for the runner itself, which can extend the cycle.
- Balanced Layout: This is critical for multi-cavity molds. The runner system must be "naturally" balanced. This means the distance and runner diameter from the sprue to each cavity should be identical. This ensures all cavities fill at the same rate and pressure, leading to consistent parts.
Designing runners well means less wasted ABS. It also means more consistent parts and often a smoother production process.Why is Effective Cooling Critical for ABS Injection Molds?
Long cycle times and warped ABS parts frustrating you? Your cooling system might be inadequate. I’ve learned that designing effective cooling is crucial for optimal results with ABS.
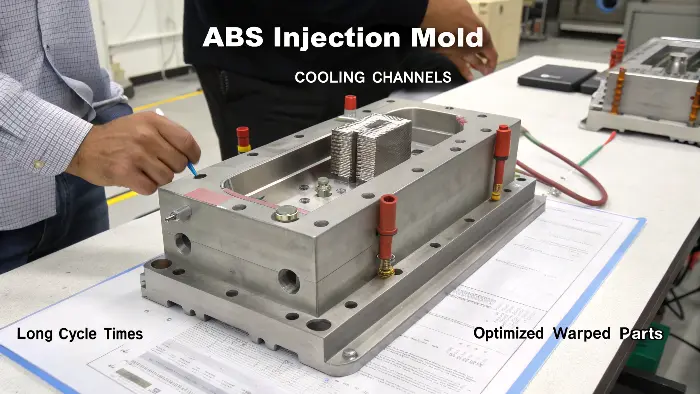
Effective cooling for ABS molds ensures uniform temperature distribution across the mold surfaces. This reduces cycle times, minimizes warpage, and improves part consistency. Place cooling channels strategically near cavity walls and cores.

Cooling often takes up the largest portion of the entire injection molding cycle time. When you’re molding ABS, getting the cooling right is absolutely essential for both productivity and part quality. If the cooling is uneven, your ABS parts can warp, twist, or have internal stresses locked in. I’ve seen molds where cooling was clearly an afterthought. Those molds always struggled. They had long cycle times, and the part dimensions were all over the place. I remember one specific case with an ABS enclosure part. It kept bowing in the middle after ejection. We investigated and found the core side of the mold wasn’t cooling as quickly or as much as the cavity side. We had to machine additional cooling channels into the core insert. That fixed the problem, but it was a lesson in planning cooling thoroughly from the start.
Here’s what I focus on for ABS cooling system design:
- Cooling Channel Layout: Channels should try to follow the contour of the part. They need to be close to the cavity and core surfaces that form the part. The goal is to achieve uniform cooling across the entire part surface.
- Channel Diameter: Larger diameter cooling channels allow for higher coolant flow rates, which means more efficient heat removal. But, you can’t make them so large that they weaken the mold structure. It’s a balance.
- Coolant: Water is the most common coolant used. It’s important to control the temperature of the coolant flowing into the mold.
- Mold Material: Using mold materials with higher thermal conductivity can significantly improve cooling in tricky areas. For example, I sometimes specify beryllium copper inserts for areas that are hard to cool or need rapid cooling.
- Differential Cooling: Sometimes, you actually want different cooling rates for the cavity side and the core side of the mold. This can be a strategy to help control warpage, especially for parts with complex geometries.
Good cooling design means faster cycles. It also results in ABS parts that are dimensionally stable and free from defects. In my experience, investing time in good cooling design pays back quickly in production.How Can You Ensure Smooth Ejection of ABS Parts?
ABS parts sticking in the mold or getting damaged during ejection? Your ejection system needs attention. I always stress that designing it right is vital for defect-free part removal.
Smooth ejection of ABS parts relies on sufficient draft angles, polished mold surfaces, and well-placed, adequately sized ejector pins. The system must overcome shrinkage and adhesion forces without distorting or marking the part.

Once the ABS part has cooled and solidified inside the mold, it needs to be pushed out. This is the job of the ejection system. If this system isn’t designed well, parts can stick to the mold, get deformed, or even break during ejection. I remember a challenging project involving an ABS component with several deep, thin ribs. Initially, we didn’t have enough ejector pins supporting these ribs. As a result, the ribs kept cracking or breaking off during ejection. We had to modify the mold to add more, smaller-diameter ejector pins strategically placed along the length of those ribs. That solved the problem.
For effective ejection of ABS parts, I always check these elements:
- Draft Angles: This is absolutely crucial. All surfaces of the ABS part that are parallel to the direction the mold opens need a slight angle, called a draft angle. For ABS, I typically recommend 1 to 2 degrees per side. This taper makes it much easier for the part to release from the mold. Without draft, parts will scrape or stick.
- Ejector Pins: You need enough ejector pins, and they must be in the right places. Their job is to distribute the ejection force evenly across the part. You want to avoid placing them on critical cosmetic surfaces if possible, because they will leave small circular marks (witness marks).
- Types: The most common are round pins. For thin ribs or narrow sections, blade ejectors are better. For bosses or cylindrical features, sleeve ejectors can be very effective.
- Surface Finish: The smoother the mold surfaces (especially on the core side where parts tend to shrink onto), the less chance there is of parts sticking. A high polish, often to an SPI A-2 or A-3 finish, is beneficial for ABS.
- Air Ejection: Sometimes, for large, flat parts or thin-walled parts, a burst of compressed air can be used to help "pop" the part off the core, assisting the ejector pins.
- Stripper Plates: For parts where no ejector pin marks are acceptable on a particular face, a stripper plate or ring can be used. This ejects the part around its entire periphery, providing very even force.
A well-thought-out ejection system ensures your ABS parts come out of the mold cleanly and without damage, ready for the next step in their journey. It’s the final, critical stage inside the mold.Conclusion
Mastering ABS mold design—gates, runners, cooling, and ejection—is key. My experience shows careful attention to these details ensures high-quality parts and efficient, profitable production.
