Are you struggling to find a supplier who can consistently deliver high-precision mold cores and cavities? A tiny error in these critical components can derail an entire production run, costing you thousands in wasted material and lost time. This constant worry about quality control can be a major roadblock to growing your business. At CKMOLD, we’ve built our entire process around eliminating this risk, ensuring every mold component we deliver is a masterpiece of precision.
Our approach to high-precision core and cavity manufacturing combines advanced technology with relentless quality control. We use state-of-the-art 5-axis CNC machines, high-accuracy EDM, and precision grinding to achieve tolerances as tight as ±0.002mm. This is supported by a multi-stage quality assurance process, from initial material inspection to final CMM and optical scanning verification. By controlling every variable, we guarantee that your core and cavity will perform flawlessly from the very first shot to the last.
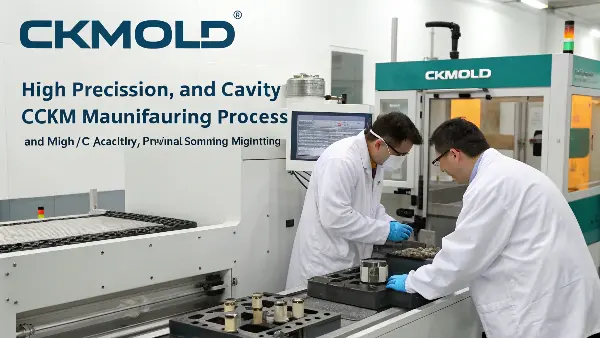
This commitment to precision isn’t just about having the right machines; it’s a philosophy that runs through our entire team. It’s the reason why business owners who value quality and reliability choose to partner with us. But what does this process actually look like day-to-day? Let’s break down the key technologies we use and the quality control steps we take to turn a digital design into a perfect physical mold component. Understanding our methods will show you why our partners trust us with their most critical projects.
What Advanced Technologies Are Crucial for Precision Machining?
Are you tired of working with suppliers whose outdated equipment limits your product’s potential? When a mold maker uses old technology, their limitations become your product’s flaws, leading to inconsistent parts, poor finishes, and production headaches. We believe that investing in cutting-edge technology is not a luxury; it’s the absolute foundation of building a high-performance mold that you can rely on for years to come.
At CKMOLD, we rely on a suite of key technologies for manufacturing cores and cavities. This includes high-speed 5-axis CNC machining for complex geometries, Wire EDM for sharp internal corners and intricate details, and Sinker EDM for deep cavities that can’t be milled. These processes, finalized with precision grinding, allow us to achieve extremely tight tolerances. This technological advantage ensures that every detail of your design is replicated with near-perfect accuracy, forming the backbone of a reliable mold.
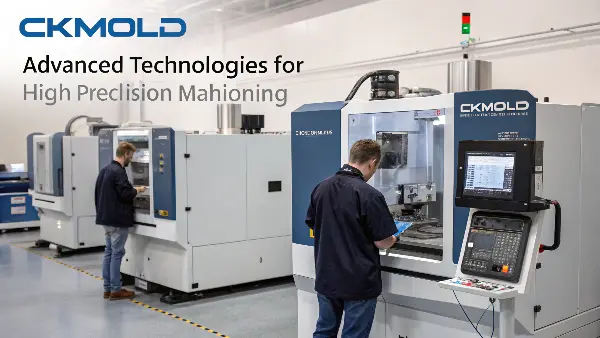
To truly appreciate the precision we deliver, it’s important to understand the role each piece of technology plays. It’s not about having one good machine; it’s about orchestrating a symphony of advanced processes where each step builds upon the last. I remember a client, Michael, who came to us after his previous supplier failed to create a complex medical device housing. Their 3-axis machines just couldn’t handle the undercuts and compound curves. Let me walk you through the core technologies we use to tackle challenges like that every day.
The Role of High-Speed 5-Axis CNC Machining
The workhorse of our operation is the 5-axis CNC machine. Unlike traditional 3-axis machines that only move in X, Y, and Z, a 5-axis machine can rotate the tool and the workpiece simultaneously. This allows us to machine highly complex shapes, undercuts, and angled features in a single setup. Why is this a game-changer? Every time you have to unclamp and re-clamp a part to machine it from a different angle, you introduce a tiny potential for error. By machining a complex core or cavity in one go, we eliminate that risk, ensuring superior accuracy and perfect alignment between features. It’s also significantly faster, which helps us keep lead times down without compromising quality.
The Power of Electrical Discharge Machining (EDM)
Some features are simply impossible to create with a traditional cutting tool. This is where Electrical Discharge Machining, or EDM, comes in. We use two main types:
- Wire EDM: This process uses a thin, electrically charged brass wire to slice through hardened steel with incredible precision. It’s perfect for creating sharp internal corners, intricate slots, and delicate features that would be impossible to mill.
- Sinker EDM: For creating deep, complex cavities, we use Sinker EDM. We first machine a graphite electrode in the exact inverse shape of the cavity. This electrode is then slowly lowered into the steel block, using electrical sparks to erode the steel and create the final cavity shape. It’s an essential process for features that traditional tools can’t reach.
Why Precision Grinding is Non-Negotiable
After the main shape of the core or cavity has been machined, the final step is precision grinding. This process uses a fine abrasive wheel to remove a tiny amount of material, achieving two critical goals: an extremely smooth surface finish and the final, exact dimensional tolerance. Grinding is absolutely essential for shut-off surfaces where the core and cavity meet to prevent plastic from leaking out (flashing). It’s also crucial for any moving components within the mold, like lifters or slides, ensuring they operate smoothly for millions of cycles.
| Technology | Primary Use Case | Key Advantage | Typical Tolerance |
|---|---|---|---|
| 5-Axis CNC Milling | Machining complex 3D surfaces, undercuts | Single setup reduces errors, increases speed | ±0.010mm |
| Wire EDM | Sharp internal corners, small slots, intricate profiles | Cuts hardened steel, creates features impossible to mill | ±0.003mm |
| Sinker EDM | Deep ribs, complex cavities, non-line-of-sight features | Creates shapes that tools can’t reach | ±0.005mm |
| Precision Grinding | Final sizing, flat surfaces, shut-off faces | Superior surface finish and dimensional accuracy | ±0.002mm |
How Do We Select and Prepare Materials for Cores and Cavities?
Have you ever had a mold fail prematurely because the supplier chose the wrong material or cut corners on heat treatment? It’s a costly mistake that brings your entire production line to a halt. The wrong steel can wear out quickly, corrode from certain plastics, or deform under pressure, compromising your investment and product quality. At CKMOLD, we know from experience that a world-class mold begins with world-class materials and proper preparation.
We select high-quality mold steels like H13, S136, or NAK80 based on your project’s specific needs, considering the plastic resin, production volume, and required finish. Every block of steel undergoes ultrasonic inspection for internal flaws before machining. After rough machining, it goes through a crucial vacuum heat treatment process to achieve the optimal hardness and stability. This ensures the material can withstand the rigors of injection molding for millions of cycles without failure.
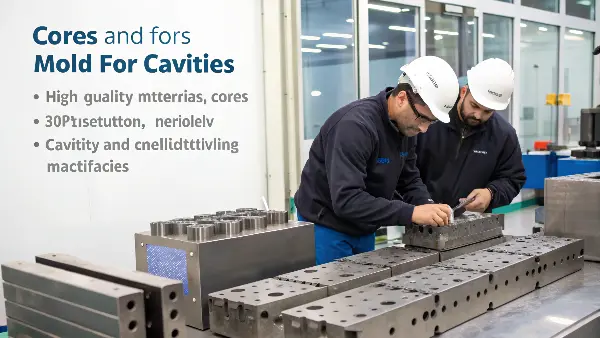
The choice of steel is not something to be taken lightly. It has a direct impact on the mold’s lifespan, the quality of the parts it produces, and the maintenance it requires. I once had to help a customer whose mold, made by another company, started to rust after just 50,000 cycles because they used the wrong steel for a corrosive PVC material. We rebuilt the core and cavity with the right stainless mold steel, and it’s been running for over a million cycles since. Let’s look at how we prevent these problems from the very beginning.
Matching the Steel to the Application
There is no "one-size-fits-all" mold steel. The right choice depends on a careful analysis of the project requirements. Is the plastic abrasive, like one with glass fibers? We’ll need a very hard, wear-resistant steel. Is the plastic corrosive, like PVC? We’ll use a high-chromium stainless steel. Does the part need to be optically clear? Then we need a steel that can be polished to a perfect mirror finish.
Here’s a quick guide to some common steels we use:
| Mold Steel | Key Properties | Common Application |
|---|---|---|
| P20 | Pre-hardened, good machinability | Prototype and low-volume molds, larger mold bases |
| H13 | Excellent toughness, good wear resistance, high-temperature strength | High-volume production, die-casting molds, abrasive plastics |
| S136 | High corrosion resistance, excellent polishability | Medical parts, optical lenses, molds for corrosive resins (PVC) |
| NAK80 | Pre-hardened (40 HRC), excellent polishability, good weldability | High-polish applications, molds where post-heat-treat distortion is a concern |
The Critical Step of Heat Treatment
For steels like H13 that are machined in a softer state, heat treatment is arguably the most critical step in preparing a core or cavity. This process involves heating the steel to a very high temperature and then cooling it rapidly (quenching) to achieve maximum hardness. After quenching, the steel is very hard but also brittle. So, it’s followed by a tempering process—re-heating it to a lower temperature to reduce brittleness and increase toughness. We use a vacuum furnace for this process, which prevents oxidation and ensures a clean, uniform result. Proper heat treatment gives the steel the strength and stability to withstand the immense pressure and temperature changes of injection molding without deforming or wearing out.
Verifying Material Integrity
Our quality control starts before the first chip is even cut. We don’t just take our steel supplier’s word for it. Every raw block of steel is checked with an ultrasonic flaw detector. This device sends sound waves through the material to detect any internal voids, cracks, or impurities that could cause a catastrophic failure later. After heat treatment, we verify the hardness of every core and cavity using a Rockwell hardness tester to ensure it meets the exact specification required for the application. This foundational diligence is key to building a mold that lasts.
What Does CKMOLD’s Quality Control Process Actually Involve?
Are you tired of receiving molds that are "almost" right? Those small deviations from the design can cause huge problems down the line, from parts that don’t assemble correctly to cosmetic defects that lead to customer rejections. You need a partner whose definition of "quality" is just as strict as yours. At CKMOLD, we believe quality isn’t a final inspection; it’s a rigorous process embedded in every single step of manufacturing.
Our quality control is a comprehensive, multi-stage process. It starts with a Design for Manufacturability (DFM) analysis to catch potential issues before machining. During manufacturing, we conduct in-process inspections after each key operation. For the final, definitive check, we use advanced Coordinate Measuring Machines (CMM) and high-resolution optical scanners. We compare every critical dimension against the original 3D CAD model and provide you with a full dimensional report, ensuring complete transparency and accountability.
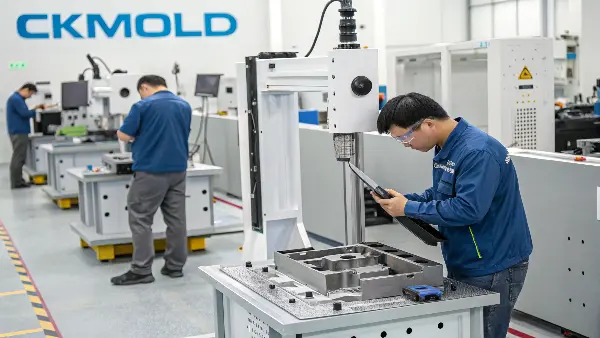
This systematic approach prevents surprises at the end. It’s far more effective to catch a small deviation early than to discover a major problem after the entire component is finished. It’s about being proactive, not reactive. We build quality into the part, not just inspect for it. Let’s walk through the key stages of our quality assurance journey so you can see how we protect your investment and guarantee the performance of your mold.
In-Process Inspection: Catching Errors Early
Many shops only do a final inspection. We find that to be a risky and inefficient approach. Instead, we inspect the core and cavity at multiple points during their creation. For example, we’ll perform a check after the rough CNC machining to ensure the basic geometry is correct before it goes for heat treatment. We inspect it again after heat treatment to check for any minor distortion that may have occurred. We inspect it once more after finish machining or grinding. This philosophy of "measure twice, cut once" on a macro scale allows our machinists to make tiny adjustments along the way, ensuring the final part is perfect. It catches potential problems when they are small and easy to fix, saving time and guaranteeing a better outcome.
The Final Verdict: CMM and Optical Scanning
The final inspection is the ultimate test. Here, we use our most advanced metrology equipment.
- Coordinate Measuring Machine (CMM): A CMM uses a highly sensitive probe to touch the part at specific points, recording the X, Y, and Z coordinates with micron-level accuracy. We program it to measure all the critical dimensions specified on your print—diameters, locations of holes, angles, and flatness. It provides an objective, data-driven report that proves the part is within tolerance.
- Optical Scanning: For highly complex, free-form surfaces like those on an ergonomic product, a CMM can be slow. In these cases, we use a high-resolution 3D optical scanner. It projects a pattern of light onto the part and captures millions of data points in seconds, creating a complete digital twin of the physical part. We can then overlay this scan onto the original CAD model to create a color map showing any deviation, ensuring the entire surface is true to the design.
| Inspection Method | Best For | What it Measures | Output |
|---|---|---|---|
| In-Process Checks | All stages of manufacturing | Key dimensions after each operation | Go/No-Go confirmation, minor adjustments |
| CMM | Prismatic parts, critical hole locations, flatness | Precise geometric dimensions and tolerances (GD&T) | Detailed dimensional report with pass/fail data |
| Optical Scanning | Complex, free-form surfaces | Overall shape and surface deviation from CAD | 3D color map showing deviations |
The Importance of a Detailed QC Report
We believe in full transparency. For every core and cavity set we manufacture, we provide a complete QC report. This isn’t just a simple pass/fail checklist. It’s a detailed document that includes the CMM data for every critical dimension, showing the specified dimension, the actual measured dimension, and the deviation. This report is our guarantee to you. It gives you the peace of mind that what you are receiving is not just "close enough," but a component that has been verified to meet your exact specifications. For business owners like Michael, this documentation is invaluable for their own quality records and internal validation processes.
How Do We Ensure a Perfect Fit and Finish for Mold Components?
Have you ever dealt with the frustration of plastic "flash" on your parts? Or unsightly parting lines that ruin your product’s appearance? These common problems often stem from an imperfect fit between the core and cavity or a poor surface finish. This not only affects the product’s look and feel but can also impact its function and durability. At CKMOLD, we are obsessed with the final details, ensuring a perfect seal and a flawless finish every time.
Achieving a perfect fit is a blend of high-precision machining and the irreplaceable skill of our mold makers. They perform meticulous bench fitting, using spotting blue to verify 100% contact on shut-off surfaces. For the surface finish, we offer a complete range of options according to SPI standards, from a standard machine finish to a flawless, diamond-polished mirror finish (SPI A1). This combination of technology and craftsmanship ensures your mold produces perfect parts.
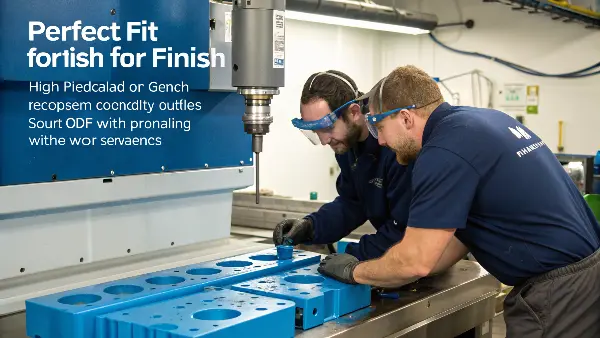
This final stage is where science meets art. A CMM report can tell you a part is dimensionally correct, but it can’t tell you if two complex surfaces will seal perfectly under 10,000 PSI of injection pressure. That requires a human touch and years of experience. I’ve seen beautifully machined molds fail because the maker skipped the critical step of hand-fitting. It’s a detail we never overlook because we know it’s the difference between a good mold and a great one.
The Art and Science of Mold Fitting
After all the machining and polishing, our most experienced mold makers take the core and cavity to the fitting bench. This is a critical manual process called "spotting" or "blueing." The technician applies a very thin layer of a special ink, called spotting blue, to one surface. They then carefully close the mold and press the two halves together. When they open it, the blue ink will have transferred to the high spots on the opposing surface. The goal is to see a uniform, even transfer of blue across the entire shut-off area. If there are gaps, the technician will painstakingly stone or grind the high spots down by hand and repeat the process until the fit is perfect. This ensures a razor-sharp seal that prevents plastic from leaking out, creating clean, flash-free parts.
Achieving the Desired Surface Polish
The surface finish of the core and cavity directly translates to the surface finish of your plastic part. We provide finishes according to the standards set by the Society of the Plastics Industry (SPI). This allows you to specify exactly the look and feel you need for your product.
| SPI Finish | Description | Common Application |
|---|---|---|
| SPI A-1 | Grade #3 Diamond Buff | Optical parts, lenses, high-polish mirrors |
| SPI B-1 | 600 Grit Paper | Good gloss finish, parts requiring some luster |
| SPI C-1 | 600 Grit Stone | Low gloss, matte finish, internal non-cosmetic parts |
| SPI D-2 | Dry Blast #11 Glass Bead | Satin, non-reflective finish, textured parts |
Achieving a high-polish finish, especially an A-1 mirror polish, is a labor-intensive skill that requires a great deal of patience and expertise. Our polishers use a series of progressively finer abrasive stones and diamond pastes, working by hand to create a surface that is flawlessly smooth and reflective.
Aligning Components with Precision
A perfect fit between the core and cavity is useless if they don’t align perfectly every time the mold closes. This alignment is ensured by several key components. Guide pins and bushings, made from hardened steel, act as the primary alignment system, guiding the two halves together. For high-precision molds, we also use interlocks. These are blocks of steel on the four corners of the mold, with precisely mating tapers. As the mold closes, these interlocks engage, locking the core and cavity into their exact final position with zero play. This robust alignment system is crucial for preventing wear on the shut-off surfaces and ensuring part consistency over millions of cycles.
Conclusion
In short, CKMOLD’s approach to high-precision cores and cavities is a holistic system. It’s a blend of cutting-edge technology like 5-axis CNC and EDM, the use of premium, properly prepared materials, and a multi-stage quality control process that leaves nothing to chance. This is all tied together by the irreplaceable skill of our craftsmen. This combination is our promise, and it’s how we deliver the precision, reliability, and longevity you need to succeed.
