Have you ever perfected a design on your computer, only to see the physical part come out warped, flawed, or full of sink marks? This frustrating gap between digital design and real-world production can cause endless revisions, delay projects, and cost a fortune. The secret to avoiding this is not in more complex software, but in understanding the fundamental relationship between your part and the steel mold that gives it life.
To ensure a successful interaction between your product and the mold, focus on three core principles. First, maintain a uniform wall thickness to prevent defects like warping and sink marks. Second, apply draft angles, typically 1-2 degrees, to all vertical surfaces for easy part ejection. Third, use generous radii on all corners to reduce stress and improve the flow of molten plastic. These three elements are the foundation for a part that can be molded efficiently and reliably.
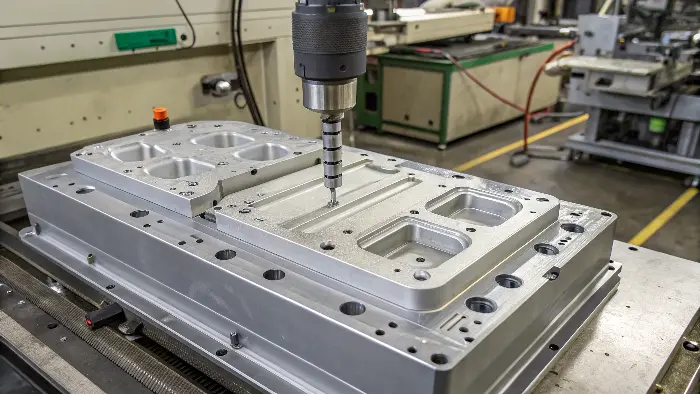
Getting these basics right is a game-changer. I remember a project early in my career where ignoring these fundamentals led to a nightmare of a production run. We spent weeks trying to fix parts that were sticking and warping, all because of a few simple design oversights. But these are just the starting points. To truly master this craft, you need to dive deeper into the established wisdom of the industry. Let’s break down the essential rules that every designer, from a beginner to a seasoned pro like Jacky, should live by.
What is the rule of thumb for injection molding?
Feeling overwhelmed by the sheer number of design variables in injection molding? It is very easy to get lost in all the technical details. This uncertainty can lead to you over-engineering a part or, even worse, creating critical design flaws that only show up after you have spent thousands on tooling. Relying on proven rules of thumb can simplify your process, giving you a solid foundation for every design you create.
The most critical rule of thumb for injection molding is to maintain a consistent wall thickness throughout your part. This prevents common defects like sink marks and warping. Other key rules include adding draft angles for easy ejection, radiusing all corners to reduce stress, and designing gates in non-critical areas. Following these guidelines ensures better material flow, stronger parts, and a more stable manufacturing process, saving you time and money in the long run.
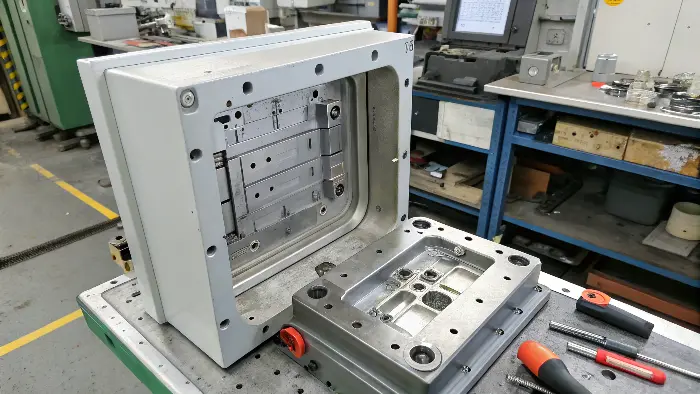
These rules aren’t just suggestions; they are the language the mold understands. When you design with these principles in mind, you are setting your project up for success before the first piece of steel is even cut. I once worked with a young designer who had created a beautiful, complex housing. Aesthetically, it was a 10/10. But functionally, it was a molding disaster waiting to happen because it violated nearly every rule. We had to sit down and redesign it together, and it was a powerful lesson for him. Let’s look at these rules more closely.
The Golden Rule: Uniform Wall Thickness
This is the most important rule. Plastic cools and shrinks as it solidifies. If one section of your part is much thicker than another, the thick section will cool much slower. This differential cooling creates internal stresses that pull on the part, causing it to warp. The thick section will also shrink more, which can pull the surface inward, creating an ugly indentation called a sink mark. The ideal approach is to design the part with the thinnest possible wall that still meets your structural requirements, and keep that thickness consistent everywhere. If you need extra strength, use ribs instead of making the whole wall thicker.
Draft Angles: Your Part’s Exit Strategy
A draft angle is a small taper applied to the vertical walls of your part. Think of it like trying to pull a perfectly straight-sided cup out of a stack of identical cups—it creates a vacuum and gets stuck. But if the cups are tapered, they separate easily. The same principle applies in a mold. As the plastic cools, it shrinks and grips tightly onto the core of the mold. Without a draft angle, the ejector pins might push the part out unevenly, causing drag marks, warping, or even breaking the part. A standard of 1 to 2 degrees of draft is usually enough, but parts with textured surfaces need more.
Radii and Fillets: The Stress Relievers
Sharp internal corners are a major weak point in a plastic part. They act as "stress concentrators," meaning any force applied to the part will be focused on that sharp corner, making it much more likely to crack. Sharp corners also make it harder for the molten plastic to flow smoothly into every part of the mold, which can lead to incomplete parts. By adding a rounded edge, or a fillet, to internal corners and a radius to external corners, you distribute that stress over a wider area and improve plastic flow. A good rule is to make the inside radius at least 50% of the wall thickness.
| Design Practice | The Wrong Way (Problem) | The Right Way (Solution) |
|---|---|---|
| Wall Thickness | Thick and thin sections | Uniform wall thickness, use ribs for strength |
| Ejection | 90-degree vertical walls | 1-2 degree draft angle on all walls |
| Corners | Sharp internal corners | Radiused/filleted corners (R = 0.5x Wall) |
What is the standard tolerance for injection molding?
Are your parts failing to assemble correctly? Are you specifying tolerances on your drawings that are either impossible or incredibly expensive to achieve? This mismatch between your design intent and the reality of manufacturing can cause massive headaches, from entire batches of parts being rejected to huge budget overruns. Understanding standard injection molding tolerances helps you design parts that are both functional and manufacturable without breaking the bank.
Standard commercial tolerance for injection molding is typically around ±0.005 inches (or ±0.127 mm). However, this is just a general guideline. Tolerances depend heavily on the material’s shrink rate, part complexity, and the quality of the mold. For high-precision applications, tighter tolerances of ±0.002 inches (±0.05 mm) are possible but come at a significantly higher cost. Always consult your molder to define realistic tolerances for your specific project.
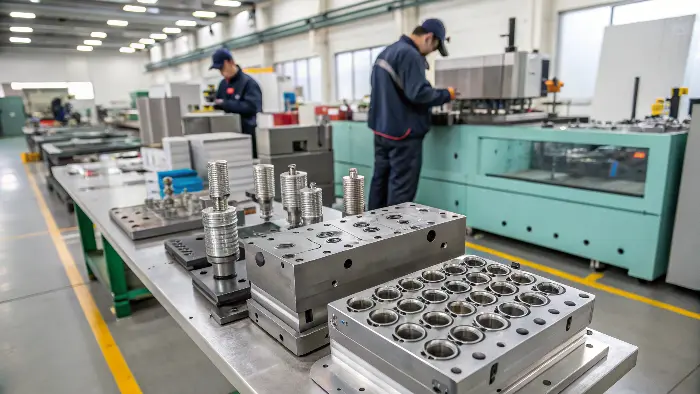
I can’t tell you how many times I’ve seen designers, especially those new to plastics, treat tolerances like a wish list. They specify incredibly tight dimensions on every feature, thinking it will lead to a better product. In reality, it just leads to a much more expensive tool and a difficult production process. The key is to be strategic. Apply tight tolerances only where they are absolutely critical for function, and relax them everywhere else. This practical approach is a sign of an experienced designer.
Understanding Commercial vs. Fine Tolerances
Most injection molded parts fall under a "commercial" tolerance standard. This is the level of precision that a well-made mold can consistently hold without special effort or extreme costs. It’s perfect for most consumer products, housings, and general components. "Fine" or "precision" tolerance is a whole different level. Achieving this requires a very high-quality mold, a highly stable process, and often post-molding inspection of every part. This drives the cost up significantly. Before you specify a fine tolerance, ask yourself: "Does this feature truly need to be this precise for the product to work?" Often, the answer is no.
Factors That Influence Tolerance
Achieving tight tolerances isn’t just about cutting the steel accurately. Several factors come into play, and you need to consider all of them.
| Factor | Impact on Tolerance | Example |
|---|---|---|
| Material Type | High-shrink materials are harder to control. | Polypropylene (PP) shrinks more than Acrylonitrile Butadiene Styrene (ABS). |
| Part Size | Larger parts have more total shrinkage, making tight tolerances harder. | A 300mm long part will be harder to hold to ±0.1mm than a 30mm part. |
| Part Complexity | Complex geometries with varied wall thicknesses can warp unpredictably. | A simple, flat lid is easier to control than a complex housing with many features. |
| Mold Quality | The precision of the mold itself sets the baseline for part precision. | A Class 101 mold will hold tighter tolerances than a Class 104 prototype mold. |
Communicating Tolerances Effectively
Your engineering drawing is your contract with the mold maker. It’s crucial to communicate your needs clearly. Use Geometric Dimensioning and Tolerancing (GD&T) to specify which features are critical. Instead of putting a blanket tolerance on the whole drawing, call out the specific dimensions that matter for fit and function. Most importantly, have a conversation with your molder. I once had a client who insisted on aerospace-grade tolerances for a simple toy. After a short call, we realized the critical dimension was just the diameter of a single hole for a metal axle. We held that one feature to a tight tolerance and relaxed the rest, saving him over 30% on the tooling cost.
What are three ways to prevent a part from sticking in the mold?
Your production cycle is grinding to a halt because parts are getting stuck in the mold, requiring an operator to manually pull them out. This frustrating issue damages parts, can harm your expensive mold, and drastically increases cycle times and labor costs. It is a true profit killer in high-volume production. By implementing a few key design and process strategies, you can ensure your parts eject smoothly every single time.
To prevent parts from sticking, first, ensure adequate draft angles (at least 1-2 degrees) on all vertical faces. Second, use a strategic surface finish; a smoother, polished finish on the core (male side) can help the part release. Third, optimize your ejection system with properly placed and sized ejector pins to push the part out evenly without causing damage or warping.
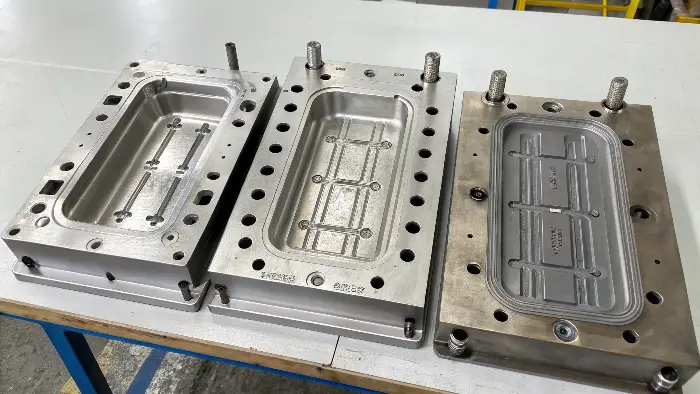
Part sticking is one of the most common and frustrating problems in molding. It can turn a smooth, automated process into a slow, manual one. The good news is that in almost every case, the problem can be solved with good design. The goal is to control where the part sticks. As plastic cools, it shrinks onto the male half of the mold, the core. You want the part to stick to the ejector side of the mold so the ejector system can push it out.
1. The Power of Draft and Surface Finish
We’ve already talked about draft, but it’s the number one solution for sticking parts. If a part is sticking, the first question I always ask is, "How much draft is on that wall?" Even half a degree can make a world of difference. Surface finish is the next tool in your toolbox. A very smooth, highly polished surface on the mold core will have less friction, making it easier for the part to slide off as it’s ejected. Conversely, you can use a slightly rougher texture (or even an undercut, in some cases) on the cavity side to ensure the part stays on the correct half of the mold when it opens. It’s a delicate balance.
2. Smart Ejector Pin Placement
The ejector system is the brute force that gets the part out. But force applied in the wrong place can be destructive. Ejector pins should be placed on strong, non-cosmetic areas of the part, like ribs, bosses, or thick, flat sections. You want to push the part out as evenly as possible to prevent it from tilting and binding in the mold. The size of the pins also matters. Using several small pins spreads the force out better than one large pin, which could punch a hole right through the part. I remember a deep-draw cup we were molding that kept sticking. We solved it by polishing the core to a mirror finish and adding two extra ejector pins right at the bottom of the cup to give it that initial push it needed to break free.
3. Material Choice and Process Control
Sometimes, the problem isn’t the design but the process. If the injection pressure is too high or the mold is packed too full of plastic, the part can be forced into every microscopic crevice of the steel, making it very difficult to remove. This is called "over-packing." Simply adjusting the machine parameters can sometimes solve a sticking issue. The material itself can also be a factor. Some plastics, particularly soft, flexible ones like TPE, are naturally "stickier" than rigid plastics like ABS. For these materials, you may need more draft, better polishing, and a carefully controlled process to ensure clean ejection. Using a mold release spray is a last resort; it’s a band-aid that adds cost and another step to the process. It’s always better to solve the problem with good design.
What are the safety rules for injection molding?
An injection molding machine is a powerful piece of equipment. It combines the immense force of a hydraulic press, the extreme heat of molten plastic, and the high speed of automated parts. A moment of carelessness around one of these machines can lead to severe injuries, from terrible burns to crushing accidents. Safety is not just a rule written in a manual; it is a necessary mindset to protect you, your team, and your valuable equipment.
The most critical safety rule is to never bypass or disable any safety gates, guards, or emergency stops on the machine. Always wear appropriate Personal Protective Equipment (PPE), including safety glasses and heat-resistant gloves. Ensure proper training for all operators and follow Lockout/Tagout (LOTO) procedures during any maintenance or mold changes. Never place any part of your body between the open mold halves.
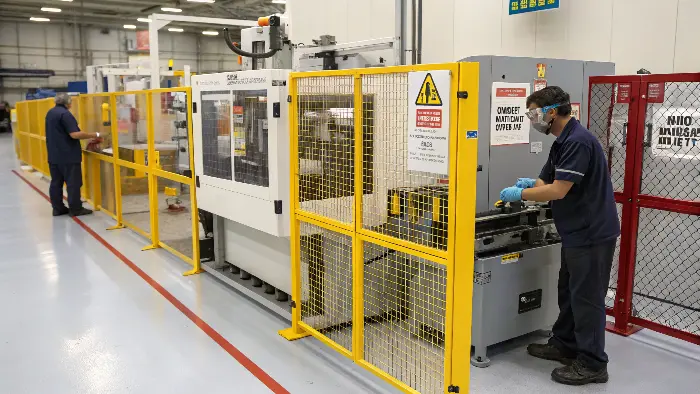
When I started my own company, the first thing I established was a culture of safety first. No production target is worth someone getting hurt. I once witnessed a near-miss where an operator almost got his hand caught in a closing mold. The only thing that saved him was the machine’s safety gate, which stopped the cycle instantly. That moment reinforced my belief that safety systems are there for a reason and must always be respected. Let’s break down the essential areas of safety.
Machine Guarding and Emergency Systems
Every injection molding machine is equipped with safety features for a reason. The main safety gate has an interlock that prevents the mold from closing if the gate is open. There is also often a mechanical drop bar that physically prevents the platens from coming together. And, of course, there are red Emergency Stop buttons placed in accessible locations. These systems must never be tampered with or disabled to "speed up" a cycle. They are your last line of defense against a catastrophic accident. Regular checks to ensure all these safety features are working correctly are a vital part of any shop’s routine.
Personal Protective Equipment (PPE) is Non-Negotiable
PPE is your personal armor against the hazards of the job.
- Safety Glasses: This is the absolute minimum. They protect your eyes from flying debris, hot plastic squirts, or hydraulic fluid leaks.
- Heat-Resistant Gloves: Molten plastic can be over 200°C (400°F). You need proper gloves when handling hot parts, cleaning the nozzle, or performing any task near the barrel.
- Closed-Toe Shoes: A factory floor is no place for sandals. Sturdy shoes protect your feet from falling objects or spills.
- Hearing Protection: In a large facility with many machines running, the noise level can be high enough to cause hearing damage over time.
Safe Operating and Maintenance Procedures
Proper training is the foundation of safety. No one should operate a machine without being fully trained on its specific controls and safety features. When maintenance is required, like a mold change or cleaning, strict Lockout/Tagout (LOTO) procedures must be followed. This involves completely shutting off all power sources to the machine and physically locking them so they cannot be turned on accidentally while someone is working on it. Finally, good housekeeping is a part of safety. Keeping the area around the machine clean and free of plastic pellets, oil, or water prevents slips, trips, and falls, which are some of the most common workplace accidents.
Conclusion
Mastering the interaction between your product and the mold comes down to respecting the fundamentals. Uniform walls, draft angles, and smart tolerances are the foundation of a good design. Knowing how to solve common problems like part sticking and, above all, prioritizing a safe working environment are the things that separate amateurs from true professionals. By embracing these principles, you will create better, more cost-effective, and more manufacturable products every single time.
