
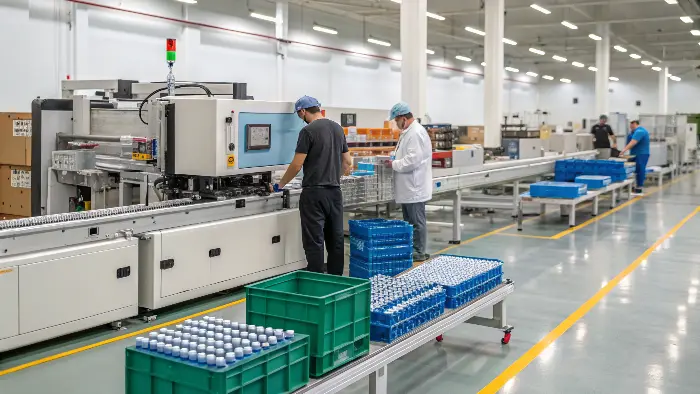
You have taken weeks to get a product design right and when you send sample design out of the machine those designs are incomplete. A “short shot” or under filling as it is also known is the most frustrating of the defects. It consumes costly material, time of expensive machines, as well as jeopardizes the overall schedule of your project. You must have a good method to identify and repair this expensive yet very common malady and you have to get it fast.
Insufficient filling occurs when the cavity is not completely filled before the flow front freezes or the machine reaches its pressure, volume or time limit. The solution is not automatically more pressure. A short shot can come from moisture, cold material, a restrictive gate, poor venting, long flow, inadequate machine capacity, an undersized runner or a mold-temperature imbalance.
Related CKMOLD resources: DFM analysis, mold design, mold testing and validation.
A short shot requires diagnosis before adjustment. Verify material feed and shot recovery, actual fill/transfer traces and pressure limiting, melt/mold conditions, gate or runner freeze-off, venting and cavity-specific restriction. Change one justified factor at a time; packing pressure applied after transfer cannot fill a cavity that never reached that stage.
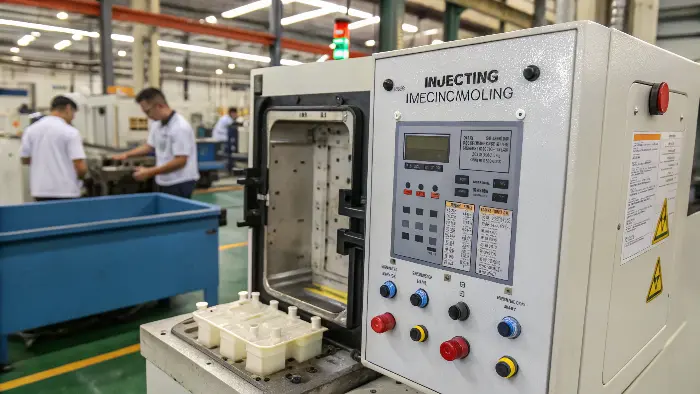
This is a quick-fix guide, and it is a wonderful place to start. Your immediate problem is probably going to be solved by it. However, in order to become really proficient at molding and avoid repeating these issues, we should look deeper into the causes of those. It is differentiating a good technician and great. It is knowledge of the why in the defect that makes a great technician. Let us examine the simpler causes and see more complex solutions. Your current problem is only one issue that this knowledge will set right, but it will also make you an efficient designer and engineer in all other projects in the future.
Start by Proving Where Filling Stops
A short shot is an incomplete fill: part of the cavity has no polymer. Sink, voids and post-fill shrinkage are different defects. Do not start by increasing every pressure, speed and temperature setting. First compare shots, cavities and time, then locate the unfilled region relative to the gate, thin transitions, welds and end-of-fill vents.
- Confirm material feed, shot availability and cushion/recovery stability.
- Verify actual melt and mold condition against the exact grade’s processing guidance.
- Check whether the machine reaches a pressure, speed or transfer limit during fill.
- Inspect gate/runner restriction, vent cleanliness, blocked cavities and cooling imbalance.
- Use controlled short shots or cavity-pressure data, where available, to distinguish freeze-off, air trap and supply limitation.
Holding pressure acts after velocity-controlled fill and cannot restore a flow path that has already frozen. Autodesk’s current Moldflow process-setting description separates filling control, velocity/pressure transfer and pack/hold control; use the same distinction when reading machine data. The injection-pressure guide explains pressure location, phase and machine conversion in more detail.
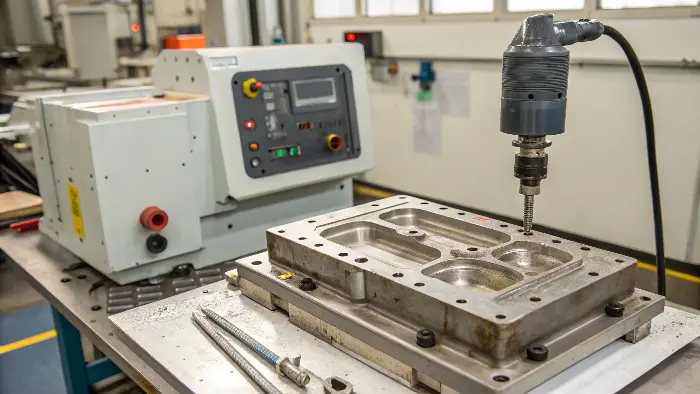
How do you solve injection molding problems?
It can be seem at times that solving one of the problems relating to injection moulding, makes another come about. You crank the pressure on to correct a short shot, and bang you have flash. This is a hap-hazard non-efficient trial and error method of which the stress of meeting deadlines on projects looms. You require a stable system and not random repairs. With a clearly defined troubleshooting approach, making use of a step by step methodology, that chaos can change into a more controlled, foreseeable routine.
Begin by defining and containing the symptom, preserving the current settings and checking obvious material/feed issues. Then review process traces and cavity patterns before inspecting the mold. Record every change and its result so the investigation isolates rather than creates variables.
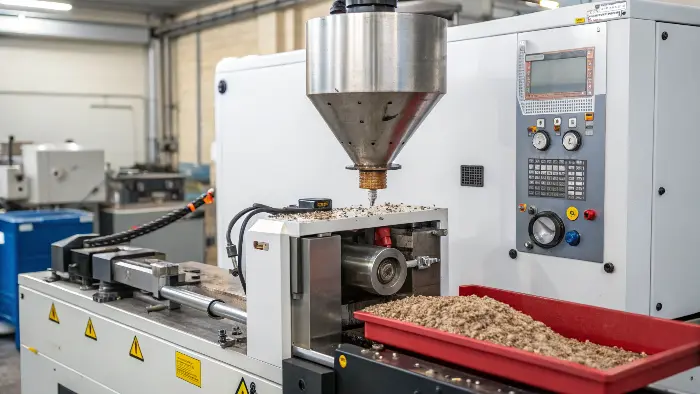
Use a structured screen before adjusting the press. Review material, machine, mold and method, while also confirming measurement and environment when they can affect the symptom. The purpose is to preserve the baseline and ask questions that can distinguish feed, flow, venting, freeze-off and control problems.
Step 1: Observe and Document
Write everything before you alter anything. What time is the defect? And what point (part) of it is where? Is it transpiring on each shot or just some? Is there occurrence in every cavity of a multi-cavity mold? Take pictures. Note the settings of the machine as it is [now]. This baseline is the lone truth. Without it; you fly blind.
Step 2: Analyze the “Four M’s”
Now, think about the potential causes by breaking them down into four categories. This structure prevents you from getting tunnel vision and focusing only on the machine settings.
| Category | Potential Problems Related to Short Shots |
|---|---|
| Man (Operator) | Was the process set up correctly? Was a change made recently? |
| Machine | Is the nozzle partially blocked? Is the check ring worn, causing inconsistent shot size? Is the heater band working? |
| Material | Is it the correct material? Is it properly dried? Could it be a bad batch from the supplier? |
| Mold | Are the vents clogged with residue? Is a gate blocked? Has the mold temperature changed? |
Step 3: Make One Change at a Time
This is the golden rule. After having a hypothesis writing a single little change of your analysis of four MTM. As an example, add 5 percent in the pressure of injection. After that, just run a few parts and observe the results. Has the problem been improved, worsened, or remained unchanged? Write down the outcome. When you change everything simultaneously you are not sure which one of them is the correct solution. It is this strict practice that is the distinction between the professionals and the amateurs. This might seem more sluggishly, but in the end, it is far more time-saving than it may be.
Prevent Short Fill Through Design and Evidence
DFM should identify thin flow restrictions, abrupt thickness changes, long paths, difficult-to-vent pockets, gate limitations and cavity imbalance before steel. Simulation can compare alternatives, but it does not “foretell precisely” or replace a trial. Its confidence depends on correct geometry, mesh, exact-grade material data and process assumptions.
Autodesk states that different grades can have different properties and that incorrect grade selection affects result quality; it also warns that topology and mesh defects affect analysis. See the official material-database scope and model-suitability guidance.
Ask for the model revision, resin grade/data quality, runner/hot-runner representation, machine limits, fill/transfer assumptions and sensitivity cases. At T1, compare predicted fill sequence and pressure with controlled short shots, part weight and machine/cavity traces, then update the cause hypothesis before modifying steel.
Use the DFM and mold-flow review when the window appears narrow, and define the trial evidence through mold testing and validation.
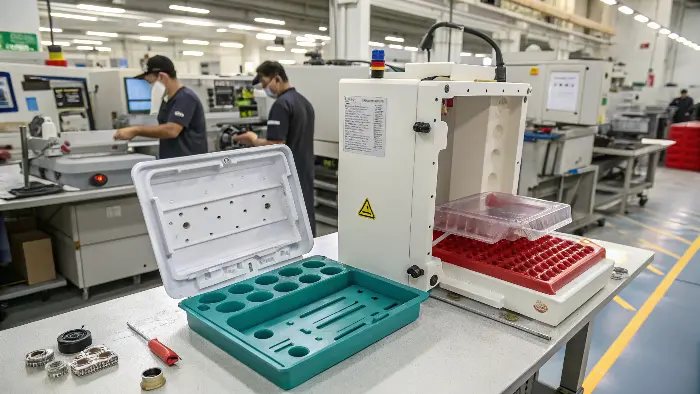
How do you detect short shots in injection molding?
Short shot is also among the flaws in injection molding. Short shot occurs when the resin solidifies before the end of the mold, leading to failure to accurately replicate the product form. Short shots are most likely to occur in thin-walled as well as small-scale molded items.
The most common method of sensing short shots is by having internal pressure sensors within the mold and reading data from the internal pressure sensors to verify the distance the resin has traversed via the mold. This is, however, a procedure that must be modified on the mold as well as internal pressure sensors to be purchased, resulting in further costs on the product. There is, as such, a growing need for a more cost-effective and efficient method of sensing short shots.
Some Other Ways for Short Shot Detection in Injection Molding
Short shots in injection molding are detected by the following methods:
Visual Inspection:
Visual examination of the molded parts usually reveals if there are short shots or not. A short shot usually features a sink mark or void where the plastic fails to fill the mold.
Dimensional Analysis:
Size checks of the molded components may be applied to determine short shots. When the part falls outside the tolerable size range, the plastic might not have filled the mold.
Defect Analysis:
Examination of defects with the molded components, including sink marks and warping, is also a means of determining short shots. Sink marks and warping will result if the plastic fails to fill the mold.
Process Monitoring:
Real-time monitoring of processes can detect short shots when they happen. Real-time injection pressure, injection rate, and molten plastic temperature monitoring will enable the cause the plastic is not filling the mold cavity to be identified.
Identification of the Presence of Short Shots in Injection Molding Components:
For all the new and middle-level engineers who are not conscious of the existence of short shots at most, then it may be difficult to determine whether or not this defect already exists most of the time. But there are cases that show that there are short shots that you must correct. Some of these cases include:
A sink mark or a void in an area of a plastic component indicates that the plastic failed to fill the area in the mold cavity, resulting in a short shot.
An out-of-spec plastic component in terms of size may indicate that the plastic failed to fill the mold cavity.
Warpage or contamination of a plastic part could be a short shot if the plastic did not fill the mold cavity.
Recover Productivity Without Hiding the Defect
Productivity is accepted output, not nominal speed. Track accepted parts per scheduled hour, startup scrap, cavity-specific rejects, stops and rework. A short-shot correction is successful only when it remains stable across the approved material, machine and environmental window without causing flash, burn, degradation, warpage or excessive stress.
After containment, establish the cause, set a verified process window and close the tool or maintenance action. Do not shorten cooling or raise pressure solely to recover time; measure part temperature, dimensions and function before accepting a faster cycle.
Map the Unfilled Area
A short shot at the end of a thin rib suggests freeze-off or flow resistance; a random or cavity-specific short shot suggests balance, gate, vent or temperature variation. Use short-fill samples to see the flow sequence and confirm whether the front reaches the same region each time.
Verify Material and Thermal Conditions
Check resin grade, moisture, drying, melt temperature, mold temperature, residence time, colorant and regrind. A material change or cold mold can increase viscosity enough to consume the available pressure window.
Check Machine Capacity and Process Limits
Review shot size, injection rate, pressure limit, screw recovery, cushion, nozzle, check ring and barrel temperature. A machine may have enough clamp force but not enough injection rate or pressure reserve for a long thin flow path.
Inspect Gate, Runner and Venting
Gate freeze, runner restriction, cold slug, imbalance, blocked vent or trapped gas can stop flow. Increasing pressure against a blocked vent may create burn or flash without completing the part.
Correct Geometry or Tooling When the Window Is Too Narrow
If the part consistently needs excessive pressure or a very narrow temperature window, review wall transitions, gate position, runner size, cooling, venting and material grade. Validate the correction with repeat samples and critical dimensions.
Insufficient Filling in Injection Molding: Buyer Review Checklist
- Map the short shot by location, cavity, flow sequence and repeatability.
- Verify resin, drying, melt temperature, mold temperature, residence and regrind.
- Check shot, rate, pressure limit, cushion, nozzle, check ring and machine reserve.
- Inspect gate, runner, cold slug, venting, balance and trapped-air locations.
- Use DFM or mold correction when the stable process window remains too narrow.
FAQ
What is the first thing to check for a short shot?
Confirm the defect location and material condition, then inspect the fill pattern, gate, venting and machine limits before changing multiple settings.
Can a blocked vent cause insufficient filling?
Yes. Trapped air can resist the advancing melt and create a short shot, burn or excessive pressure near the end of fill.
Conclusion
Finally, effective resolution of insufficient filling has to do with no universal solution. It is the issue of the shift in strategy. It begins with getting the real reasons of it pressure, temperature and venting. It goes on with logical operation of troubleshooting problems in a systematic manner. Most importantly, it results to designing superior parts and molds to foresee the problems ever occurring. This process is what companies have to suitable, to turn the frustrations of defects into increased productivity and really great products.