Choosing the right injection molding machine can seem like a daunting task with so many choices available. If you end up picking the wrong one, you might find yourself dealing with wasted money, subpar parts, and a whole lot of production headaches. But what if you could make that perfect choice with confidence by focusing on just a few essential factors?
When it comes to selecting an injection molding machine, you’ll want to consider the type of machine (hydraulic, electric, or hybrid). It’s also crucial to look at the clamping force (tonnage) it provides and the shot size (the amount of plastic it can inject). The dimensions of your mold, such as platen size and tie bar spacing, play a significant role too. And don’t overlook the type of plastic you plan to use, along with your target production speed and quality standards.
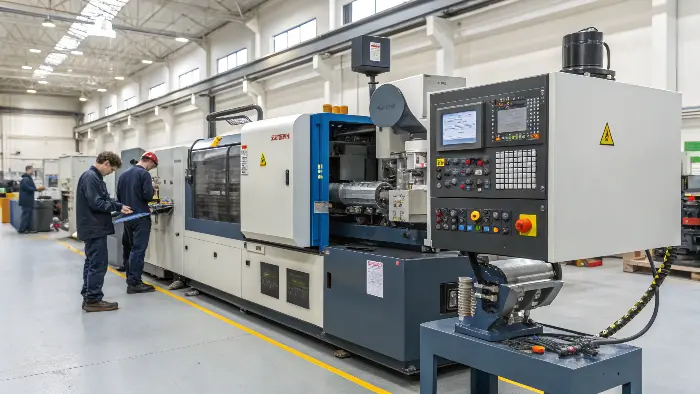
Selecting the appropriate machine is a significant choice. Based on this decision, I have witnessed enterprises prosper or fail. Purchasing equipment is only one aspect of it; another is making an investment in the future of your operations. Let’s take a step-by-step look at how to make this important choice. You can make sure you obtain the best fit for your unique demands in this way.
How do I know what size injection molding machine I need?
Not sure what “size” even means when talking about an injection molding machine? It’s a common question. Guessing can get you a machine that’s too small for your molds or way too big and inefficient for your needs. But understanding key specs like tonnage and shot size will get you to the right one.
To find the right size machine, first look at the clamping force (tonnage) needed to close your mold. Next look at the shot size, which is the volume of plastic needed for your part. And measure your largest mold to make sure it fits the machine’s platen and between the tie bars.
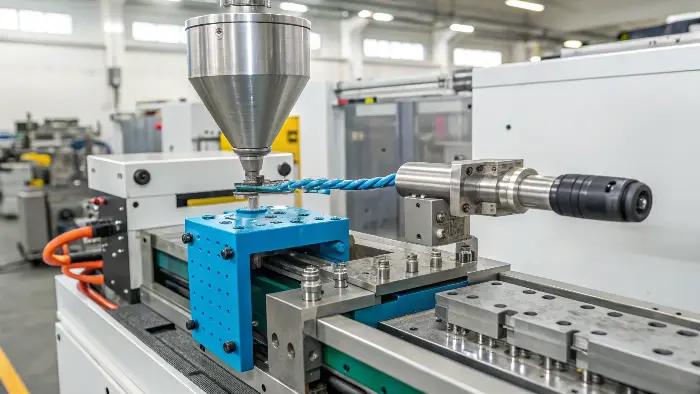
When we discuss machine "size," we typically mean a few key factors that establish whether a machine can produce your item accurately and effectively. The machine’s actual footprint on your production floor isn’t the only consideration. One customer I recall purchased a machine solely on the basis of tonnage. Their main mold was later discovered to be too broad to fit between the tie bars. Proper size may have easily prevented this expensive error.
Let’s look at the main factors:
- Clamping Force (Tonnage): This is a big one, and we’ll talk more about it soon. It’s the force the machine uses to hold the two halves of your mold tightly closed when plastic is injected under high pressure.
- Shot Size (or Shot Volume/Weight): This tells you the maximum amount of plastic the machine can inject into the mold in a single cycle. It’s usually measured in cubic centimeters (cm³) or ounces (oz) / grams (g) for a specific material like polystyrene (PS). You need to make sure the machine’s shot capacity is more than the total plastic needed for your part plus the runner system. A good rule of thumb is to use a machine where your part’s shot weight is between 30% and 70% of the machine’s maximum shot capacity. This ensures good process control and avoids overworking the screw.
- Mold Dimensions:
- Platen Size: Platens are the large steel plates where the mold halves are mounted. Your mold base must fit within the dimensions of the platens.
- Tie Bar Spacing: Most machines have four tie bars that connect the stationary and moving platens. The space between these bars (horizontally and vertically) limits the maximum width and height of your mold.
- Mold Height (Min/Max): This is the range of mold thicknesses the machine can accommodate. Your mold’s closed height must fall within this range.
- Daylight / Max Opening Stroke: Daylight is the maximum distance between the open platens. The opening stroke is how far the moving platen can travel. This needs to be enough for your part to be ejected clear of the mold.
- Ejector Stroke: This is how far the machine’s ejector system can push the ejector pins in your mold to remove the finished part. It needs to be sufficient for your part’s depth.
Here’s a quick summary:
| Sizing Parameter | What it Means | Why it’s Important for Sizing |
|---|---|---|
| Clamping Force | Force holding mold closed (tons) | Prevents mold from opening, causing flash |
| Shot Size | Max plastic volume/weight per cycle | Must be enough for your part + runner |
| Platen Size | Mounting area for mold halves | Mold base must fit |
| Tie Bar Spacing | Distance between tie bars (H x V) | Limits mold width and height |
| Min/Max Mold Height | Range of mold thickness machine can accept | Your mold must fit this range |
| Ejector Stroke | Distance ejector system moves | Must be enough to eject your part |
Getting these sizing aspects right from the start saves a lot of trouble down the road.
How to select injection moulding machine tonnage?
Tonnage sounds technical and confusing? You’re not alone. But choosing the wrong tonnage can mean flash (excess plastic) on your parts or even damage to your machine or mold over time. The good news is there’s a pretty simple way to calculate the right clamping force for your parts.
To select injection molding machine tonnage, you calculate the required clamping force. Multiply the projected area of your part (including runners) by a material specific clamping force factor. This factor is usually between 2 to 8 tons per square inch. Always add a 10-20% safety margin.
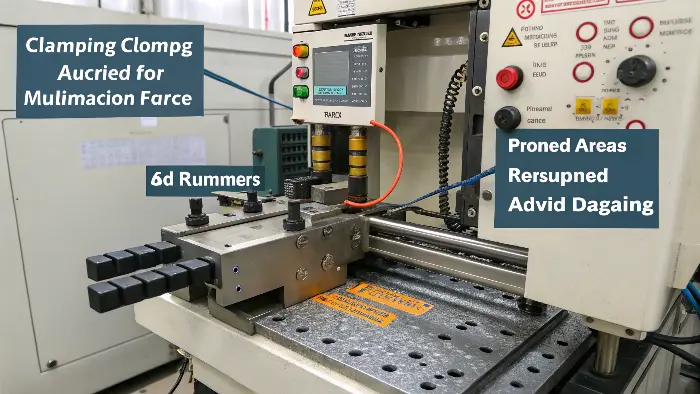
The force that the machine applies to keep the two injection mold halves firmly closed during the injection and holding stages of the molding cycle is known as clamping force, or tonnage. The pressure of the molten plastic entering the mold may cause the mold halves to separate if the tonnage is too low. This results in flash, a thin coating of extra plastic surrounding the part. It can waste energy and possibly cause long-term stress on the mold components if it is too high for a little section.
Here’s how to approach the calculation:
-
Calculate the Projected Area:
- This is the surface area of your part (or all parts in a multi-cavity mold) plus the area of the runner system, as viewed from the direction of the clamp. Imagine shining a light on your part and runner system; the area of the shadow they cast is the projected area.
- Measure this in square inches (in²) or square centimeters (cm²).
-
Determine the Material Factor:
- Different plastics require different amounts of clamping force due to their viscosity (flow characteristics) and processing pressures. This is often expressed as tons per square inch (or a similar metric unit).
- Here are some general guidelines for common materials:
Material Type Typical Factor (tons/in²) Polypropylene (PP) 2 – 4 Polyethylene (PE) 2 – 4 Polystyrene (PS) 2 – 5 ABS 3 – 6 Nylon (PA) 4 – 7 Polycarbonate (PC) 5 – 8 - These are approximate values. Always consult your material supplier for more precise recommendations, especially for filled or specialty grades. Factors like part complexity and wall thickness can also influence this.
-
Calculate Required Tonnage:
- Formula: Required Tonnage = Projected Area (in²) × Material Factor (tons/in²)
- For example, if your part + runner has a projected area of 50 in² and you are using ABS with a factor of 4 tons/in²:
Required Tonnage = 50 in² × 4 tons/in² = 200 tons.
-
Add a Safety Margin:
- It’s wise to add a safety margin of 10% to 20% to account for variations in processing conditions or material batches. So, for the 200-ton example, you might look for a machine with 220 to 240 tons.
I once took on a project involving a really thick, glass-filled nylon. When we first calculated the tonnage using a standard nylon factor, it was pretty close to the edge. So, we opted for a machine that could handle about 25% more tonnage than the bare minimum we calculated. This choice ended up saving us from a lot of flash problems and gave us a much more stable process window. It’s usually a good idea to have a bit more tonnage than you think you’ll need, rather than risking not having enough.
- It’s wise to add a safety margin of 10% to 20% to account for variations in processing conditions or material batches. So, for the 200-ton example, you might look for a machine with 220 to 240 tons.
How do you calculate injection molding machine?
Besides tonnage, what other figures do you need to consider when selecting the right machine? It’s easy to get caught up in just one specification. But if you ignore other important calculations, you could end up with significant inefficiencies or even a machine that simply can’t handle the job. Taking a systematic approach to calculate all the essential parameters will help ensure you find the perfect fit.
Calculating for an injection molding machine involves determining the shot size (max plastic volume per cycle) and the plasticizing rate (how fast it melts plastic). You also need to ensure mold compatibility by checking platen size, tie bar spacing, mold height, and ejector stroke. These calculations ensure the machine can make your part efficiently and physically hold your mold.
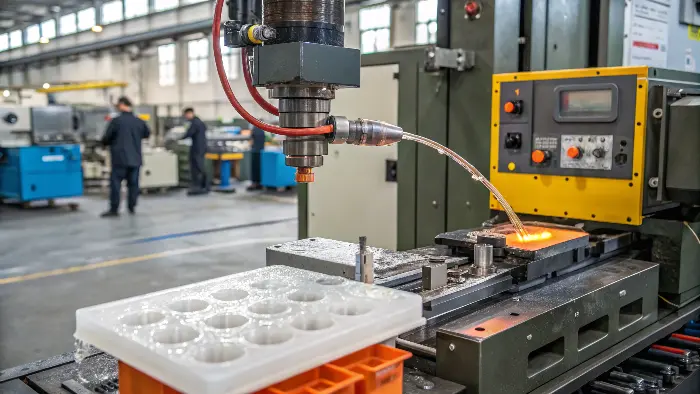
Choosing an injection molding machine is like putting together a puzzle. Several pieces need to fit just right. We’ve talked about tonnage and basic mold fit. Now let’s look at other critical calculations. I once saw a company struggle with their cycle times. They had enough tonnage, but their machine’s plasticizing rate couldn’t melt material fast enough for the shot size needed for a fast-cycling part. This bottleneck cost them a lot of production.
Here are key calculations and considerations:
-
Shot Size (Revisited in Detail):
- You need to calculate the total volume of plastic for one shot:
- Volume of the Part(s)
- Volume of the Runner System (if it’s a cold runner)
- Volume of the Sprue (if applicable)
- Convert this total volume to weight using the specific gravity (density) of the plastic material you’ll be using:
- Shot Weight = Total Volume × Material Density
- The machine’s rated shot capacity (usually given in grams or ounces for Polystyrene, PS) should be suitable. As mentioned, aim for your actual shot weight to be between 30% and 70% (some say 20-80%) of the machine’s maximum. Using too little of the barrel capacity can lead to long residence times and material degradation. Using too much can lead to inconsistent melt and recovery issues.
- You need to calculate the total volume of plastic for one shot:
-
Plasticizing Rate (or Recovery Rate):
- This is the amount of plastic resin the machine’s screw can melt and prepare for injection per unit of time, usually measured in kilograms per hour (kg/hr) or pounds per hour (lbs/hr).
- You need to calculate your required plasticizing rate:
- Required Rate = (Shot Weight (kg) / Desired Cycle Time (seconds)) × 3600
- The machine’s plasticizing rate must be greater than your required rate to ensure the screw can recover (melt new material) in time for the next shot without extending the cycle.
-
Mold Fit and Function Checks (Recap and Emphasis):
- Min/Max Mold Height: Ensure your mold’s closed height fits.
- Daylight & Opening Stroke: Check if there’s enough opening for part removal.
- Ejector Stroke & Pattern: Ensure the machine’s ejector can properly activate your mold’s ejection system. The pattern of ejector holes on the platen must match your mold’s ejector plate.
Here’s a checklist to help:
| Calculation/Check | What to Determine/Calculate | Why It’s Critical |
|---|---|---|
| Tonnage | Required clamping force | Prevents flash, ensures part quality |
| Shot Weight | Total plastic needed per cycle (part + runner) | Match to machine’s shot capacity (30-70% rule) |
| Plasticizing Rate | Machine’s melting capacity vs. your demand | Ensures screw recovers in time for desired cycle |
| Platen Size | Dimensions of mold mounting surfaces | Mold base must fit |
| Tie Bar Spacing | Clear space between tie bars (H x V) | Limits overall mold width and height |
| Min/Max Mold Height | Range of mold thickness machine can clamp | Your mold’s closed height must be within this range |
| Max Opening Stroke | How far the moving platen opens | Must be enough to eject the part clearly |
| Ejector Stroke/Pattern | Ejector travel distance and hole layout | Must match mold’s ejection needs and design |
By systematically working through these calculations, you build a clear specification for the machine you need.
Which injection moulding machine is best?
Hydraulic, electric, hybrid – so many options, so which one is the “best”? It’s a common question. Choosing the wrong one for your application can mean higher energy bills, less precision than you need, or unnecessary upfront costs. But knowing the pros and cons of each helps you pick the best one for you.
The “best” injection molding machine is really dependent on your application. Electric is great for precision and energy saving, perfect for medical or complex parts. Hydraulic is tough, cheaper for bigger parts, and gives high clamping forces. Hybrid tries to give you the best of both.
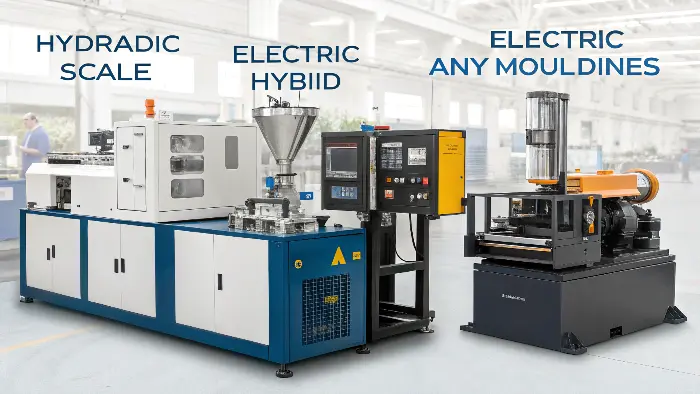
There isn’t a single "best" type of injection molding machine for everyone. The ideal choice depends heavily on what you’re making, your production volume, your budget, and your priorities like precision or energy savings. When I started my company, CKMOLD, we initially used mostly hydraulic machines because they were versatile and cost-effective for the general molding work we did. However, as we took on more projects requiring high precision, like medical device components, we invested in all-electric machines. The consistency and energy savings were remarkable for those applications.
Let’s compare the main types:
-
Hydraulic Injection Molding Machines:
- How they work: Use hydraulic pumps and cylinders to power the clamping mechanism and the injection unit.
- Pros:
- Lower initial purchase cost, especially for larger tonnage machines.
- Robust and durable, known for long service life.
- Can generate very high clamping forces, suitable for large parts.
- Generally more tolerant of variations in mold condition or process.
- Spare parts are often readily available and less expensive.
- Cons:
- Higher energy consumption because the hydraulic pump often runs continuously.
- Can be noisier.
- Potential for hydraulic oil leaks, which can be a contamination concern for cleanroom environments.
- Generally offer less precision and repeatability compared to electric machines.
- Require regular maintenance of the hydraulic system (oil, filters, hoses).
-
All-Electric Injection Molding Machines:
- How they work: Use high-performance servo motors and ball screws for all major movements (clamping, injection, plasticizing, ejection).
- Pros:
- Excellent precision, repeatability, and control over all movements.
- Significantly more energy-efficient as motors only consume power when moving.
- Quieter operation.
- Cleaner operation (no hydraulic oil), ideal for medical, food-grade, or electronics applications.
- Faster cycle times are often possible due to parallel movements and rapid response.
- Reduced maintenance needs compared to hydraulic systems.
- Cons:
- Higher initial purchase cost.
- May be more sensitive to power fluctuations or environmental conditions.
- Clamping force range might be more limited at the very high end compared to hydraulics (though this gap is closing).
- Repair of servo motors or drives can be more specialized and costly.
-
Hybrid Injection Molding Machines:
- How they work: Combine features of both hydraulic and electric machines. Typically, they might use an electric screw drive for precise plasticizing and injection, and a hydraulic system for clamping. Or they might use servo-pumps to improve the energy efficiency of the hydraulic system.
- Pros:
- Offer a good balance of performance, energy efficiency, and cost.
- Can provide the high clamping forces of hydraulics with the precision and energy savings of electric drives for injection.
- Cons:
- Can be more complex in design.
- Initial cost is usually between that of hydraulic and all-electric machines.
Here’s a comparison table:
| Feature | Hydraulic Machines | All-Electric Machines | Hybrid Machines |
|---|---|---|---|
| Initial Cost | Lower | Higher | Medium |
| Energy Efficiency | Lower | Higher | Medium to High |
| Precision | Good | Excellent | Very Good |
| Repeatability | Good | Excellent | Very Good |
| Noise Level | Higher | Lower | Medium |
| Cleanliness | Potential oil leaks | Very Clean | Cleaner than full hydraulic |
| Maintenance | More (oil, filters) | Less | Medium |
| Clamping Force | Very High available | High, but may cap lower | High available |
| Ideal For | Large parts, general use | Precision parts, cleanroom | Balance of needs, fast cycles |
Consider your product requirements, budget, and long-term operational costs when deciding which type is "best" for you.
Where to Find an Injection Molding Machine?
Looking for an injection molding machine? You have many choices! Arburg, Haitian, Husky and Sumitomo are the big names in the industry. They are known for their latest technology, reliability and good customer service. They have machines to suit different manufacturing needs, whether you are producing small intricate parts or large volume production. If you are in the market for a machine you can buy directly from the manufacturers, through industrial machinery distributors or even second hand machines for a more budget friendly option.
Don’t forget online marketplaces and industry trade shows are great places to compare different models, features and prices. This way you can ensure you get the right machine for your project’s specific needs. And if you’re not ready to make that investment or prefer to outsource your production, companies like CKMold offer professional injection molding services. This can be a smart choice for prototyping, low volume runs or even full production without the upfront cost of owning your machine.
Conclusion
Choosing the correct injection molding machine is a question of finding the match of its tonnage, shot size, and physical size to your molds and product. Decide on the type of machine—hydraulic, electric, or hybrid—based on your need for accuracy, energy efficiency, and cost. Choosing the correct one at this point assures smooth production and quality output for years to come. It is a significant step towards becoming a molding master.
