
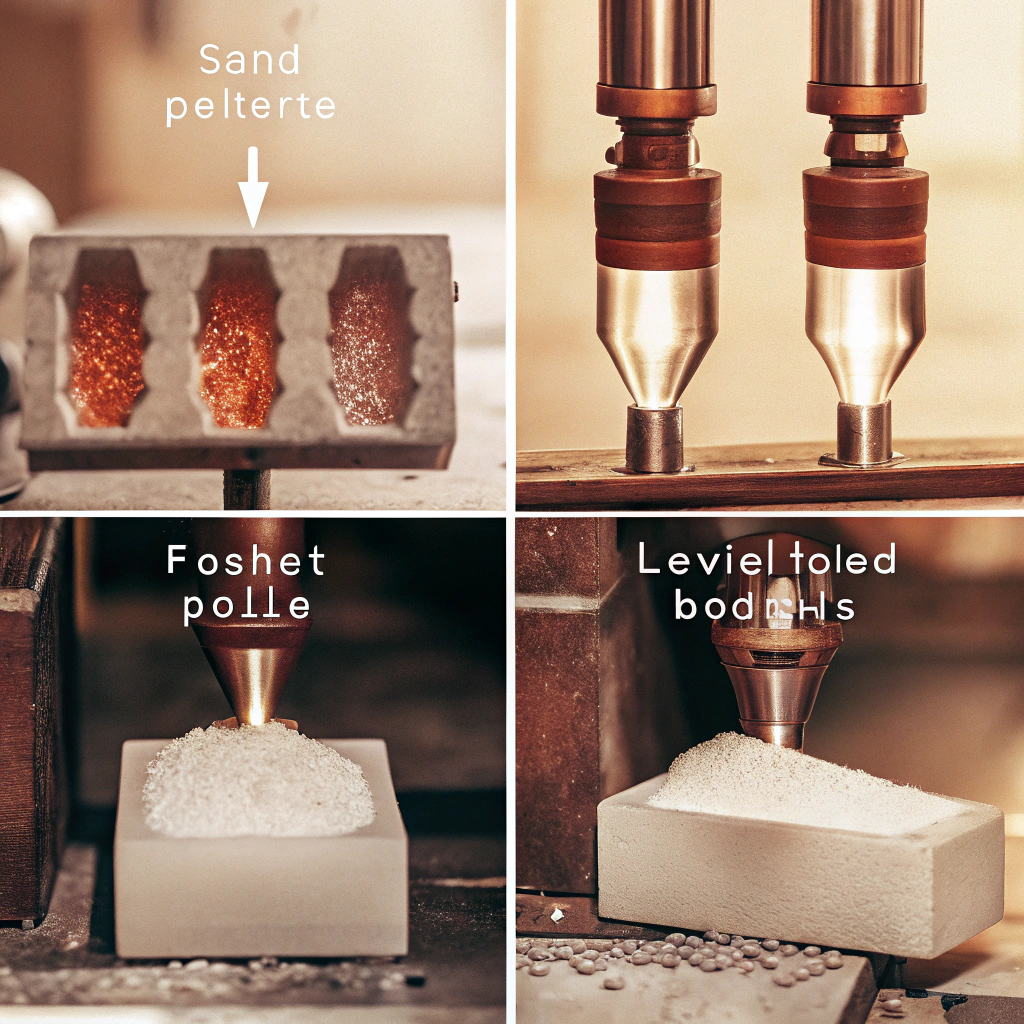
Confused about how complex plastic parts are made? This vital process seems complicated, but understanding it unlocks efficient, high-volume production. Let’s simplify plastic injection molding1 together.
Plastic injection molding is a manufacturing process for producing parts by injecting molten plastic material into a mold cavity. Once the plastic cools and solidifies, the mold opens, and the finished part is ejected.
You get the basic idea now. But this process involves several distinct steps and relies on specific principles to work effectively. Let’s break it down further to see how those amazing plastic parts are really created.
Plastic injection molding is a manufacturing process used to produce plastic parts by injecting molten thermoplastic into a precision mold. That definition is simple, but the real work is more detailed: product design, material selection, mold design, tool manufacturing, trial injection, process control, inspection, and production planning all affect the final part.
What is plastic injection molding1?
What is plastic injection molding?
Struggling to grasp this core manufacturing technique? It powers mass production but can seem like a black box. Understanding it clarifies how everyday items are born.
Plastic injection molding is a high-volume manufacturing method where melted plastic resin is forced under pressure into a custom-made metal mold. It cools, solidifies into the desired shape, and is then released.
The Core Concept: Shaping Molten Plastic
Imagine you have a shape you want to make out of plastic, maybe thousands or millions of times. Injection molding is the go-to method. The heart of the process is the mold (or tool). This is usually made from steel or aluminum and is precision-machined to have cavities shaped exactly like the part you need. We start with raw plastic material, usually in the form of small pellets or granules. These pellets are fed into an injection molding machine.
The Machine’s Role
The machine does three main things:
- Melts the Plastic: It heats the plastic pellets until they become a molten liquid, like thick honey.
- Injects the Plastic: It forces this molten plastic under very high pressure into the tightly clamped mold cavity.
- Handles the Mold:It holds the mold closed during injection and cooling, then opens it to eject the finished part. This method is incredibly versatile. It can produce parts with complex geometries, fine details, and tight tolerances. From car bumpers and phone cases to bottle caps and medical devices, injection molding is everywhere. It’s efficient for mass production because once the mold is made, parts can be produced quickly and cheaply.
What are the 4 stages of injection molding?
Think injection molding is just one step? It’s actually a precise cycle causing confusion if misunderstood. Knowing the stages helps troubleshoot and optimize production effectively.
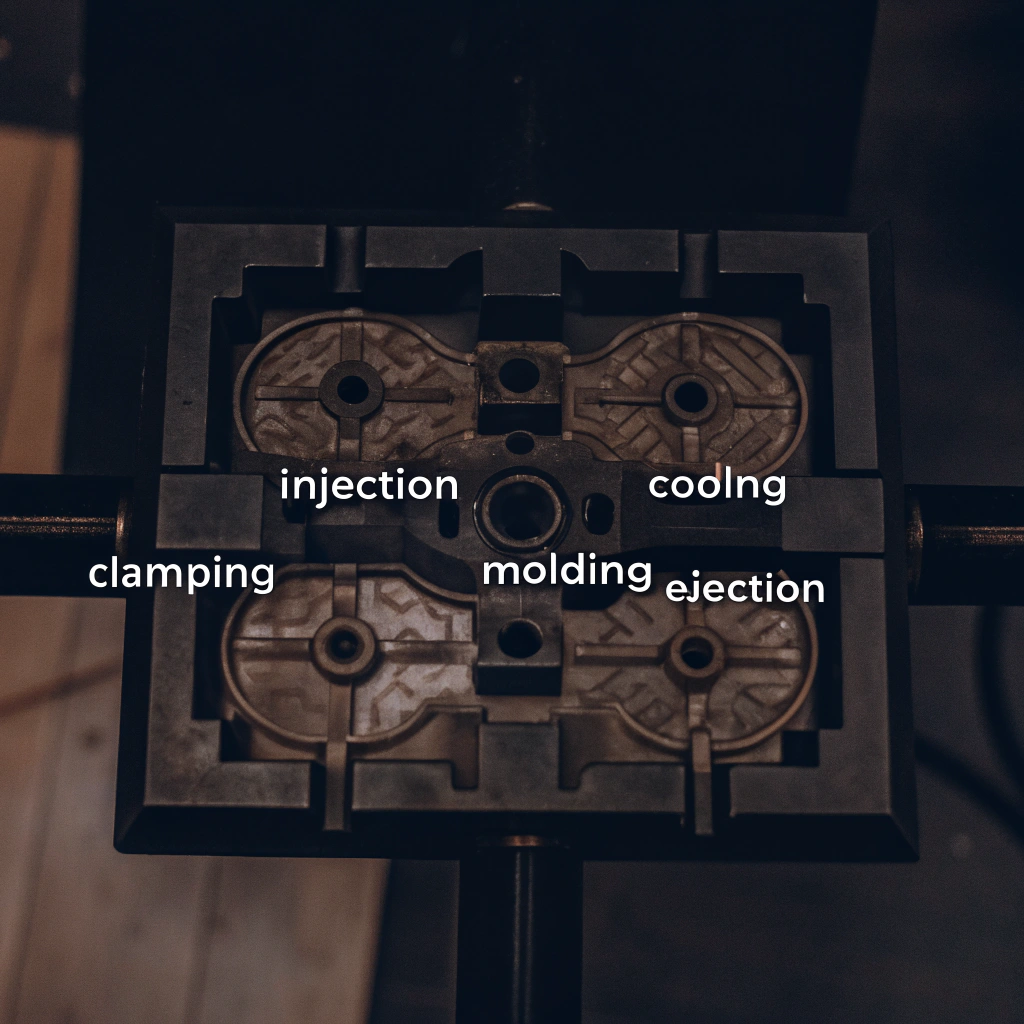
The four main stages are: 1. Clamping (mold closes), 2. Injection (plastic fills mold), 3. Cooling (plastic solidifies), and 4. Ejection (mold opens, part removed). This cycle repeats rapidly.
Stage 1: Clamping
Before any plastic enters the mold, the two halves of the mold tool must be securely closed. An injection molding machine has a clamping unit (usually hydraulic or electric) that pushes the mold halves together with immense force. This force must be high enough to keep the mold sealed tightly against the pressure of the incoming molten plastic during the injection stage. If the clamp force is too low, the plastic could seep out, creating flash. Think of it like closing a waffle iron tightly before pouring in the batter.
Stage 2: Injection
Once the mold is clamped shut, the molten plastic (prepared in the machine’s barrel by heating and mixing) is injected into the mold cavity. This is done by a screw or plunger that forces the melt forward under high pressure. The plastic flows through channels (runners and gates) into the cavity. The speed and pressure of injection are carefully controlled parameters, critical for filling the part correctly without defects.
Stage 3: Cooling
As soon as the molten plastic fills the cavity, it starts to cool upon contact with the relatively cooler mold surfaces. The mold usually has internal cooling channels where water or oil circulates to maintain a consistent temperature and speed up the solidification process. The plastic needs to cool down enough to become solid and hold its shape. This cooling time is often the longest part of the cycle and significantly impacts overall production efficiency.
Stage 4: Ejection
What is the principle of plastic injection molding?
Curious about the ‘why’ behind injection molding? Simply knowing the steps isn’t enough for true understanding. Grasping the core principle reveals its power and limitations.
The principle is transforming solid plastic into a liquid using heat and pressure, forcing it into a shaped cavity (mold), letting it cool back to a solid, then removing the shaped part.
Transformation Through Heat and Pressure
The fundamental principle revolves around the phase change of thermoplastic materials. These materials soften and become liquid when heated, and solidify again when cooled, without significant chemical degradation. This cycle can be repeated.
- Melting: Solid plastic pellets are fed into a heated barrel containing a rotating screw. The screw’s rotation and friction, along with external heaters, generate heat, melting the plastic into a homogenous liquid state. The screw also conveys the molten plastic towards the front of the barrel.
- Forcing into Shape: The mold cavity represents the negative space of the desired part. When enough molten plastic accumulates, the screw acts like a piston, pushing the melt forward under high pressure (injection pressure). This forces the liquid plastic through the mold’s runner system and gates, completely filling the cavity. Pressure is maintained for a short time (holding pressure) to pack more material in as it starts shrinking during cooling.
- Solidification: Heat transfers from the hot plastic to the cooler mold walls. As the plastic loses heat, its molecules slow down, and it transitions back into a solid state, taking the shape of the cavity.
- Release: Once solid enough to retain its shape and withstand ejection forces, the mold opens, and the part is removed.
This heat-pressure-cool cycle is the essence of injection molding. It allows complex shapes to be mass-produced with high repeatability. Understanding this principle helped me troubleshoot issues for clients – often, problems arise from incorrect temperature, pressure, or timing within this core cycle.
What plastic is used in injection molding?
Wondering which plastics work for injection molding? Material choice seems vast and confusing. Knowing common options helps select the right material for your specific needs.
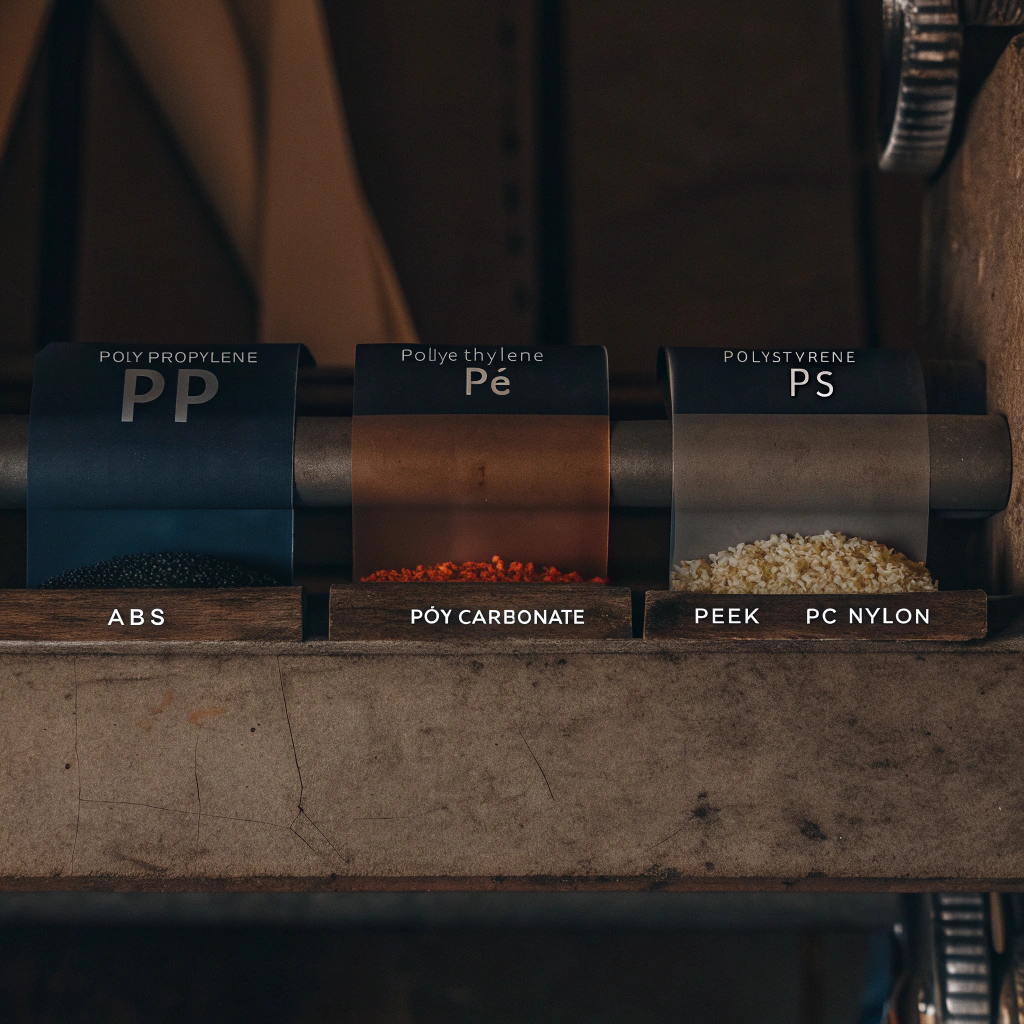
A huge variety of thermoplastic materials are used, including common commodity plastics like Polypropylene (PP), Polyethylene (PE), Polystyrene (PS), and engineering plastics like ABS, Polycarbonate (PC), Nylon (PA), and high-performance plastics like PEEK.
Thermoplastics: The Key Ingredient
Injection molding primarily uses thermoplastics. These are polymers that can be repeatedly softened by heating and solidified by cooling. This property is suitable for the melt-inject-cool cycle. Thermosetting plastics, which undergo irreversible chemical changes when heated, are generally processed using different methods, though some specialized injection molding techniques exist for them.
Common Thermoplastic Categories
We can broadly group the usable plastics:
- Commodity Plastics: These are inexpensive and used for high-volume, everyday applications.
- Polypropylene (PP): Good chemical resistance, fatigue resistance, relatively inexpensive. Used in packaging, containers, automotive parts, textiles.
- Polyethylene (PE): Comes in various densities (LDPE, HDPE). Flexible, good electrical insulation, low cost. Used in bottles, bags, toys, films.
- Polystyrene (PS): Rigid, clear (in GPPS form), easy to process. Used in disposable cutlery, CD cases, packaging foam (EPS).
- Polyvinyl Chloride (PVC): Can be rigid or flexible. Good chemical resistance, durable. Used in pipes, window profiles, flooring, cables.
- Engineering Plastics: Offer better mechanical and thermal properties than commodity plastics.
- Acrylonitrile Butadiene Styrene (ABS): Good impact resistance, toughness, and surface finish. Used in electronics housings (like computers, phones), automotive trim, LEGO bricks. (This is one I mentioned in the engineering guidance).
- Polycarbonate (PC): High impact strength, transparency, heat resistance. Used in safety glasses, CDs/DVDs, automotive headlamps, electronic device screens. (Another key one).
- Nylon (Polyamide, PA): Strong, good wear resistance, good temperature resistance. Used in gears, bearings, automotive engine components, textiles.
- High-Performance Plastics: Offer superior properties for demanding applications (high temperature, high stress, harsh chemicals).
- Polyether Ether Ketone (PEEK): Excellent mechanical strength, chemical resistance, and performance at high temperatures. Used in aerospace, medical implants, demanding industrial components. (As mentioned in the engineering guidance).
- Others: Include materials like PPS, PEI (Ultem), etc.
The choice depends entirely on the application’s requirements: strength, flexibility, temperature resistance, chemical resistance, transparency, cost, and regulatory compliance (e.g., food grade, medical grade). As noted above, the range is vast, covering everything from simple PP containers to high-tech PEEK components. Helping clients select the right material is a critical part of the design process.
| Plastic Type | Common Examples | Key Characteristics | Typical Uses |
|---|---|---|---|
| Commodity | PP, PE, PS, PVC | Low cost, high volume, basic properties | Packaging, containers, toys, pipes |
| Engineering | ABS, PC, PA (Nylon) | Good balance of strength, temperature, cost | Housings, automotive, gears, lenses |
| High-Performance | PEEK, PPS, PEI | Excellent strength, high temp/chemical resistance | Aerospace, medical, demanding industrial parts |
The Simple Process
Plastic pellets are dried if needed, melted in an injection molding machine, injected into a mold cavity, packed under pressure, cooled, and ejected as a finished part. The cycle repeats thousands or millions of times depending on the project. The mold controls part shape, surface, gate location, cooling, ejection, and many quality outcomes.
Why the Mold Matters
The mold is not just a shape. It is a production tool with steel, cooling channels, gates, runners, vents, ejectors, sliders, lifters and precision surfaces. A good mold makes stable production easier. A poor mold can create defects even when the machine settings look correct.
Common Materials
Common materials include ABS, PP, PE, PC, PA, POM, PMMA, TPE, TPU and engineering resins. Material choice depends on strength, temperature, chemical exposure, flexibility, appearance, cost and compliance. Buyers should define application requirements before choosing a resin.
Common Defects
Typical defects include sink marks, warpage, flash, short shots, weld lines, burn marks, splay, voids and dimensional drift. Most defects connect back to part design, mold design, material behavior or process control. That is why DFM and mold trials are so important.
What to Send for a Quote
Send 3D CAD files, drawings, resin, quantity, color, texture, tolerance, surface finish and application notes. If the part is replacing an existing component, send samples or photos. Clear input helps CKMOLD quote tooling and production more accurately.
RFQ and Validation Checklist
- 3D CAD file and 2D drawing with critical dimensions marked
- Material grade, color, surface finish, texture and performance requirements
- Expected annual volume, prototype quantity or production batch size
- Cosmetic, assembly, packaging and inspection requirements
- Current samples, defect photos or prior mold information if available
- Target market requirements such as UL, RoHS, REACH, UV exposure or other compliance needs when relevant
Engineer-to-Engineer Notes
Project Risk Review Before Tooling
This is also where commercial and engineering decisions meet. A faster lead time may require simpler tooling. A lower mold price may reduce spare parts, cooling quality, or trial support. A high-cavity mold may reduce unit cost but increase balancing risk. Good suppliers do not hide these trade-offs; they explain them so the buyer can choose knowingly.
Sample Approval Should Follow the Real Use Case
Common Mistakes to Avoid
- Approving samples only by photos without dimensions or functional checks
- Comparing mold quotes without checking steel, cavity count, trial rounds and correction responsibility
- Choosing material by name without reviewing service conditions and molding behavior
- Ignoring packaging and handling until after the parts are already molded
- Changing product design after tooling starts without updating drawings and approval records
Supplier Evaluation Notes
When comparing suppliers, ask how they will review manufacturability, where they expect defects, how trial samples will be reported and what happens if mold modifications are needed. A supplier who explains risk early is usually more valuable than one who promises that every part is simple.
How Purchasing and Engineering Teams Should Use This
FAQ
What is plastic injection molding used for?
It is used to produce plastic parts for automotive, electronics, medical, industrial, appliance and consumer products.
What is an injection mold?
An injection mold is precision tooling that forms molten plastic into the desired part shape.
Is injection molding good for prototypes?
It can be, especially when real molded material and production-like parts are needed.
What affects injection molding cost?
Mold complexity, material, part weight, cycle time, cavity count, tolerance and quantity affect cost.
Can CKMOLD support both mold and production?
Yes. CKMOLD supports DFM, mold design, tooling, mold trials and injection molding production.
Conclusion
Plastic injection molding is a versatile, efficient process. It uses heat and pressure to shape molten plastic in a mold, enabling mass production of diverse parts from various materials.