
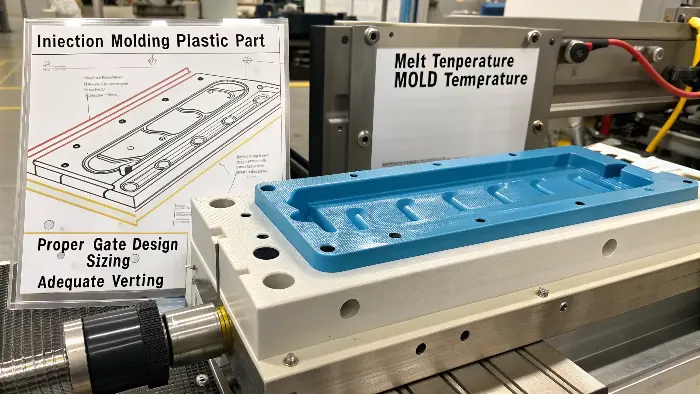
Jetting appears when the melt leaves the gate as an unsupported stream, folds back and freezes as a snake-like mark or internal weakness. It is often treated as an injection-speed problem, but gate placement, gate thickness, flow obstruction, melt viscosity and cavity temperature can be equally important. The most reliable correction makes the flow front attach to the cavity wall in a controlled way.
Related CKMOLD resources: DFM analysis, mold design, mold testing and validation.
What Are the Critical Process Parameters for Injection Molding Really?
Feeling overwhelmed by all the machine settings? Producing bad parts costs valuable time and money. Knowing the critical parameters simplifies your troubleshooting and boosts part quality.
The critical process parameters for injection molding fundamentally include melt temperature, mold temperature, injection pressure, injection speed, holding pressure, and cooling time. These settings directly influence the final part’s quality and the overall efficiency of the molding cycle.
Key Parameters and Their Impact
| Parameter | Usual Impact on Process & Part Quality |
|---|---|
| Melt Temperature | Affects material viscosity. Too low can cause short shots or jetting; too high can lead to material degradation. |
| Mold Temperature | Influences cooling rate, shrinkage, surface finish, and internal stresses. Crucial for dimensional stability. |
| Injection Speed | Determines how fast the mold cavity is filled. Too fast can cause jetting or burning; too slow can result in short shots or flow lines. |
| Injection Pressure | The primary force pushing molten plastic into the mold. Must be sufficient to fill the cavity completely. |
| Holding Pressure | Applied after filling to compensate for material shrinkage as it cools. Affects part weight and dimensions. |
| Cooling Time | The duration the part stays in the mold to solidify. Impacts cycle time and part stability upon ejection. |
So, How Exactly Do You Reduce Jetting in Injection Molding?
Is jetting still a persistent headache in your production? This defect creates weak points and an unacceptable finish. Specific, targeted adjustments can eliminate this problem effectively.
To reduce jetting, you should primarily focus on increasing the melt temperature or mold temperature, decreasing the injection speed, and potentially increasing holding pressure. Also, critically examine and adjust the gate design, location, and ensure adequate mold venting.
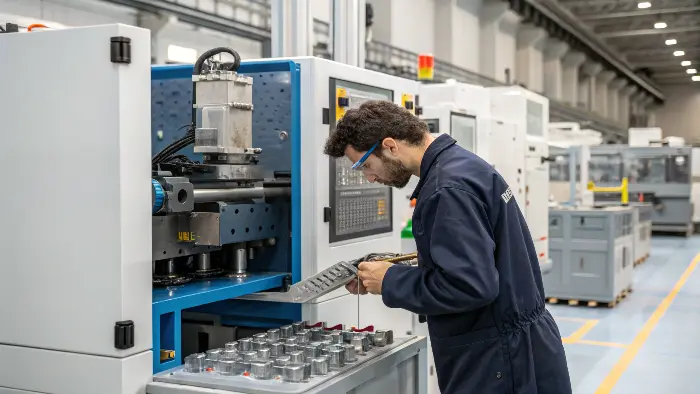
Strategies to Combat Jetting:
- Modify Temperatures:
- Increase Melt Temperature: This lowers the viscosity of the plastic, making it flow more easily and less prone to jetting. Be careful not to exceed the material’s degradation temperature.
- Increase Mold Temperature: A warmer mold surface can help the initial flow front “stick” and spread, rather than jet across.
- Adjust Injection Speed:
- Decrease Injection Speed (especially at the start): This is often the most effective fix. Slowing down the initial entry of plastic allows it to establish a stable flow front that advances uniformly. A practical approach is to a profiled injection speed, starting slow and then ramping up once the flow is established.
- Optimize Gate Design and Location:
- Gate Position: The gate should ideally direct the flow against an obstruction, like a core pin or an opposite cavity wall, rather than into an open, unrestricted area. This helps to “break up” the jet.
- Gate Type and Size: Sometimes, a fan gate or a tab gate can promote a wider flow front compared to a pinpoint gate, reducing jetting tendency. Enlarging the gate can also reduce the velocity for a given flow rate.
- Ensure Proper Mold Venting:
- While not a direct cause, trapped air can exacerbate flow problems and sometimes mimic or worsen jetting. Good venting ensures air can escape as the plastic enters.
- Holding Pressure Considerations:
- While primarily for packing, ensuring adequate holding pressure after the fill can sometimes help mitigate the effects of minor jetting by better conforming the material. However, it’s not a primary fix for jetting itself. We tried adjusting speed and temperature with minimal success. The breakthrough came when we modified the gate, changing its angle to impinge the flow onto a nearby rib. The jetting disappeared almost immediately. It was a powerful reminder that gate design is absolutely critical.
What Are the Overall Parameters for Injection Molding Optimization Then?
Do you want consistently high-quality parts from your molding process? Random adjustments rarely lead to stable results. A systematic approach to optimization is essential for quality and efficiency.
Injection molding optimization involves methodically adjusting key parameters like temperatures (melt and mold), pressures (injection and holding), speeds (injection), and times (cooling, holding) to achieve the desired part quality, minimize cycle time, and reduce waste.
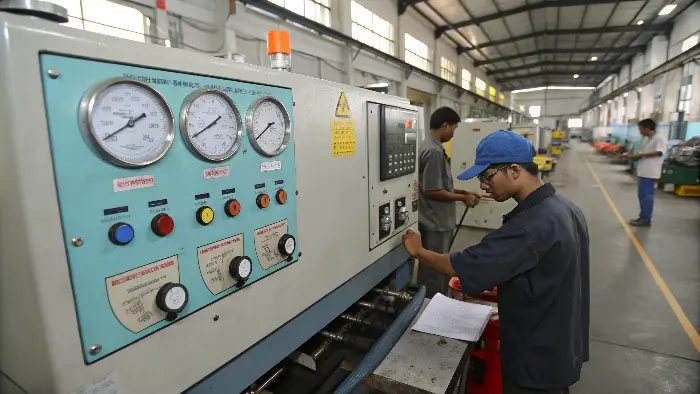
Optimization isn’t just about fixing a single defect like jetting; it’s about making the entire process robust, repeatable, and efficient. I’ve generally believed that a well-optimized process is the cornerstone of profitable molding. It’s about finding that “sweet spot” where everything works in harmony.Core Goals of Optimization:
- Consistent Part Quality: This means meeting all dimensional specifications, ensuring mechanical properties, and achieving the desired aesthetic appearance, part after part.
- Minimum Cycle Time: Reducing cycle time directly impacts productivity and cost per part. However, this should not come at the expense of quality.
- Reduced Material Waste: Minimizing scrap, runners (if applicable), and rejected parts.
- Process Stability: Ensuring the process runs consistently over long periods with minimal need for adjustments.
Key Areas and Parameters for Optimization:
Phase Key Parameters to Optimize Filling Injection Speed Profile, Switchover Point (V/P transfer) Packing Holding Pressure Profile, Holding Time Cooling Cooling Time, Mold Temperature Material Melt Temperature, Drying Conditions (if applicable) Machine Nozzle Temperature, Screw Recovery Settings And How Do You Reduce Those Annoying Flow Lines in Injection Molding?
Are you seeing unsightly wavy patterns or distinct lines on your molded parts? Flow lines are a common cosmetic defect. Understanding their cause is the first step to achieving smooth surfaces.
To reduce flow lines, try increasing injection speed, melt temperature, or mold temperature. Also, ensure the gate is designed and sized appropriately, and that the mold has adequate venting to facilitate smooth material flow.
Flow lines, sometimes called “flow marks,” often appear as a wavy or ripple-like pattern on the part surface, typically in areas furthest from the gate. They occur when layers of molten plastic cool at different rates as they flow through the mold, or when flow fronts don’t meld together reliably. I’ve often seen them in thin-walled sections or where the flow path is long.Common Strategies to Eliminate Flow Lines:
- While primarily for packing, ensuring adequate holding pressure after the fill can sometimes help mitigate the effects of minor jetting by better conforming the material. However, it’s not a primary fix for jetting itself. We tried adjusting speed and temperature with minimal success. The breakthrough came when we modified the gate, changing its angle to impinge the flow onto a nearby rib. The jetting disappeared almost immediately. It was a powerful reminder that gate design is absolutely critical.
- Increase Injection Speed: Filling the mold cavity faster can help ensure the material reaches all points before it cools too much, promoting better fusion of flow fronts. This is often a very effective solution.
- Increase Melt Temperature: A hotter melt has lower viscosity and stays fluid longer, allowing it to flow more easily and fill the cavity more uniformly before solidifying.
- Increase Mold Temperature: A warmer mold surface prevents the plastic from cooling too rapidly upon contact, giving it more time to flow smoothly and for different flow fronts to merge properly.
- Optimize Gate Design and Location:
- Gate Size: A larger gate can reduce the shear and allow for a less restricted flow, sometimes helping to prevent flow lines.
- Gate Location: Positioning the gate to ensure a balanced flow path can prevent some areas from cooling prematurely.
- Improve Mold Venting: Trapped air can hinder flow and cause marks that might be mistaken for or contribute to flow lines. Ensure vents are clear and appropriately sized.
- Increase Back Pressure: During screw recovery, higher back pressure can lead to a more homogenous melt, which can sometimes improve flow characteristics.
- Check Nozzle Diameter:A nozzle that is too small can restrict flow and cause issues. We incrementally increased the injection speed and raised the mold temperature by just 10°C. These two adjustments together significantly reduced the flow lines to an acceptable level. It’s often a combination of factors, and small, targeted changes can make a big impact.
Confirm Jetting Before Changing Settings
Look for a winding surface mark that begins near the gate, a localized rough area or a folded flow pattern. Compare a short-shot sequence to see how the first stream travels. Distinguish jetting from weld lines, splay, burn marks or flow hesitation because each defect points to a different correction.
Make the Gate Deliver a Supported Flow
A gate that points into open space or enters a thin region can allow the melt to free-jet. A fan, tab, edge or properly directed gate can spread or redirect the flow so it contacts the wall. Gate land, thickness, transition radius and vestige requirements must be considered together.
Use a Controlled Speed and Temperature Profile
Reducing the initial injection speed may prevent the stream from crossing the cavity before it attaches, while a later higher speed may preserve fill time. Increasing melt or mold temperature can improve flow, but excessive heat may create degradation, flash or a longer cycle. Use a profile, not a blind global change.
Check Restrictions and Air Movement
Runner imbalance, sharp transitions, cold slugs, trapped air or a sudden wall change can redirect the flow and make jetting more likely. Venting does not remove the root cause of a free stream, but poor venting can amplify surface defects and complicate diagnosis.
Verify the Correction With Repeat Samples
Compare the gate area, cosmetic surface, weld-line strength, dimensions and cycle across repeated shots. If a speed reduction hides the mark but creates a short shot, the gate or flow path still needs work. Record the approved profile and the condition under which the result was accepted.
Eliminate Jetting in Injection Molding: Buyer Review Checklist
- Confirm the defect with short shots and distinguish it from weld lines, splay or burns.
- Review gate direction, gate land, transition radius and the first wall or feature downstream.
- Tune initial speed, later fill speed, melt temperature and mold temperature systematically.
- Inspect runner restrictions, cold slugs, wall changes and venting around the flow path.
- Repeat the corrected condition and verify appearance, strength, dimensions and cycle.
FAQ
Can slowing injection speed remove jetting?
It may help the flow attach to the wall, but a gate that points into free space or an unsuitable transition may still require a mold correction.
Does jetting weaken the molded part?
It can create an unfavorable flow pattern or surface defect, so functional strength and weld-line behavior should be checked rather than judged by appearance only.
Conclusion
Optimizing key injection parameters like temperature, speed, and pressure is vital to eliminate jetting and other defects, ensuring you produce high-quality, consistent molded parts.