
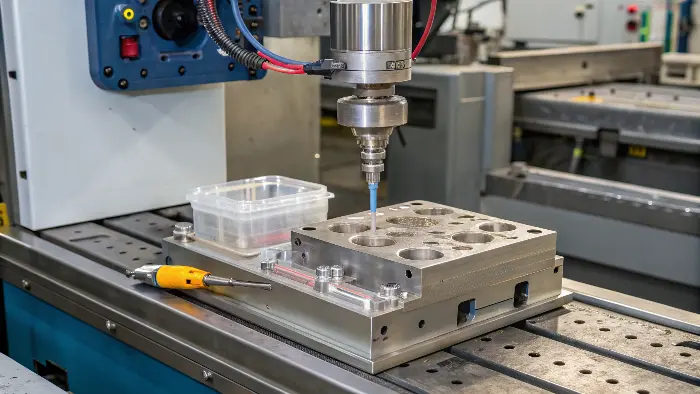
Turning an idea into a real product seems hard. Many steps can confuse you. We at CKMOLD make this journey clear and simple for you.
Developing diverse injection molded products requires a repeatable workflow that can adapt to different industries and materials. CKMOLD’s engineering perspective is to control the handoffs: clarify the product requirement, review manufacturability, choose the tooling route, validate the mold and preserve the production baseline. The workflow is consistent even when the parts are not.
Related CKMOLD resources: DFM analysis, prototype injection molding, production injection molding.
CKMOLD helps create many plastic products. We guide you from your first idea, through designing the part and mold, to making the final product. We make sure everything works well together.
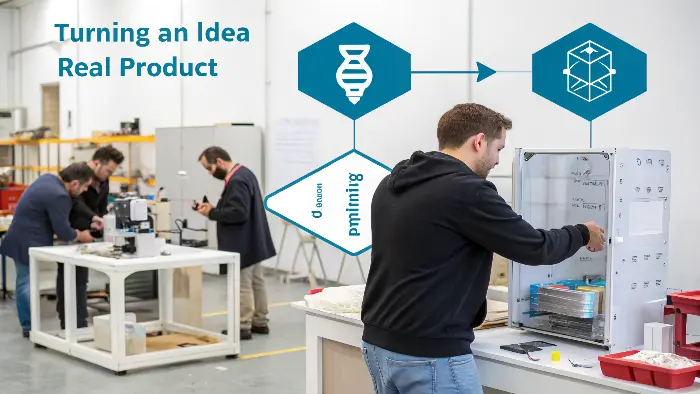
You might wonder how this all works. It’s a fascinating process with many important steps. Keep reading to learn more.
What is the concept of injection molding?
You hear “injection molding” but don’t know what it is. This makes it hard to see how your product is made. Let me explain this key manufacturing method.
Injection molding is a way to make many plastic parts. We melt plastic and push it into a mold. The plastic cools and hardens into the shape of the mold.
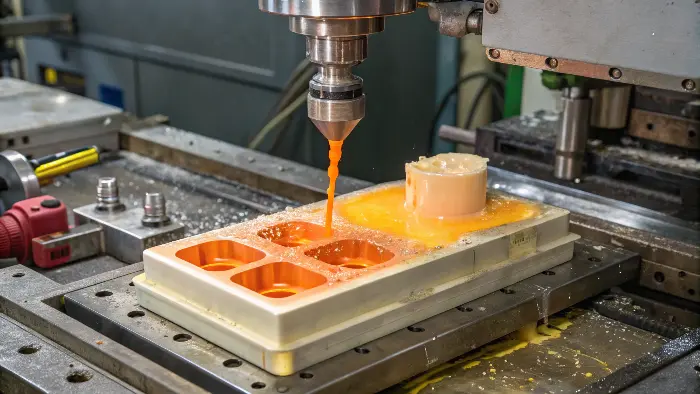
Key Steps in Injection Molding
- Clamping: The two halves of the mold are securely closed by the clamping unit.
- Injection: Molten plastic is injected into the mold cavity under high pressure.
- Cooling: The plastic cools and solidifies within the mold.
- Ejection: The mold opens, and the solidified part is pushed out.
This cycle is fast and efficient. It allows us to produce high volumes of parts with great precision. We at CKMOLD have helped many clients use this method.
What is the concept of mould design?
A good product needs a good mold, but what makes a mold design good? Poor design leads to bad parts and wasted money.
Mold design is like making a blueprint for the mold. It decides how the plastic flows, cools, and how the part comes out. Good design means good parts and a smooth process.
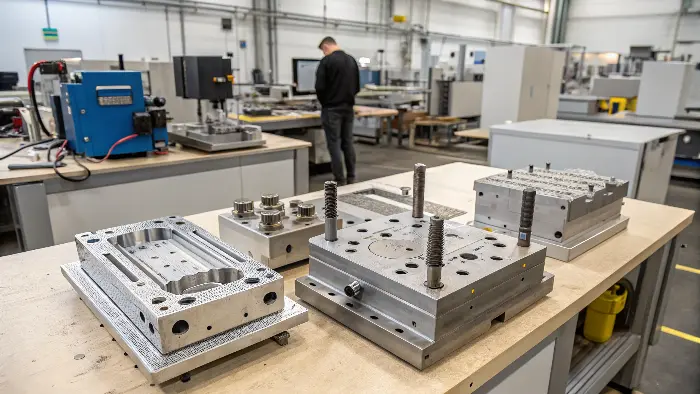
Key Considerations in Mold Design:
| Feature | Importance |
|---|---|
| Part Geometry | Determines complexity, draft angles, and potential for undercuts. |
| Material Choice | Affects shrinkage, flow properties, and required mold materials. |
| Gating System | Influences filling pattern, weld lines, and cosmetic appearance. |
| Cooling System | Critical for cycle time, part quality, and preventing warpage. |
| Ejection System | Ensures easy and damage-free removal of the part from the mold. |
| Venting | Allows trapped air to escape, preventing short shots and burn marks. |
Thinking about these details early saves a lot of trouble and money.
How are molds made for injection molding?
You know a mold is needed, but how is this precise tool actually built? It seems like a complex, almost magical process. Let me show you the steps to create these essential tools.
Molds are usually made from steel or aluminum. We use precise machines like CNC mills and EDM to cut the metal. This creates the cavity that shapes the plastic part.
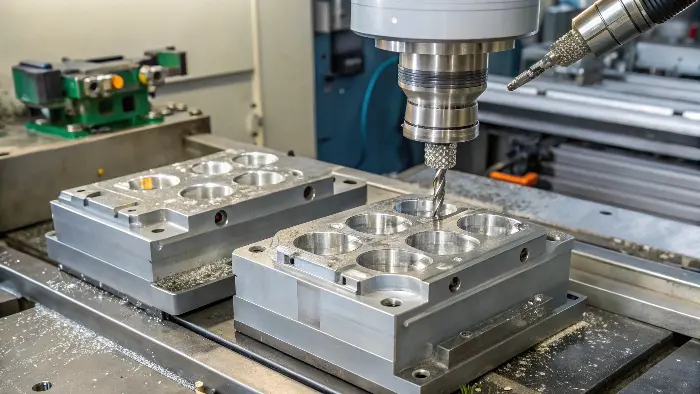
Main Mold Making Steps:
- Design Review: Final check of the mold design.
- Material Selection: Choosing the right steel or aluminum.
- CNC Machining: Roughing and finishing the mold cavities and cores.
- EDM (if needed): Creating fine details or features difficult to machine.
- Heat Treatment: Hardening the mold components.
- Polishing: Achieving the desired surface finish on the mold cavities.
- Assembly & Fitting: Putting all mold components together and ensuring they fit reliably.
- Trialing (T1): Testing the mold with actual plastic to check part quality.
This careful process ensures the mold will produce good parts for a long time. At CKMOLD, we oversee this meticulously.
What is the manufacturing process of injection molding?
You have a mold, but how does it actually make thousands of your products? The jump from a tool to mass production can seem unclear.
The manufacturing process involves an injection molding machine. It melts plastic, injects it into the mold, cools it, and then ejects the finished part. This cycle repeats rapidly for mass production.
Once the mold is made and tested, we are ready for mass production. This happens on an injection molding machine. These machines are quite amazing. First, we mount the mold securely into the machine. The machine has two main parts: the injection unit and the clamping unit. The injection unit is like a big syringe. It takes plastic pellets from a hopper. Inside a heated barrel, a screw melts these pellets and moves the molten plastic towards the front. The clamping unit holds the two halves of the mold together with great force. This is important because the injection pressure is very high. If the mold is not clamped tightly, plastic could leak out. When everything is ready, the cycle begins.
- Mold Closing: The clamping unit closes the mold.
- Injection: The screw pushes forward, injecting the molten plastic into the mold cavity.
- Holding Pressure: Pressure is maintained for a short time to make sure the cavity is completely filled as the plastic starts to cool and shrink.
- Cooling: The plastic cools down inside the mold. Cooling channels in the mold help speed this up. This is often the longest part of the cycle.
- Mold Opening: The clamping unit opens the mold.
- Ejection: Ejector pins push the solidified part out of the mold. The part might fall onto a conveyor belt or be removed by a robot.
Then, the cycle starts all over again. This can happen very quickly, sometimes in just a few seconds, depending on the part size and complexity. I’ve spent many hours in factories watching these machines run. It’s impressive to see how consistently they produce identical parts, one after another. We monitor the process closely to ensure quality.
Key Parameters in Injection Molding:
| Parameter | Description | Impact on Part Quality |
|---|---|---|
| Melt Temperature | Temperature of the plastic as it’s injected. | Affects flow, fill, and material degradation. |
| Injection Pressure | Force used to push plastic into the mold. | Influences part density, dimensions, and flash. |
| Injection Speed | How fast the plastic is injected. | Affects fill pattern, weld lines, and surface finish. |
| Cooling Time | Duration the part stays in the mold to solidify. | Determines cycle time, part stability, and warpage. |
| Holding Pressure | Pressure applied after initial fill to compensate for shrinkage. | Affects part dimensions, sink marks, and voids. |
Controlling these parameters is key to making good parts consistently. We at CKMOLD have years of experience fine-tuning these for optimal results.
1. Clarify the Product and Commercial Objective
Collect CAD, drawings, material, annual volume, target cost, critical interfaces, surface, assembly and validation needs. Decide whether the project needs prototype learning, rapid tooling, a production mold, multi-cavity output or an export handover.
2. Convert CAD Into a Manufacturing Plan
DFM identifies draft, wall transitions, ribs, bosses, undercuts, gates, cooling, vents, ejection, tolerances and inspection. The team should explain trade-offs rather than simply request approval for a mold layout. Early decisions protect both product function and tooling budget.
3. Build and Control the Tool
Steel, inserts, hot runner, slides, lifters, cooling and surface work are selected from the part and production risk. Machining, fitting, inspection and revision control create the evidence that the tool matches the approved design.
4. Trial, Learn and Validate
Trials examine fill, pressure, cooling, ejection, cavity balance, dimensions, appearance and cycle. Corrections are logged and rechecked. Validation then connects the molded part to assembly, function, environment and customer acceptance.
5. Release and Support Production
The handover includes process settings, inspection, material, mold drawings, spare parts, maintenance, packaging and change control. Production support should treat a later issue as a system problem to diagnose, not a reason to change settings without records.
From Concept to Production: Buyer Review Checklist
- Confirm product, volume, material, surface, cost, timing and validation requirements.
- Complete DFM and approve parting, gating, cooling, ejection and inspection assumptions.
- Control steel, machining, fitting, surface, revision and inspection evidence during tool build.
- Use staged trials and close corrections with repeatable data.
- Hand over process, mold, material, inspection, spare and maintenance information for production.
FAQ
What is the most important stage before tooling?
Clarifying the product requirement and resolving DFM risks before the mold architecture is finalized prevents many downstream corrections.
What should a mold handover include?
Include drawings, revisions, steel and heat treatment, spare parts, maintenance points, trial results, process baseline and inspection requirements.
Conclusion
CKMOLD guides your product from idea to reality. We use expert mold design and precise injection molding. This ensures quality parts are made efficiently for your needs.