
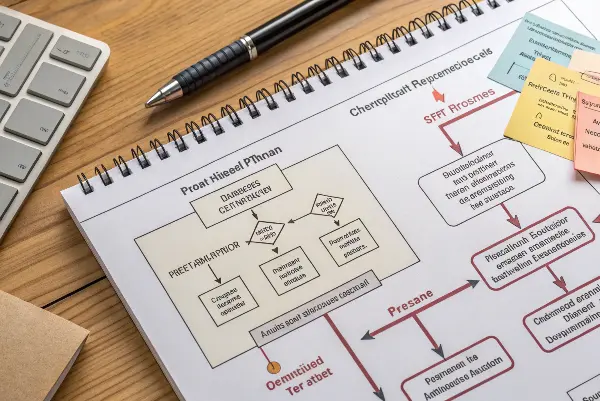
Are you holding a brand-new plastic prototype, feeling a mix of excitement and anxiety? The design looks suitable, but a nagging thought persists: will it actually work in the real world? Moving to expensive production tooling without validating performance is a huge gamble. A single unforeseen flaw could lead to catastrophic costs, production delays, and a damaged reputation. How can you be certain your design is ready for the final step?
Prototype validation should reduce uncertainty before production tooling, not simply generate a pass label. The plan must state which prototype characteristics represent the final part and which do not. A risk-based program connects requirements to test methods, sample condition, fixtures, loads, environment, measurements, failure modes and the next design or process action.
Related engineering resources: mold testing and validation | DFM analysis | prototype injection molding
The best way to validate a plastic prototype is by implementing a rigorous functional testing plan that simulates its real-world environment. This involves a series of standardized tests to measure mechanical strength, environmental resistance, chemical compatibility, and assembly fit. Key protocols include tensile, impact, and compression tests, along with thermal cycling, UV exposure, and chemical immersion. Systematically performing these tests validates your design’s performance and durability, ensuring you catch critical flaws before committing to mass production tooling.
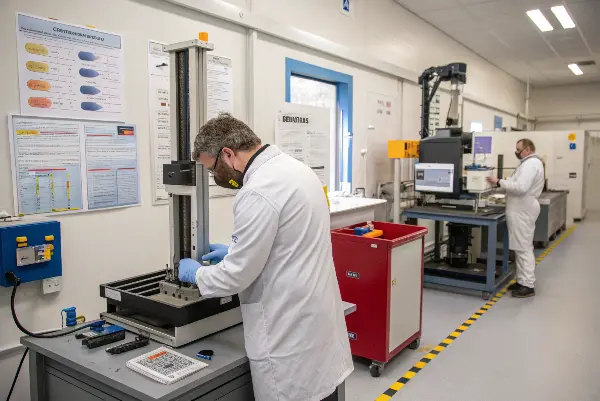
Validating your prototype is more than just a box-ticking exercise; it’s the most critical insurance policy you can have for your product launch. It bridges the gap between a great idea on a computer screen and a successful product in your customer’s hands. Without it, you’re essentially flying blind, hoping that your design assumptions were correct.
But building a truly effective testing protocol requires a clear strategy. You need to know which tests matter most for your specific application and how to interpret the results.
What Are the Core Mechanical Tests Your Plastic Prototype Must Pass?
You’ve approved the aesthetics of your prototype, but its real job hasn’t started yet. Will it snap under pressure, shatter on impact, or deform when a load is applied? Releasing a product that fails mechanically not only leads to costly recalls but can permanently damage your brand’s credibility. You need to know, with certainty, that your part is strong enough for its intended use before you even think about creating the production mold.
To ensure structural integrity, your plastic prototype must pass a series of core mechanical tests. These typically include tensile testing to measure its resistance to being pulled apart, compressive testing for its ability to withstand crushing forces, and impact testing (like Izod or Charpy) to evaluate its toughness and resistance to sudden shocks. Flexural testing is also crucial to determine how much it can bend before it deforms or breaks. These tests provide quantifiable data on the material and design’s limits.
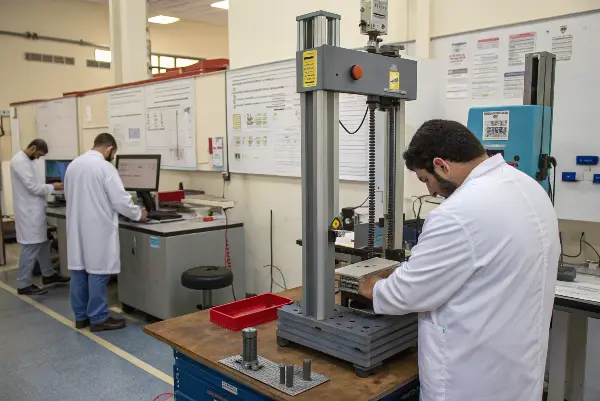
Tensile and Compressive Strength: The Push and Pull
Tensile strength is one of the most basic yet critical properties. It tells you the maximum stress the material can handle while being stretched or pulled before it breaks. Think about a plastic handle on a tool or a snap-fit clip. You need to know it won’t just pull apart during use. Compressive strength is the opposite; it measures how well the prototype resists being squeezed or pushed together. This is vital for parts that bear weight, like support brackets or feet on an appliance. These two tests give you a baseline understanding of your part’s fundamental strength under load.
Impact and Flexural Strength: Surviving Shocks and Bends
Real-world products aren’t just pushed and pulled; they are dropped, bumped, and bent. That’s where impact and flexural testing come in. Impact resistance, often measured with Izod or Charpy tests, determines how a material behaves under a sudden, high-energy blow. It’s the difference between a material that dents and one that shatters. Flexural strength, or bending strength, is crucial for components that need to be flexible without breaking, like living hinges on a container lid or the body of a remote control. A material can have great tensile strength but be very brittle, failing impact tests spectacularly.
| Test Type | What It Measures | Why It’s Important for Your Prototype |
|---|---|---|
| Tensile Test | Resistance to being pulled apart. | Validates strength for parts under tension (e.g., hooks, straps, handles). |
| Compressive Test | Resistance to being crushed. | Crucial for load-bearing parts (e.g., bases, supports, buttons). |
| Impact Test | Toughness and energy absorption during a sudden shock. | Ensures durability for products that may be dropped or hit. |
| Flexural Test | Ability to bend without breaking. | Essential for parts that require flexibility (e.g., clips, hinges, casings). |
How Do Environmental Factors Impact Your Prototype’s Performance?
Your prototype performs reliably in the controlled environment of your office, but what happens when it’s left in a hot car, used outdoors in the freezing cold, or operated in a humid factory? Environmental conditions can wreak havoc on plastics, causing them to warp, become brittle, or degrade in color. Launching a product without considering its operational environment is a recipe for failure, leading to angry customers and warranty claims when your product can’t handle the heat (or the cold).
Environmental factors like temperature, humidity, and UV radiation can significantly degrade a prototype’s performance and appearance. You must validate your design through environmental testing protocols like thermal cycling (exposing it to extreme high and low temperatures), humidity chamber testing to check for moisture absorption and swelling, and UV exposure testing to assess its resistance to sunlight-induced brittleness and color fading. These tests ensure your product will remain functional and aesthetically pleasing throughout its expected lifecycle in its intended environment.

Temperature Extremes: Thermal Cycling
Many products experience drastic temperature swings. Think of an electronic device for a car that must function reliably whether it’s -20°F on a winter morning or 150°F on a summer afternoon. Thermal cycling tests this by repeatedly moving the prototype between hot and cold chambers. This process reveals issues like warping due to different rates of thermal expansion in assembled parts, material cracking, or failures in seals and gaskets. It’s a critical test for any product that won’t spend its life indoors at room temperature.
Humidity and Moisture: The Silent Killer
Plastics are not all created equal when it comes to moisture. Some materials, like Nylon, are hygroscopic, meaning they absorb moisture from the air. This can cause the material to swell, changing its dimensions and reducing its strength and stiffness. For parts with tight tolerances, this swelling can cause a suitable fit to become an impossible one. A humidity chamber test simulates prolonged exposure to damp conditions, helping you verify that your material choice won’t lead to dimensional instability or premature failure in humid environments.
| Environmental Factor | Potential Negative Effect on Plastic | Recommended Test Protocol |
|---|---|---|
| High Temperature | Warping, softening, loss of strength. | Thermal Aging / Heat Deflection Test |
| Low Temperature | Increased brittleness, cracking. | Cold Temperature Impact Test |
| Temperature Swings | Cracking, warping due to expansion/contraction. | Thermal Cycling Test |
| High Humidity | Swelling, loss of mechanical properties. | Humidity Chamber / Water Immersion Test |
| UV Radiation (Sunlight) | Color fading, yellowing, embrittlement. | Accelerated UV Weathering Test |
Can Your Prototype Withstand Chemical Exposure and Assembly Stresses?
Your prototype might be strong and environmentally stable, but what happens when it comes into contact with everyday substances? A simple cleaning agent, a lotion, or an industrial lubricant could cause the plastic to crack, craze, or completely dissolve. Furthermore, does the part actually fit together with its mating components as intended? A design that looks suitable on the screen can fail in reality due to tolerance stack-ups or unforeseen assembly stresses, turning your production line into a nightmare of inefficiency and rework.
To ensure reliability, your prototype must undergo chemical resistance testing and a thorough fit and assembly analysis. Chemical resistance is checked by exposing the prototype to all potential chemicals it might encounter in its end-use environment, from cleaning solutions to oils, and looking for signs of degradation like cracking or swelling. Fit and assembly analysis involves physically mating the prototype with all other components to verify tolerances, check for interference, and confirm that the assembly process itself doesn’t induce excessive stress on the part.
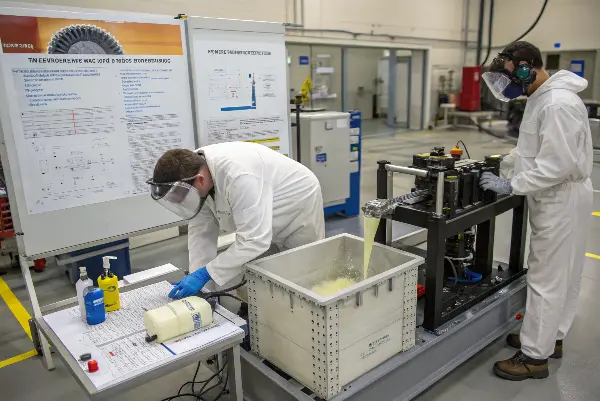
Chemical Resistance: More Than Just Acids
When we talk about chemical testing, people often think of harsh industrial acids. But for most products, the real danger comes from everyday substances. For a consumer electronic device, this could be skin oils, lotions, or screen cleaners. For a kitchen appliance, it could be cooking oils or dish soap. The testing process is straightforward: apply the relevant chemicals to the plastic and observe it over time under a controlled stress level. You’re looking for any changes—crazing, discoloration, swelling, or loss of strength. This ensures your product won’t be ruined by normal use and maintenance.
Fit and Assembly: From CAD to Reality
This is where the digital model meets the physical world. A part can be reliably molded to spec, but if it doesn’t fit with the screws, seals, and other components, it’s useless. During a fit and assembly analysis, you should:
- Check Tolerances: Do all parts fit together without being too loose or too tight?
- Identify Interference: Are there any areas where parts collide or don’t align properly?
- Assess Assembly Stress: Does the act of snapping parts together or tightening screws create too much stress, potentially leading to future cracks?
| Test Category | Specific Test Example | What It Validates |
|---|---|---|
| Chemical Resistance | Swab test with isopropyl alcohol. | Ensures the plastic doesn’t degrade from common cleaning agents. |
| Chemical Resistance | Immersion in motor oil for 24 hours. | Critical for automotive parts to confirm material compatibility. |
| Fit & Assembly | Test assembly with mating parts and fasteners. | Verifies dimensional accuracy and that tolerance stack-ups are acceptable. |
| Fit & Assembly | Repeated assembly/disassembly cycles. | Checks the durability of snap-fits, threads, and other connection features. |
How Do You Create a Comprehensive Functional Testing Plan?
Knowing about individual tests is one thing, but how do you pull it all together into a structured, effective plan? Simply running a few random tests isn’t enough. Without a comprehensive strategy, you might miss a critical failure mode, test for the wrong parameters, or generate data that you can’t properly interpret. This disorganized approach can give you a false sense of security, leading you to approve a flawed design for production, completely defeating the purpose of testing.
To create a comprehensive functional testing plan, you must first clearly define the product’s end-use requirements and operating environment. From there, identify all critical-to-quality (CTQ) features and potential failure modes. Next, select the specific mechanical, environmental, and chemical tests that directly address these risks. Finally, document every step in a formal test plan that outlines the procedure, equipment, sample size, and clear pass/fail criteria for each test. This structured approach ensures thorough, repeatable, and conclusive validation.
The difference between a successful project and a failed one often comes down to planning. I insist on creating a formal testing plan with every client before we even begin cutting steel for a prototype mold. It forces a conversation about every detail of the product’s life. “Where will it be used? Who will use it? How will it be cleaned? What is the absolute worst-case scenario this part could face?” By answering these questions upfront, we build a testing protocol that is tailored to the product. It’s not just about running tests; it’s about running the right tests. This plan becomes our roadmap, guiding us from prototype to a confident production launch.
Step 1: Define End-Use and Critical-to-Quality (CTQ) Features
Before you can test anything, you have to know what you’re testing for. Start by writing down a detailed description of the product’s life.
- Environment: Will it be indoors or outdoors? Exposed to sunlight? Used in a high-humidity area?
- User Interaction: How will people handle it? Will it be dropped? Are there buttons to be pressed thousands of times?
- Mechanical Loads: What forces will it experience? Will it support weight? Does it need to contain pressure?
From this, you identify the CTQs—the features that absolutely must not fail. This could be the strength of a mounting tab, the seal of a gasket, or the clarity of a lens.
Step 2: Select Tests and Define Pass/Fail Criteria
With your CTQs defined, you can now select the specific tests that will validate them. If a CTQ is the housing’s ability to survive a fall, an impact test is necessary. If it’s a watertight seal, a water immersion or pressure test is required. For each test, you must establish unambiguous pass/fail criteria. It’s not enough to say, “it shouldn’t break.” A better criterion is: “After a 1-meter drop onto concrete, the part shall exhibit no visible cracks or fractures, and all snap-fits must remain fully engaged.” Clear, measurable criteria remove all subjectivity from the results.
| Plan Component | Description | Example |
|---|---|---|
| Requirement | A high-level goal for the product. | The device housing must be durable enough for daily handling. |
| CTQ Feature | The specific feature that enables the requirement. | The snap-fit clips that hold the housing together. |
| Test Protocol | The specific test to validate the CTQ. | Repeated Assembly Test: 50 cycles of assembly/disassembly. |
| Pass/Fail Criteria | The objective measure for success. | After 50 cycles, the clips must hold with >5N of force and show no signs of stress whitening or cracking. |
Translate Requirements Into Testable Risks
List strength, stiffness, impact, fatigue, temperature, chemicals, moisture, sealing, wear, assembly, appearance and dimensional requirements. Rank risks by severity and uncertainty. Avoid testing a convenient property that is unrelated to the product’s likely failure mode.
Choose a Representative Prototype State
Record method, material, orientation, post-processing, conditioning, hardware and assembly. If the prototype is not production-representative, define a correlation or confirmation step with molded parts. Prototype results are evidence with a boundary, not a universal prediction.
Control Fixtures, Loads and Measurements
Use repeatable datums, realistic constraints, load rates, temperature, humidity, cycle count and inspection timing. A fixture can create an artificial stress concentration or mask a real one. Calibrate equipment and record raw observations, not only pass/fail.
Inspect Failure Mode and Variation
Capture cracks, pullout, creep, whitening, delamination, wear, leakage, distortion and cosmetic changes. Test enough samples to see variation and compare orientations or process conditions when relevant. The failure location often teaches more than the headline load.
Close the Correlation Loop
Use the result to adjust geometry, material, assembly, tooling or test method, then confirm the changed risk. Before release, show which prototype findings transferred to production and which were rechecked with molded parts, production-like tooling or environmental aging.
Validate Plastic Prototype Performance Before Production: Buyer Review Checklist
- Map requirements to likely failure modes, severity and uncertainty.
- Record prototype method, material, orientation, conditioning, hardware and limitations.
- Control fixtures, loads, rates, environment, datums, calibration and timing.
- Document failure location, variation, photos, raw observations and acceptance.
- Close the loop with DFM, material, tooling or production-representative confirmation.
Frequently Asked Questions
How many prototype samples are needed?
The number depends on risk, variation, test destructiveness and decision importance. Define a rationale rather than using a universal sample count.
Can prototype testing replace production validation?
It can reduce risk and guide design, but production-like parts and processes may still be needed for shrinkage, weld lines, material conditioning, tool variation and release evidence.
Conclusion
Validating your plastic prototype through a structured functional testing plan isn’t an optional expense; it is the most critical investment you can make in your product’s success. By systematically testing for mechanical, environmental, and chemical stresses, you transform assumptions into certainties. This process gives you the hard data needed to move into production with confidence, protecting you from costly rework, launch delays, and the brand damage that comes from a failed product.