
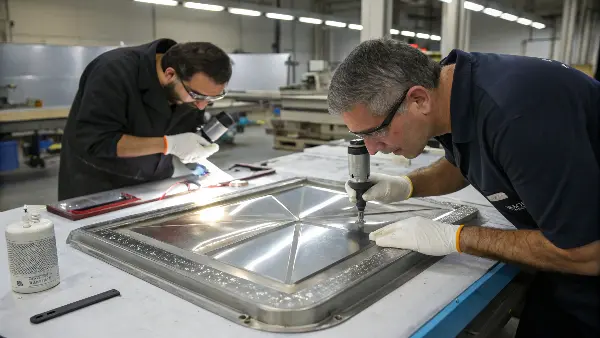
Struggling with inconsistent surface finishes on your plastic parts? This often points back to the mold itself, causing costly defects, production delays, and unhappy customers. You know a consistent finish is crucial for your product’s appeal and function, but achieving it consistently feels like a black box. The frustration of dealing with suppliers who cut corners on the core and cavity can put your entire project at risk.
A superior surface finish is designed into the core and cavity before polishing begins. Parting-line placement, steel, gate location, weld lines, draft, venting, cooling and release all affect the surface that the customer sees. The finish specification should therefore be reviewed as a product and process requirement, not handed to the polishing team as an isolated task.
Related CKMOLD resources: mold design services, DFM analysis, mold testing and validation.
A superior surface finish is achieved by combining the right mold steel, precise heat treatment, advanced machining techniques, and meticulous, multi-stage polishing. It starts with selecting a high-polishability steel like S136, followed by carefully controlled heat treatment to optimize hardness. High-speed CNC machining and EDM create the initial geometry with tight tolerances. Finally, skilled technicians perform a systematic polishing process, moving from coarse grits to fine diamond pastes to achieve the specified SPI standard, ensuring a consistent final part.
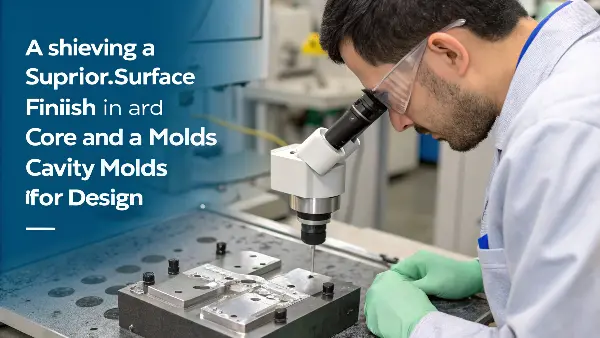
Achieving that suitable, mirror-like surface on a molded part is not a matter of luck. It’s the result of a deliberate and rigorous process that we’ve refined over many years in the industry. It’s a chain where every link—from the initial material selection to the final polish—must be strong. In this article, I’ll walk you through each of these critical links. We will explore the materials, the processes, and the mindset required to master the art of the suitable surface finish.
What Role Do Materials Play in Achieving a Suitable Surface Finish?
Have you ever invested in a mold only to find it can’t produce the high-gloss finish your product requires? The parts come out with minor imperfections, forcing you to deal with high rejection rates. This is often because the wrong mold steel was used. Choosing a cheaper, less suitable material might save a little upfront, but it costs a fortune in the long run through production issues and a tarnished brand reputation.
The choice of mold steel is the foundation for a superior surface finish. High-polishability steels like S136 or NAK80 are essential for achieving mirror-like finishes (SPI A-1/A-2). These materials have a very fine and uniform grain structure with minimal impurities, which allows them to be polished to an exceptionally smooth surface without revealing microscopic pits or defects. Standard steels like P20 are good for textured or less critical surfaces but simply cannot hold a high-gloss polish, making material selection a critical first step.
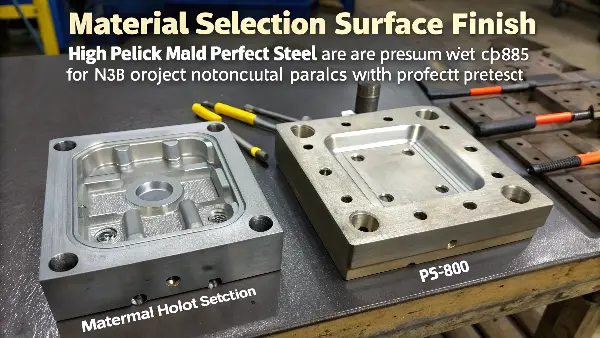
Here at CKMOLD, we treat material selection as the most critical decision at the start of any project. It’s not just about hardness or durability; it’s about polishability.
Understanding Steel Properties
The ability of a steel to take a high polish is directly related to its microstructure and cleanliness.
- Microstructure: The steel must have a fine, uniform grain structure. Large, inconsistent grains create an “orange peel” effect when polished.
- Cleanliness: This refers to the absence of non-metallic inclusions like sulphides and oxides. During polishing, these tiny impurities can be torn out, leaving microscopic pits on the surface. High-grade steels are produced through processes like Electro-Slag Remelting (ESR), which removes these impurities.
Comparing Common Mold Steels
To help you understand the differences, here’s a simplified comparison of steels we commonly use, based on the required finish:
| Steel Grade | Polishability | Hardness (HRC) | Common Applications |
|---|---|---|---|
| P20 | Fair (Up to SPI B-2) | ~30-34 HRC | General purpose molds, larger parts, textured finishes. |
| 718H | Good (Up to SPI B-1) | ~33-37 HRC | High-demand molds, better polish than P20. |
| NAK80 | Excellent (Up to SPI A-2) | ~38-42 HRC | High-polish, precision molds. Pre-hardened, no heat treat needed. |
| S136 (ESR) | Superior (Up to SPI A-1) | ~48-52 HRC | Mirror finish, optical parts, corrosive plastics (PVC). |
Choosing the right steel is a balancing act between performance and cost, but for a superior finish, there is no substitute for a high-quality, clean steel.
How Does Heat Treatment Impact Mold Surface Quality?
You’ve selected the suitable high-grade steel for your mold, expecting a consistent finish. Yet, after machining, the mold warps, or even worse, micro-cracks appear during polishing. This devastating setback often traces back to one overlooked step: improper heat treatment. An uncontrolled process can ruin the expensive steel, undoing all the careful planning and forcing a complete restart of the core and cavity manufacturing. It’s a costly and time-consuming failure.
Heat treatment is critical because it refines the steel’s grain structure and establishes the final hardness required for both durability and polishability. A proper, multi-stage process involving quenching and tempering relieves internal stresses from rough machining and creates a uniform, hard microstructure. This prevents warping and ensures the surface is stable and consistent, allowing polishing tools to create a smooth, defect-free finish. Without precise heat treatment, the steel remains unstable and cannot achieve a high-quality surface.
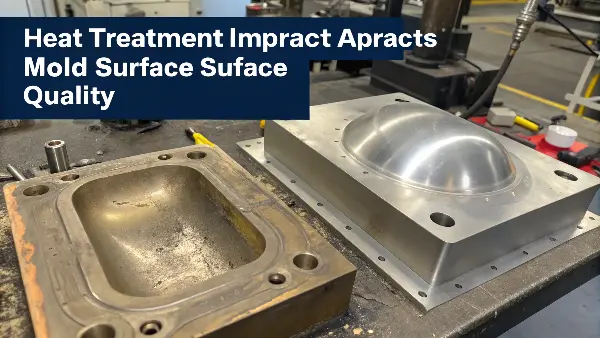
That experience taught me that heat treatment is not a step to be rushed or outsourced to the lowest bidder. It requires expertise and precise control.
The Stages of Effective Heat Treatment
For a high-polish steel like S136, the process is meticulous and must be done correctly to achieve the desired hardness (typically around 50-52 HRC) without introducing internal stress.
- Stress Relieving: After rough machining, the steel block has a lot of internal stress. We first heat it to a moderate temperature (around 600°C) and then cool it very slowly. This relaxes the steel, preventing it from warping during the much more intense hardening process later.
- Hardening (Quenching): This is the main event. The steel is heated to a high temperature (over 1000°C) to change its internal crystal structure. It is then cooled rapidly, or “quenched,” in oil or air. This rapid cooling locks in the hard structure. The speed of cooling is critical; too fast and it cracks, too slow and it won’t be hard enough.
- Tempering: After quenching, the steel is extremely hard but also very brittle. Tempering involves reheating the steel to a lower temperature (e.g., 200-300°C) and holding it there for a few hours. This process is usually repeated two or three times. It reduces brittleness while retaining most of the hardness, resulting in a tough, stable material ready for finishing.
Why Vacuum Furnaces are Essential
For the best results, we insist on using vacuum furnaces. A vacuum environment prevents the steel’s surface from reacting with oxygen at high temperatures. This avoids the formation of a “decarburized layer”—a soft, carbon-depleted skin that would ruin the surface finish and must be machined off. It ensures the hardness is uniform from the core to the very surface of the mold.
Which Machining Techniques Are Critical for a consistent Finish?
You see the final, gleaming surface of a mold and assume it’s all about the polishing. But what if I told you the polishing team can’t fix a poorly machined surface? If the preceding CNC or EDM steps leave behind deep tool marks, surface inaccuracies, or a stressed surface layer, no amount of polishing can achieve a true mirror finish. The polisher will spend countless hours just trying to level the surface, driving up costs and compromising the final quality.
High-Speed CNC milling and precision Electrical Discharge Machining (EDM) are the critical machining techniques that lay the groundwork for a consistent finish. High-Speed Machining (HSM) uses small step-overs and fast cutting speeds to create a very fine, uniform surface after heat treatment. EDM is used for sharp corners and intricate details that cannot be milled. By carefully controlling the parameters of both processes, we leave minimal material for the polishers to remove, ensuring geometric accuracy and a superior final surface.
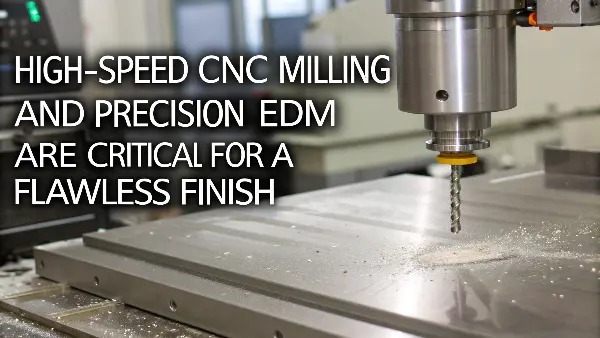
Polishing quality depends on the machined surface beneath it. Controlled machining and EDM preparation reduce unnecessary stock removal and help protect geometry during finishing. An automotive lens with fine texture beside an optical polish is a useful illustrative case: the boundary, machining allowance and polishing access should be defined before finishing begins. We had to combine 5-axis HSM for the flowing surfaces and sinker EDM with a fine copper electrode for the sharp, internal light-guiding features. The key was the seamless blend between the two machined surfaces. Because our machining was so precise, the polishing team could focus on achieving the required gloss levels instead of correcting errors.
The Role of High-Speed Machining (HSM)
After heat treatment, the mold steel is very hard. Traditional milling is slow and puts a lot of stress on the material. High-Speed Machining, or hard milling, is different.
- Method: It uses very high spindle speeds (20,000 RPM or more) with specialized cutters.
- Strategy: Instead of taking deep cuts, it takes very shallow but fast passes, often with a step-over of just 0.1mm or less. This “peels” away the material with minimal cutting force.
- Result: The resulting surface is incredibly smooth and accurate, closely matching the 3D model. It leaves a consistent, small amount of stock (e.g., 0.05mm) for the final polishing stage. This dramatically reduces the time and effort required for polishing.
The Art of Electrical Discharge Machining (EDM)
Some features, like sharp internal corners, deep ribs, or complex textures, are impossible to create with a spinning cutter. This is where EDM comes in.
- Process: EDM uses an electrical spark to erode the steel. A shaped electrode (usually made of copper or graphite) is brought close to the workpiece, and a spark jumps the gap, vaporizing a tiny amount of steel. This is repeated thousands of times per second.
- Fine Finishing: The key to a good surface finish with EDM is to use multiple electrodes. We start with a “roughing” electrode that removes material quickly but leaves a coarse surface. We then switch to “finishing” and “super-finishing” electrodes with progressively finer settings (lower current, smaller spark gap). This multi-stage process creates a smooth, uniform EDM surface that can be easily polished.
The goal of our machining department is to hand over a core and cavity that is as close to suitable as possible, making the final polishing stage a true finishing touch, not a rescue mission.
Why Is the Final Polishing Stage So Vital for Mirror-Like Surfaces?
Your mold has been made from the best steel, reliably heat-treated, and precisely machined. You’re almost there. But the final part still lacks that deep, liquid-like gloss you need. The surface might be smooth, but it doesn’t have the consistent reflection of a true mirror finish. This is the final hurdle where many projects fall short. The difference between a good finish and a world-class finish is entirely in the skill and patience of the polishing process.
The final polishing stage is vital because it methodically removes the microscopic peaks and valleys left by even the finest machining. It is a multi-step, manual process that transforms a precision-machined surface into a truly mirror-like one (SPI-A1). Skilled technicians use a sequence of progressively finer abrasive stones, papers, and diamond pastes to achieve a scratch-free surface with extremely high light reflectivity. This artisanal skill is the only way to meet the highest aesthetic and functional requirements for optical and high-end consumer products.
This dedication is what separates an average mold from a great one.
The Systematic Approach to Polishing
A mirror finish is not achieved in one step. It’s a journey through different levels of abrasion, each one preparing the surface for the next. The process is guided by the SPI (Society of the Plastics Industry) finish standards.
| SPI Finish | Description | Typical Process |
|---|---|---|
| C-1 | 600 Grit Stone | Stone polishing, no paper. Good for non-cosmetic surfaces. |
| B-1 | 600 Grit Paper | Stone followed by 600 grit diamond buff. Medium gloss. |
| A-3 | Grade #15 Diamond Buff | Stone, then 400, 600 grit paper, then #15 diamond buff. |
| A-2 | Grade #6 Diamond Buff | Stone, fine papers, then up to #6 diamond buff. High gloss. |
| A-1 | Grade #3 Diamond Buff | The most intensive process, using up to #3 diamond buff for a consistent mirror. |
The Polishing Journey to an A-1 Finish
Achieving the highest standard, SPI-A1, requires incredible patience and skill. Here’s a breakdown of the typical steps our team follows:
- Stoning: The process begins with abrasive stones (like a 320 grit stone) to remove the fine tool marks left by CNC or EDM machining. The technician must work in a cross-hatching pattern to ensure the entire surface is leveled.
- Papering: Next, they switch to waterproof abrasive papers, starting with a coarse grit (e.g., 400) and moving systematically up to 600, 800, 1200, and sometimes even 1500 grit. Each new grit is used at a 90-degree angle to the previous one to ensure all scratches from the prior stage are gone.
- Diamond Polishing: This is the final and most critical phase. A felt bob on a rotary tool is coated with diamond paste. They start with a coarser paste (e.g., Grade #15) and work their way down to the finest paste (Grade #3 for an A-1 finish). This is what creates the deep, liquid-like reflective surface. The part must be cleaned thoroughly between each step to avoid contamination.
This meticulous, labor-intensive process is the only way to create the truly superior, mirror-like surface that high-end products demand.
Place the Parting Line Away From Critical Appearance
The parting line creates a real interface that can show mismatch, flash or witness. Positioning it in a hidden or functional zone can protect visible surfaces, but the change must still allow draft, ejection, tool strength and maintenance.
Choose Steel and Finish for the Resin and Volume
Steel polishability, hardness, corrosion resistance and filler wear affect the ability to maintain a surface. Clear or high-gloss parts need a different steel and inspection discipline from a textured industrial housing. Material and volume should be part of the surface decision.
Gate and Venting Shape the Visible Result
Gate marks, weld lines, trapped gas, burn marks and flow hesitation can appear even on a reliably polished cavity. Gate direction, venting, overflow or vacuum strategy and filling sequence should be reviewed against visible zones before steel is finished.
Draft and Release Protect the Surface
Insufficient draft or rough texture can drag the part and create scuffs, whitening or gloss change. Ejector placement, lifter motion, polish direction and release force should support the texture or gloss requirement. A surface that cannot release safely will not remain superior in production.
Approve With a Defined Visual and Molded Standard
Use a master sample, texture or gloss specification, controlled lighting, viewing angle and dimensional checks. Mold trials should confirm that the surface remains acceptable through the process window, not only at one ideal setting.
How Core and Cavity Design Achieves a Consistent Surface Finish: Buyer Review Checklist
- Place parting lines, gates and ejectors with visible and functional surface zones in mind.
- Match steel, polishability, hardness and corrosion strategy to resin, finish and volume.
- Review weld lines, vents, gas, flow hesitation and gate marks before final surface work.
- Provide draft, polish direction and ejection support for the intended texture or gloss.
- Define visual standard, lighting, gloss or texture reference and trial approval criteria.
FAQ
Does a high-gloss cavity support a high-gloss part?
No. Resin, flow marks, weld lines, gas, cooling, release and processing conditions can change the molded appearance.
Why is draft important for a textured surface?
Texture increases release resistance, so insufficient draft can scuff, drag or change the visible surface during ejection.
Conclusion
In the end, achieving a superior surface finish isn’t about a single secret technique. It’s about a commitment to excellence at every stage. From choosing the right high-grade steel, to precise heat treatment, advanced machining, and finally, the artisanal skill of hand-polishing. Each step builds upon the last. This is how we at CKMOLD live our slogan, “Master Molding Right,” ensuring the molds we deliver produce the consistent parts your business depends on.