
Getting a durable, reliably bonded part with nylon overmolding can be a real challenge. You might face failed parts, wasted materials, and costly production delays that hurt your bottom line. But what if you could get it right every time? Understanding the key process parameters and material compatibility is the secret to producing high-quality, reliable overmolded components consistently. Let’s get into the details.
Nylon overmolding combines a moisture-sensitive, shrinkage-active material with a rigid substrate or insert and often a demanding dimensional interface. The result depends on the exact nylon grade, substrate temperature, surface condition, mechanical retention, fiber orientation, gate, cooling and conditioning. Designing the second shot as a stable assembly process is more reliable than expecting adhesion or registration to happen automatically.
Related engineering resources: insert molding and overmolding | mold design | mold testing and validation
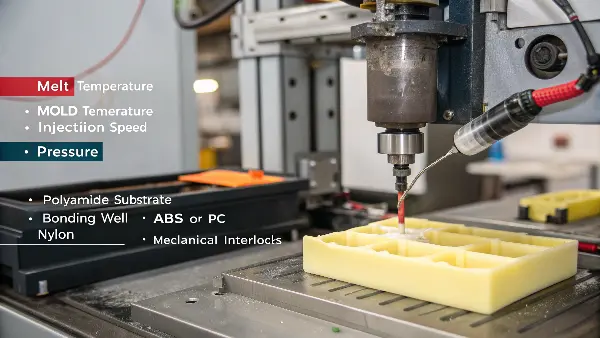
Mastering nylon overmolding hinges on two key areas: process parameters and material compatibility. You need precise control over melt temperature, mold temperature, injection speed, and pressure. Equally important is choosing a substrate material that chemically or mechanically bonds well with nylon. For example, using another polyamide as the substrate often creates a strong chemical bond, while materials like ABS or PC require mechanical interlocks for a secure connection. Proper drying of the nylon is also critical to prevent defects and ensure a strong bond.
What is overmolding and why is nylon a popular choice?
You often hear about nylon overmolding, but you might not be sure if it’s the right choice for your specific project. Choosing the wrong material or not fully understanding the process can lead to weak parts that fail under stress, damaging your product’s reputation. Let’s clarify what overmolding is and why nylon’s unique properties make it a go-to material for so many demanding applications, so you can make an informed decision.
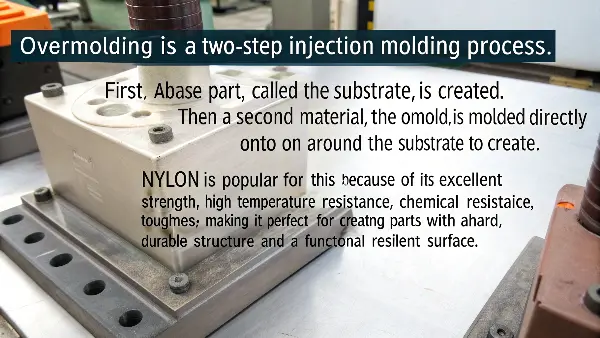
Overmolding is a two-step injection molding process. First, a base part, called the substrate, is created. Then, a second material, the overmold, is molded directly onto or around the substrate to create a single, integrated component. Nylon is popular for this because of its excellent strength, high-temperature resistance, chemical resistance, and overall toughness. This makes it suitable for creating parts with a hard, durable structure and a functional, resilient surface, ensuring strong, long-lasting products.
Understanding the Bonding Mechanisms
The success of overmolding depends entirely on the bond between the substrate and the overmold. There are two primary ways this happens:
Applications of Nylon Overmolding
Nylon’s versatility makes it a great choice across many industries. Here are a few examples:
| Industry | Application | Why Nylon is Used |
|---|---|---|
| Automotive | Engine covers, sensors, wire harnesses | High-temperature resistance, chemical resistance to oils and fuels. |
| Consumer Goods | Power tool handles, kitchen utensils, toothbrushes | Durability, impact resistance, and ability to create soft-touch grips. |
| Medical | Surgical instruments, device housings | Sterilization compatibility, strength, and biocompatibility (for certain grades). |
| Electronics | Connectors, enclosures, cable strain reliefs | Electrical insulation properties, toughness, and precise molding capabilities. |
Which materials are compatible with nylon for overmolding?
Choosing the right material combination is maybe the most critical decision in nylon overmolding. A poor match will result in weak adhesion, causing the two parts to peel apart under stress. This can lead to product failures, costly recalls, and a loss of customer trust. By understanding which materials bond well with nylon, you can design parts that are robust, reliable, and built to last, avoiding these preventable issues from the start.
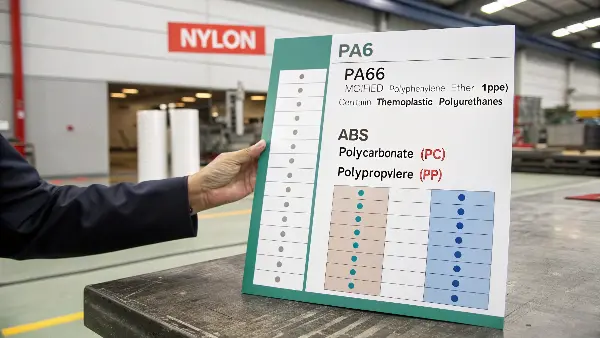
For the best results, overmolding nylon onto another polyamide (PA), like PA6 or PA66, is ideal as it creates a strong chemical bond. Other compatible materials that can form good bonds include modified polyphenylene ether (PPE) and some thermoplastic polyurethanes (TPU). Materials like ABS, polycarbonate (PC), and polypropylene (PP) are generally incompatible and will require mechanical interlocks, such as undercuts or holes, designed into the substrate to ensure a secure connection between the layers.
Achieving a Strong Chemical Bond
A chemical bond is the goal for the most durable overmolded parts. This happens when the molten nylon overmold can partially melt the surface of the substrate, allowing the polymer chains from both materials to intermingle and fuse together as they cool.
- Best Compatibility: The strongest bonds are often achieved when overmolding nylon onto another type of nylon. For example, overmolding a flexible PA6 onto a rigid, glass-filled PA66 substrate. Because they are from the same polymer family, they have excellent chemical affinity.
- Good Compatibility: Certain other polymers have been engineered to bond well with nylon. Specially formulated TPUs and PPE/PS blends can offer good adhesion, providing options for when you need different material properties, like a soft, rubbery feel from a TPU.
When to Use Mechanical Interlocks
When you need to overmold nylon onto a material that it can’t chemically bond with, a good mechanical design is your only option for a reliable part.
- Incompatible Substrates: Common plastics like Polypropylene (PP), Polyethylene (PE), ABS, and Polycarbonate (PC) will not form a chemical bond with nylon.
- Design Strategies: To make it work, you must design features that physically trap the overmold material.
| Design Feature | Description |
|---|---|
| Undercuts & Grooves | Channels or lips on the substrate that the overmold flows into and locks behind. |
| Through-Holes | Holes that pass through the substrate, allowing the overmold to flow through and mushroom on the other side, like a rivet. |
| Textured Surfaces | Roughening the substrate surface increases the surface area and provides more microscopic points for the overmold to grip onto. |
What are the key process parameters for successful nylon overmolding?
You’ve chosen the right materials, but your overmolded parts are still failing. They might be warping, showing poor adhesion, or have visual defects like flash. This is often because the injection molding process itself isn’t optimized. Without precise control over key parameters, you’re just guessing, leading to inconsistent quality and high scrap rates. Let’s dial in the specific settings that will give you repeatable, high-quality results for your nylon overmolding process.
No universal nylon overmolding recipe exists. Use the exact nylon and substrate supplier data for moisture, melt and mold-temperature limits, then establish pressure, speed and hold settings in the actual tool. Bonding may be chemical, mechanical or both; temperature alone cannot guarantee adhesion.
The Critical Role of Drying
Nylon is a hygroscopic material, which means it readily absorbs moisture from the air. If you try to mold nylon that hasn’t been properly dried, the trapped water will turn into steam at high processing temperatures. This steam causes major problems, including:
- Splay marks or silver streaks on the part surface.
- Reduced mechanical properties, like brittleness and lower impact strength.
- Poor adhesion in overmolding, as the steam creates a barrier at the bonding interface.
Dry and handle the exact grade to the supplier’s moisture limit, using a verified dryer and a moisture measurement method. Time and temperature alone do not prove the pellets reached the required moisture content, and filled, flame-retardant or specialty grades can have different limits.
Optimizing Temperature and Pressure
Finding the right balance of temperature and pressure is key to a stable process. These parameters affect everything from material flow to part quality and cycle time.
| Parameter | Recommended Range | Impact on Process |
|---|---|---|
| Melt Temperature | Use the exact grade processing sheet and verify actual melt temperature. | Too low causes flow issues; too high causes material degradation. |
| Mold Temperature | Set from the grade, substrate, finish, crystallinity and cycle requirements. | Crucial for good surface finish, reduced warp, and promoting strong chemical bonds. |
| Injection Speed | Medium to Fast | Fills the mold quickly to prevent premature freezing, but too fast can cause shear burning. |
| Holding Pressure | Set by gate-seal, weight, dimensions and interface/insert limits. | Compensates for material shrinkage as the part cools, preventing sink marks and voids. |
By methodically adjusting these settings, you can establish a robust processing window that produces consistent, high-quality nylon overmolded parts.
Build the Process Window Around the Exact Pair
- Identify both commercial grades, surface condition, insert history and intended interface mechanism.
- Verify pellet moisture and substrate cleanliness immediately before molding.
- Use short-shot and fill-balance evidence to protect the insert while avoiding hesitation or trapped gas.
- Set transfer, hold pressure and hold time from gate seal, part weight, critical dimensions and insert movement—not a fixed percentage.
- Condition samples as specified, then perform peel/pull/torque or functional testing at representative temperature and aging.
Manufacturer processing sheets show that moisture and temperature recommendations are grade specific. Record the approved window and reaction limits for the exact pair. For an interface review, use the insert molding and overmolding service and provide the two material data sheets with the drawing.
How can you avoid common defects in nylon overmolding?
Even with the right materials and process parameters, defects can still appear, ruining your parts and causing production headaches. You might see parts that don’t bond, have ugly surface flaws, or don’t meet dimensional specs. These issues waste time and money, and trying to fix them without a clear strategy is frustrating. Let’s identify the most common defects in nylon overmolding and lay out a clear, step-by-step troubleshooting guide to solve them effectively.
To avoid common defects, focus on preventing the root causes. Ensure proper material drying to eliminate splay marks. Use adequate mold and melt temperatures to prevent poor adhesion and delamination. Optimize packing pressure and time to fix sink marks and voids. For warping, balance the mold temperatures between the core and cavity and ensure uniform wall thickness in the part design. Finally, prevent flashing by checking the mold’s parting line and adjusting clamp tonnage.
Troubleshooting is a process of elimination. A few years ago, we were running a high-volume job overmolding nylon onto a PBT substrate. Suddenly, we started getting a high rate of delamination—the layers were just peeling apart. The operators were convinced the material was bad. But before calling the supplier, we went through our checklist. Was the nylon dry? Yes. Were the temperatures correct? Yes. We finally checked the substrate. It turned out that a new batch of PBT had a slightly different mold release agent applied at the supplier. This invisible layer was preventing the nylon from bonding. A simple change in our pre-treatment process solved the issue and saved the entire production run.
A Practical Troubleshooting Guide
When you see a defect, don’t just randomly change settings. Work through the potential causes logically. Here is a guide to help you diagnose and solve the most common problems.
| Defect | Potential Causes | Solutions |
|---|---|---|
| Delamination / Poor Adhesion | 1. Incompatible materials. 2. Low melt or mold temperature. 3. Contamination on the substrate (e.g., oil, mold release). 4. Insufficient injection pressure. |
1. Verify material compatibility or add mechanical interlocks. 2. Increase temperatures to promote bonding. 3. Ensure the substrate is clean before overmolding. 4. Increase injection and pack pressure. |
| Flash | 1. Worn or damaged parting line on the mold. 2. Insufficient clamp tonnage. 3. Excessive injection speed or pressure. 4. Melt temperature is too high, reducing viscosity. |
1. Inspect and repair the mold. 2. Increase clamp force. 3. Reduce injection speed/pressure. 4. Lower the melt temperature. |
| Sink Marks | 1. Insufficient holding pressure or time. 2. Thick wall sections cooling too slowly. 3. Low material volume injected (short shot). 4. High melt temperature. |
1. Increase holding pressure and/or holding time. 2. Redesign the part to core out thick sections. 3. Increase the shot size. 4. Lower the melt temperature. |
| Splay / Silver Streaks | 1. Moisture in the nylon. 2. Material degradation from excessive temperature or residence time. |
1. Dry the nylon properly according to supplier specs. 2. Reduce melt temperature or barrel residence time. |
| Warping | 1. Uneven cooling (differential mold temperatures). 2. Non-uniform wall thickness in part design. 3. Inadequate pack pressure to hold part shape. |
1. Balance mold temperatures on both halves. 2. Design parts with uniform wall sections. 3. Increase holding pressure or time. |
By using a methodical approach like this, you can quickly identify the root cause of an issue and implement the right solution, saving valuable time and material on the production floor.
Define the Interface Mechanism
Decide whether the nylon should chemically adhere, mechanically lock, clamp the insert or perform a combination of functions. Review substrate chemistry, surface treatment, temperature and cleanliness. If the interface carries load, design a load path that does not depend on a thin adhesive layer alone.
Control Nylon Moisture and Thermal History
Drying and exposure time influence viscosity, filling, weld lines and final properties. The substrate may also need preheating or controlled transfer to avoid freezing the interface too early. Record material condition, transfer time and insert temperature during trials.
Support the Insert Against Pressure and Shrinkage
Locating features, anti-rotation, nests and local steel support prevent movement during filling and packing. Differential shrinkage can pull the nylon away, warp the assembly or overload a thin substrate. Review where the part is constrained after ejection, not only where it is located in the cavity.
Design Flow Around Orientation and Venting
Reinforced nylon can orient along the flow and create directional shrinkage or stress. Gate placement should support the load path and avoid a weak weld at a critical interface. Vent the last-fill regions and insert boundaries so pressure is not used to compensate for trapped air.
Validate Adhesion, Retention and Dimensional Stability
Test pullout, torque, peel, thermal cycling, humidity, chemicals, vibration and assembly as needed. Measure after conditioning because nylon can change with moisture. Inspect failure mode and interface location so the next design change addresses the cause rather than only increasing overmold thickness.
Nylon Overmolding: Buyer Review Checklist
- Choose chemical bond, mechanical lock, clamping or a combined interface strategy.
- Control drying, exposure, insert cleanliness, transfer time and temperature.
- Support and locate inserts against filling, packing, shrinkage and ejection.
- Review fiber orientation, gates, weld lines, vents and differential shrinkage.
- Test retention, durability, humidity, thermal cycling and dimensions after conditioning.
Frequently Asked Questions
Does nylon overmolding generally bond to the insert?
No. The exact nylon and substrate may bond, partially bond or require mechanical retention. Verify the mechanism with the actual grades and surface conditions.
Why should nylon overmolded parts be measured after conditioning?
Moisture uptake can change dimensions, stiffness and fit. The conditioning state should match the product requirement and be recorded with the measurement.
Conclusion
Mastering nylon overmolding comes down to controlling the key variables we’ve discussed. It starts with choosing compatible materials for a strong chemical or mechanical bond. From there, you must meticulously control your process parameters—especially drying, melt temperature, and mold temperature. By following these principles and troubleshooting systematically, you can overcome common challenges and consistently produce high-quality, durable overmolded parts that meet even the most demanding specifications.