
Getting inconsistent results with TPE injection molding? Perhaps your parts have defects like flash, sink marks, or a poor surface finish. These issues waste time, material, and money, hurting your production schedule and your bottom line. It’s frustrating trying to pinpoint the exact cause. The key is mastering the core process parameters: temperature, pressure, and speed. Nailing these settings is how you ensure high-quality, consistent TPE parts every time.
TPE is forgiving in some applications but highly sensitive at the material interface, gate, thin section and cosmetic surface. A useful process window is not a list of universal temperatures; it is a documented relationship between the selected grade, moisture condition, screw history, mold temperature, fill profile, pack, cooling and the part’s acceptance criteria. The goal is a repeatable window with room for normal machine and material variation.
Related engineering resources: TPE overmolding | mold design | production injection molding
To master TPE injection molding parameters, you must carefully control three key areas. First, set the barrel temperature between 160°C and 220°C (320°F to 428°F), depending on the specific TPE grade. Second, use a multi-stage injection pressure, starting with a higher pressure to fill the mold and a lower holding pressure to prevent defects. Third, adjust the injection speed to a medium-to-high setting, ensuring a smooth and complete fill without trapping air. Balancing these is the secret to success.
Getting the basic settings right is a great start. But TPE is a complex family of materials. To truly achieve consistent results, you need to understand how each parameter affects the final product. Let’s break it down further, looking at each element in detail. This will help you troubleshoot problems and optimize your process for any TPE grade you work with.
What Are the Key Parameters of Injection Molding?
Ever feel like you’re just guessing with your injection molding machine settings? You change one thing, and another problem pops up. This trial-and-error approach is inefficient and very costly. It leads to high scrap rates and unpredictable quality, which is something suppliers simply can’t afford. Focusing on the three fundamental parameters—temperature, pressure, and speed—gives you a systematic way to control the process and produce parts that meet the agreed requirements consistently.
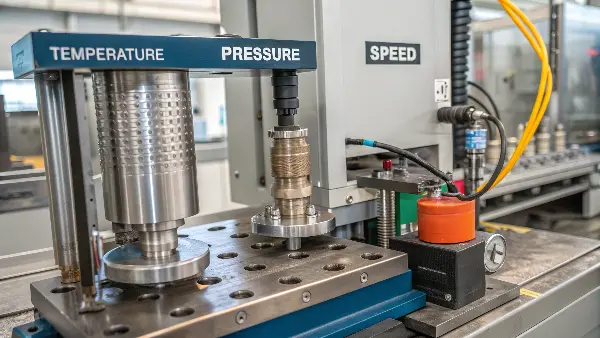
The key parameters of injection molding are temperature, pressure, and speed. Temperature controls the material’s flowability. Pressure, including injection and holding pressure, ensures the mold is filled completely and compensates for shrinkage. Speed, or injection rate, dictates how fast the material enters the mold, affecting surface finish and internal stress. Mastering the interplay between these three pillars is essential for achieving high-quality molded parts and an efficient, repeatable process.
The Role of Temperature
Temperature is more than just how hot the plastic gets. It involves three distinct zones:
- Barrel Temperature: This is a profile, with multiple heating zones from the feed throat to the nozzle. For TPEs, you want a gradual increase to ensure a consistent melt without degradation.
- Nozzle Temperature: This is critical. It’s the last temperature the material sees before entering the mold. Keep it slightly lower than the front barrel zone to prevent drooling.
- Mold Temperature: This affects the cooling rate and surface finish. A warmer mold can improve weld line strength and give a glossier finish, but it will extend the cycle time.
Understanding Pressure Dynamics
Pressure isn’t a single setting. It’s applied in stages.
- Injection Pressure: This is the force used to push the melted plastic into the mold cavity. It needs to be high enough to fill the part completely and quickly.
- Holding Pressure (or Packing Pressure): After the cavity is filled, this lower pressure is applied to pack more material in and compensate for shrinkage as the part cools. This is crucial for preventing sink marks.
- Back Pressure: This is pressure applied to the screw as it retracts to pick up the next shot. It helps with melt homogeneity and color mixing, but too much can degrade the material.
The Impact of Speed
Injection speed determines how fast the molten plastic fills the mold. A a velocity profile—starting slow, speeding up for the main fill, and slowing down at the end—is often best. A slow speed can cause premature freezing, leading to short shots. A speed that’s too fast can cause jetting, burn marks from trapped air, or high internal stress. The right speed ensures a smooth, even fill and a high-quality surface.
| Parameter | Primary Function | Common Problems if Incorrect |
|---|---|---|
| Temperature | Controls material viscosity and flow. | Degradation, short shots, poor surface finish. |
| Pressure | Fills the mold and compensates for shrinkage. | Flash, sink marks, short shots, warp. |
| Speed | Determines fill rate and material behavior. | Jetting, burn marks, weld lines, internal stress. |
What Is the Recommended Processing Temperature for TPE?
The recommended processing temperature range for TPE injection molding typically falls between 160°C and 220°C (320°F to 428°F). However, this is just a general guideline. The exact temperature depends heavily on the specific TPE grade, its hardness (durometer), and the part’s design. Generally start with the manufacturer’s data sheet recommendations. For softer TPEs, use the lower end of the range, and for harder grades, use the higher end. A systematic approach to finding the optimal temperature is key.
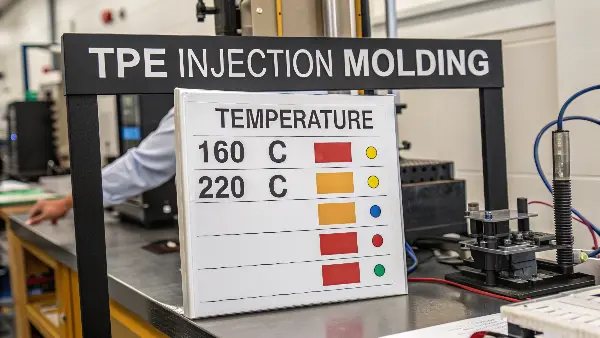
Simply setting the machine to a single number within this range won’t work. The temperature needs to be managed across different zones of the machine. I generally tell the production team to think of it as creating a smooth temperature “ramp” for the material. This prevents thermal shock and ensures the TPE is reliably melted by the time it reaches the mold. It’s a bit of an art, but there’s a science to it.
Barrel Temperature Profile
The barrel is where the TPE pellets are melted and conveyed. It’s divided into several heating zones, usually a rear, middle, and front zone. A typical profile for a general-purpose TPE might look like this:
- Rear Zone (near the hopper): 160°C – 180°C (320°F – 356°F)
- Middle Zone(s): 180°C – 200°C (356°F – 392°F)
- Front Zone: 190°C – 210°C (374°F – 410°F)
This gradual increase helps the material melt evenly. Starting too hot in the rear can cause premature melting and bridging in the feed throat, which is a real headache to clear.
Nozzle and Mold Temperature
The nozzle temperature is the final checkpoint before injection. It should generally be set at or slightly above the front zone temperature, but be careful. If it’s too high, the TPE can drool out between shots. I usually set it about 5°C lower than my target melt temperature to keep things under control.
There is no universal TPE mold-temperature range. Avient’s general GLS guide states that product-specific starting conditions belong in the individual technical data sheet and that mold temperature should remain above the molding-area dew point; a warmer mold may help difficult flow, weld integrity or appearance but can lengthen cooling. Start with the exact grade’s current data, then verify the part response.
What Is the Service Operating Temperature of TPE?
You’ve reliably molded a TPE part, but will it survive in its final environment? Thinking only about a material’s processing temperature is a common mistake. If the part gets exposed to heat or cold beyond its limits, it can fail spectacularly, leading to product recalls and a damaged reputation. This is why understanding the service temperature is just as important as knowing how to mold it correctly.
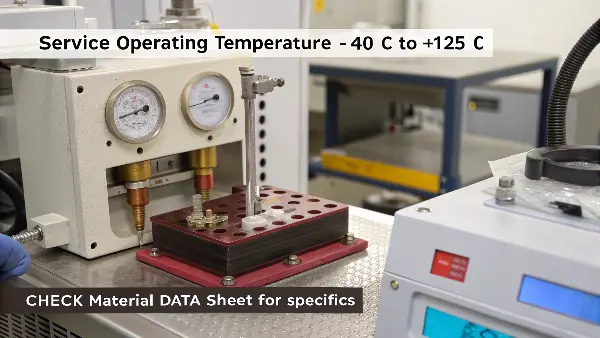
The service operating temperature of a TPE part is the range in which it maintains its physical properties, like flexibility and strength, during use. This typically ranges from -40°C to +125°C (-40°F to +257°F). However, this varies significantly between different TPE families. For example, a standard TPE-S (styrenic block copolymer) might be limited to 100°C, while a high-performance TPE-V (vulcanizate) can withstand higher temperatures. Generally check the material data sheet for the specific grade’s heat deflection temperature (HDT) and brittle point.
Understanding Temperature Limits
There are two key temperatures to consider for a TPE part’s service life:
- Upper Temperature Limit: This is often related to the Heat Deflection Temperature (HDT) or Vicat Softening Temperature. Above this point, the TPE will soften, lose its structural integrity, and deform under load.
- Lower Temperature Limit: This is called the brittle point or glass transition temperature. Below this temperature, the flexible TPE becomes hard and brittle, and it can easily crack or shatter upon impact.
Comparing TPE Families
Different types of TPEs are engineered for different environments. This is why you can’t just ask for “TPE”; you need to be specific.
| TPE Family | Typical Continuous Use Temp. Range | Key Characteristics |
|---|---|---|
| TPE-S (SEBS, SBS) | -40°C to 110°C (-40°F to 230°F) | General purpose, good feel, cost-effective. |
| TPE-O (TPO) | -40°C to 120°C (-40°F to 248°F) | Good chemical resistance, common in automotive. |
| TPE-V (TPV) | -40°C to 135°C (-40°F to 275°F) | Excellent heat and oil resistance, rubber-like. |
| TPE-E (COPE) | -40°C to 140°C (-40°F to 284°F) | High strength, good flex fatigue resistance. |
| TPE-U (TPU) | -40°C to 125°C (-40°F to 257°F) | High abrasion resistance, strong and durable. |
| TPE-A (COPA) | -40°C to 130°C (-40°F to 266°F) | Good heat resistance, ideal for under-hood apps. |
When you’re selecting a TPE, look beyond the price and processing ease. Generally ask: “Where and how will this part be used?” Considering the maximum and minimum temperatures it will experience is a non-negotiable step in the design process.
What Is the Difference Between TPE and TPU Injection Molding?
Are you struggling to choose between TPE and TPU for your next project? They both seem similar—they are both flexible, durable materials. But treating them the same in the injection molding press will lead to problems. This confusion can result in choosing the wrong material or using incorrect processing parameters, causing part defects and wasting valuable machine time. Understanding their key differences is essential for success.
The main differences between TPE and TPU injection molding lie in their material properties and processing requirements. TPU (Thermoplastic Polyurethane) is generally harder, more abrasion-resistant, and requires higher processing temperatures and pressures than TPE (Thermoplastic Elastomer). TPE is softer, more flexible, and often processes at lower temperatures. Critically, TPU is highly hygroscopic and must be thoroughly dried before molding to prevent defects, a step that is less critical, but still recommended, for many TPE grades.
Pre-Processing: The Drying Difference
This is the most critical difference.
- TPU: It’s a moisture magnet. It absolutely must be dried in a desiccant dryer for 2-4 hours at around 80-110°C (175-230°F) before processing. The target moisture content should be below 0.05%. If you skip this, you will get splay, silver streaks, and brittle parts.
- TPE: Most TPE grades are not as sensitive to moisture. Some don’t require drying at all. However, for certain grades, especially softer ones or if they’ve been stored in a humid environment, drying for 1-2 hours at 60-80°C (140-175°F) is good practice to ensure a suitable surface finish.
Processing Parameters
Here’s how their molding settings generally differ:
| Parameter | TPE (General) | TPU (General) |
|---|---|---|
| Melt Temperature | 160°C – 220°C (320°F – 428°F) | 190°C – 230°C (374°F – 446°F) |
| Mold Temperature | 30°C – 60°C (86°F – 140°F) | 20°C – 70°C (68°F – 158°F) |
| Injection Pressure | Moderate | High |
| Back Pressure | Low to Moderate (0.3 – 1 MPa) | Moderate to High (0.5 – 2 MPa) |
| Shrinkage | 1.2% – 2.5% | 0.8% – 1.8% |
Do not infer TPU or other TPE settings from family names alone. Drying need, viscosity, melt window, shrinkage and degradation risk vary by chemistry and grade. Obtain the current processing guide for the exact commercial material, verify actual melt temperature and moisture where applicable, and revalidate dimensions before substituting one grade or family in an existing mold.
Replace Family-Wide Setpoints With Grade-Specific Start-Up Data
The temperature and pressure tables above are orientation only; they are not release settings for an unspecified TPE. The process sheet should name the grade, color, lot, drying condition, measured melt temperature, mold temperature, fill time, transfer method, peak pressure, hold, cushion, recovery, cooling and acceptance result.
Change one controlled variable at a time and preserve a center condition. This turns “recommended parameters” into a demonstrated operating window for the actual part.
Start With the Grade and Its Moisture Condition
Confirm the exact TPE family, hardness, additives, color and supplier processing guidance. Some grades are less moisture-sensitive than engineering resins, but contamination, high humidity, long hopper residence and poor storage can still change flow or appearance. Record lot, drying or conditioning time, hopper temperature and time exposed before comparing trials.
Build a Fill Profile Around the Part
Use a controlled speed profile rather than one fast setting for every feature. A slower first stage can protect a gate or prevent jetting, while a faster middle stage may reduce premature freezing in a thin wall. Change one variable at a time and correlate fill time, pressure, weight, flash, weld lines and surface gloss.
Separate Filling, Packing and Cooling Decisions
TPE parts often show a strong relationship between hold pressure, gate freeze and cosmetic read-through. Use short shots to understand flow, then step the hold time to identify the point at which weight stabilizes. Cooling must be long enough for safe ejection and dimensional stability, not merely long enough to hide a process fluctuation.
Watch Shear, Residence Time and Color History
High screw speed, restrictive gates and repeated regrind can increase shear or residence time and create color shift, odor, gels or degraded specks. Purge between incompatible grades, keep the barrel moving within a defined range and investigate any defect that follows a color or material change.
Prove the Window With Repeatability Trials
Run center, low and high settings for the critical variables, then repeat the center condition after the machine has reached thermal equilibrium. Measure dimensions, hardness, weight, flash, bond or seal performance and appearance. A parameter sheet becomes useful only when it includes limits, inspection timing and the response to an out-of-window result.
TPE Injection Molding Parameters: Buyer Review Checklist
- Confirm grade, hardness, color, lot, storage and moisture condition.
- Map speed, pressure, hold, mold temperature and cooling to part features.
- Check shear, residence time, purge history, regrind and color-change risk.
- Use short shots and weight stabilization to separate fill from pack decisions.
- Repeat center conditions and document limits, inspection timing and reaction plans.
Frequently Asked Questions
Is there one ideal melt temperature for all TPE parts?
No. The correct range depends on the exact grade, hardness, color, flow length, gate and machine. Supplier guidance is a starting point that must be confirmed on the actual tool.
Why can a TPE part look good but still fail?
A cosmetic sample may conceal poor bond, compression set, hardness drift, weak weld lines or dimensional instability. Functional and repeatability checks are needed before approval.
Conclusion
Mastering the injection molding of TPE materials comes down to controlling the core parameters of temperature, pressure, and speed. It’s also vital to understand the difference between processing temperature and the final part’s service temperature. By carefully selecting the right TPE grade and fine-tuning your process based on data sheets and real-world testing, you can move from guesswork to a reliable, repeatable method for producing high-quality parts every single time.