

When you’re working on an injection molding project, getting the shot weight right can make or break your results. Many designers and engineers struggle with this calculation, leading to wasted material, poor part quality, or even costly mold damage. If you’ve ever felt unsure about how to calculate shot weight, you’re not alone.
Shot weight is the amount of material prepared for one injection cycle, including molded parts, runners or sprues and a controlled process reserve. A correct estimate helps select machine size, screw capacity, hopper planning and material cost. The estimate should distinguish theoretical part mass from the actual machine shot and should be checked against the resin density, mold flow system, cushion and validated process.
Related CKMOLD resources: production injection molding, mold design, multi-cavity injection molds.
To calculate shot weight in injection molding, you need to multiply the volume of the molded part (including runners and sprues) by the material’s density. This gives you the total weight of plastic needed for one shot, ensuring you choose the right machine and avoid defects.
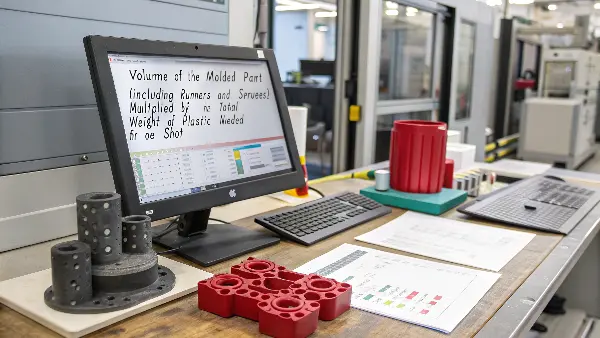
Understanding shot weight is the first step to mastering injection molding. If you want to avoid production headaches and keep your projects on track, it’s important to know not just the formula, but also how to apply it in real-world scenarios.
What is the formula for shot weight in injection molding?
The formula for shot weight in injection molding is: Shot Weight = (Part Volume + Runner Volume) × Material Density. This calculation ensures you have enough material for each cycle, including the part and the runner system.
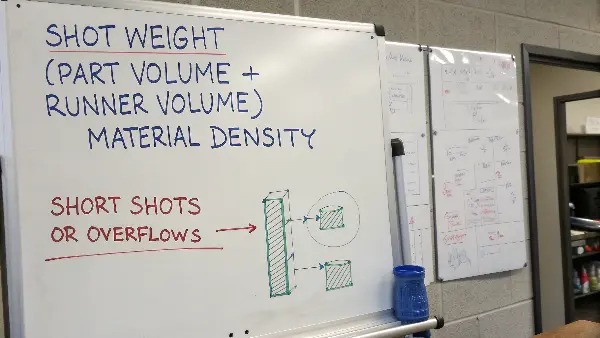
First, you need to measure the volume of your molded part. This is usually given in cubic centimeters (cm³) or cubic millimeters (mm³). Don’t forget to include the volume of the runners and sprues, as these are filled with plastic during each shot. Next, you need the density of your chosen material, which is usually listed in grams per cubic centimeter (g/cm³) or kilograms per cubic meter (kg/m³). Multiply the total volume by the density, and you have your shot weight.
Here’s a simple table to help you visualize the process:
| Step | What to Do | Units |
|---|---|---|
| 1. Part Volume | Measure or calculate part volume | cm³ or mm³ |
| 2. Runner Volume | Measure or calculate runner/sprue volume | cm³ or mm³ |
| 3. Total Volume | Add part and runner volumes | cm³ or mm³ |
| 4. Material Density | Find material density from datasheet | g/cm³ |
| 5. Shot Weight | Multiply total volume by density | grams |
For example, if your part and runner volume add up to 50 cm³, and your material density is 1.05 g/cm³, your shot weight is 52.5 grams. This method works for any thermoplastic material and helps you avoid surprises during production.
How do you calculate injection molding?
To calculate injection molding, you need to determine the shot weight, select the right machine with enough injection capacity, and set the correct processing parameters like temperature, pressure, and cycle time. Each step ensures your part is molded accurately and efficiently.
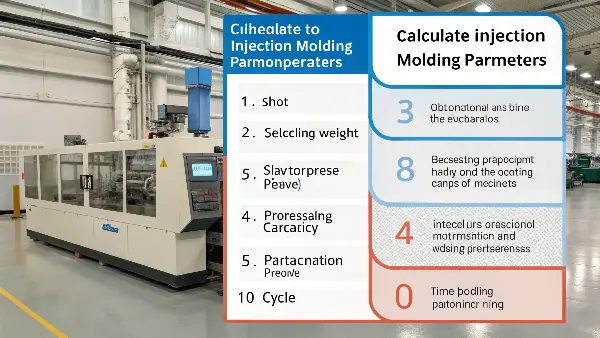
1. Shot Weight Calculation
As discussed, use the formula:
Shot Weight = (Part Volume + Runner Volume) × Material Density
2. Machine Selection
Compare the required shot with the machine’s usable injection volume and the exact resin’s melt behavior, then check residence time, pressure, injection rate, plasticizing/recovery and cushion. A universal 30–80% mass rule cannot replace the machine maker and material supplier limits.
| Machine Shot Size | Recommended Shot Weight Range |
|---|---|
| 100 grams | 30–80 grams |
| 200 grams | 60–160 grams |
3. Processing Parameters
Set the melt temperature, injection pressure, and cycle time based on the material’s datasheet and part design.
4. Mold Filling Analysis
Use simulation software or experience to predict how the mold will fill. Adjust gate size, runner layout, and venting as needed.
By following these steps, you can avoid common pitfalls like short shots, flash, or warping. Each calculation builds on the last, so accuracy at every stage is key.
How Do You Compare Shot Requirement With Machine Capacity?
Start with total molded volume: all cavity parts plus cold runners/sprue and any intentional process allowance. Machine data may state maximum injection volume and/or a reference-resin shot mass. If a machine rating is stated as grams of PS, do not divide that mass directly by the target resin density.
Illustrative conversion — not a machine approval: suppose a data sheet lists 200 g PS and the referenced PS density is 1.05 g/cm³. The corresponding reference volume is about 190.5 cm³ (200 ÷ 1.05). A target resin with density 1.20 g/cm³ would have a theoretical mass of about 228.6 g at that volume (190.5 × 1.20), before considering melt-state p-v-T behavior, usable stroke, cushion and machine limits.
ARBURG publishes separate theoretical shot weights for different materials and injection units, illustrating why the reference resin matters. Confirm the selected screw/injection unit with the machine maker and validate fill time, peak pressure, recovery, residence and shot consistency.
What is shot weight in casting?
Shot weight is a term used in both injection molding and casting, but it means slightly different things depending on the process. I’ve worked on both types of projects, and knowing the difference can help you avoid confusion.
In casting, shot weight refers to the total weight of molten material injected or poured into the mold to form a single part, including any runners or gates. It’s similar to injection molding, but the materials and processes can differ.

Shot Weight in Injection Molding vs. Casting
| Aspect | Injection Molding | Casting |
|---|---|---|
| Material | Thermoplastics, some thermosets | Metals, alloys, some plastics |
| Process | High pressure injection | Gravity or low pressure pouring/inject. |
| Shot Weight Includes | Part + runner + sprue | Part + runner + gate |
| Importance | Machine selection, quality control | Material planning, mold filling |
In both cases, accurate shot weight calculation ensures you have enough material to fill the mold and produce a quality part. In casting, shot weight also helps you plan for material costs and melting requirements.
Use Volume for Machine Comparison and Mass for Material Accounting
CAD volume × solid density is useful for a first material-mass estimate; actual molded mass should then be measured for all cavities and runner. Machine suitability is a volumetric and dynamic question as well as a mass question. Record the reference resin behind any “shot weight” rating and do not mix solid density, melt density and PS-equivalent mass.
Primary technical sources checked: ARBURG — Injection-Volume Selection (machine selection beyond nominal shot mass); ARBURG — Shot-Weight Table (reference-material shot ratings by injection unit). Apply the cited scope to the exact grade, tool and acceptance plan.
Start With Part and Runner Mass
For a cold-runner mold, calculate the mass of one part multiplied by the number of cavities, then add runner, sprue and cold-slug mass. A hot-runner mold may have less solidified runner mass, but the melt volume inside the system still affects shot preparation and startup behavior.
Use the Correct Density
Part volume multiplied by material density gives a theoretical mass, but molded mass should be confirmed with a production-like sample. Density can vary with grade, filler, temperature, moisture and crystallinity. Do not use a generic polymer density when a specific reinforced or modified grade is available.
Include Cushion and Process Reserve
The machine needs enough material to maintain a stable cushion after injection and packing. Too little reserve can create check-ring instability or short shots; too much can increase residence time and degradation. The correct cushion depends on screw diameter, machine behavior, material and process.
Check Machine Shot Capacity
Manufacturers may state shot capacity in mass of a reference resin or in volume. Convert the requirement consistently and apply a practical utilization margin. Also check barrel residence time, plasticizing rate, injection pressure, screw recovery and the range of expected production conditions.
Validate With Actual Weights
Weigh parts, runners and the complete shot separately during trials. Record cavity count, resin lot, color, cycle, cushion and regrind policy. Compare actual weight with the estimate and update the machine or costing model when the mold, resin or runner design changes.
Calculate Shot Weight in Injection Molding: Buyer Review Checklist
- Calculate part mass, cavity count, runner, sprue, cold slug and hot-runner assumptions.
- Use the exact resin grade and density, then confirm with molded sample weights.
- Include cushion and a realistic process reserve without creating excessive residence time.
- Check machine shot volume, reference-resin conversion, pressure, plasticizing and recovery.
- Record actual part, runner and shot weights during trials and production approval.
FAQ
What is included in injection molding shot weight?
It normally includes the molded parts, runner or sprue material and enough process reserve to maintain stable injection and cushion.
Why can actual shot weight differ from the calculation?
Resin density, filler, runner geometry, hot-runner volume, cushion, packing, regrind and machine measurement can change the practical result.
Conclusion
Calculating shot weight is a key skill in injection molding and casting. By using the right formulas and understanding the process, you can choose the right machine, avoid defects, and keep your projects running smoothly. Mastering these calculations will help you deliver better results and grow your expertise in the field.