
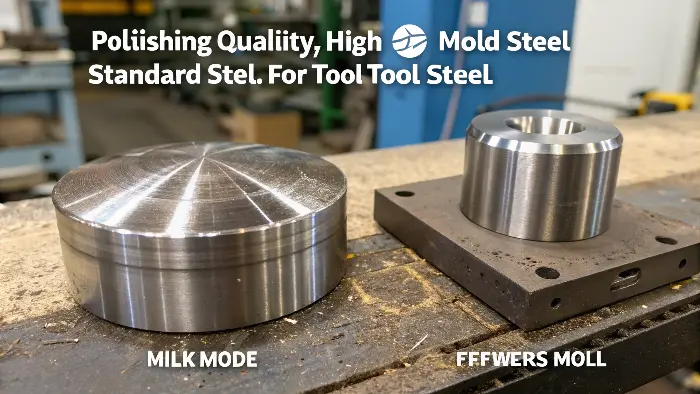
Advanced mold polishing is the controlled transition from machined steel to a surface that performs consistently in production. It requires more than finer abrasives: the steel, EDM layer, scratch direction, geometry, cleanliness, edge control and inspection method all affect the molded result. A professional process defines the finish before work begins and verifies it on the part.
Related CKMOLD resources: mold design, mold testing and validation, production injection molding.
What Does a Mold Surface Finish Actually Control?
Specify the mold surface and the molded-part result separately. Steel polish or texture influences appearance, release, optical behavior and contact, but the molded result also depends on resin, fillers, color, mold temperature, flow, pressure, venting, geometry and replication.
A smoother surface does not universally improve ejection, eliminate flow or weld lines, shorten cycle time or extend mold life. Some materials grip a polished core; textures usually require additional draft. Accept finish through the product’s actual cosmetic, release, optical, sealing or cleaning requirement.
| Requirement | Define before polishing | Verify after molding |
|---|---|---|
| appearance | zone, reference, gloss/texture and viewing conditions | molded master, color/gloss and defect boundary |
| release | draw direction, draft, resin, texture and retention | ejection marks, force, distortion and repeated release |
| optical or sealing function | surface/form specification and protected edges | functional test on the conditioned part |
What Are the Main Mold-Polishing Stages?
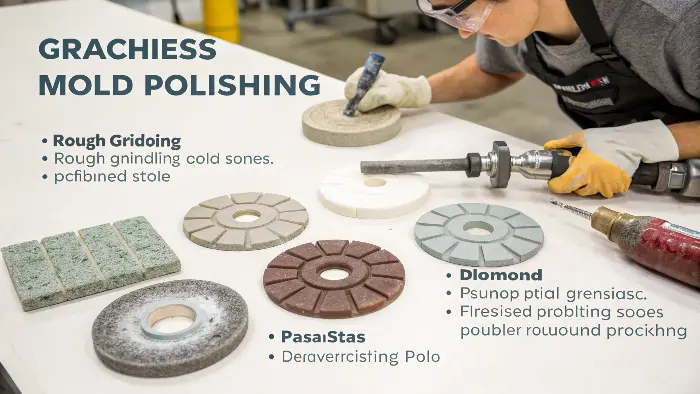
The sequence is chosen from the starting steel condition and specified result; it is not a fixed ladder that every mold must follow. Each stage should remove the prior damage while preserving form, edges, shutoffs and texture boundaries.
| Stage | Purpose | Evidence before moving on |
|---|---|---|
| machining/EDM assessment | identify recast, cutter marks, waviness and remaining stock | starting-condition record and protected geometry |
| stone or supported abrasive work | remove damaged layer and establish a uniform controlled scratch pattern | previous marks removed without edge or form loss |
| paper/film or finer supported abrasive | refine the scratch pattern for the specified reference | clean inspection under consistent lighting/magnification |
| compound/lapping where required | reach a defined high-gloss or optical preparation without rounding | specified mold-surface measurement and representative molded result |
The DME Micro-Finish Mold Tool Finish Guide identifies preparation media for its A, B, C and D references. It does not require all four stages for every finish, and its approximate tool-surface values are not universal molded-part guarantees.
How Does the Exact Mold Steel Affect Polishability?
Hardness alone does not predict a finish. Cleanliness, carbide/inclusion distribution, heat treatment, section size, machining and EDM damage, welding and the polishing sequence all matter. Compare exact producer grades and supply conditions rather than broad P20, stainless or “premium” labels.
Uddeholm’s mold-polishing guidance emphasizes steel quality, uniform heat treatment, gradual abrasive steps, cleanliness, direction and pressure. Use the selected grade’s current producer datasheet for heat treatment and suitability; do not promise that any family will automatically reach an A-1 or optical result.
At purchase, request producer/grade certificates, supply and heat-treatment condition, hardness mapping where required, repair history, target surface standard and a molded approval sample. If appearance is critical, agree what happens after welding or local repair.
What Common Polishing Pitfalls Can Ruin Your Mold, and How Do We Sidestep Them?
The Dreaded “Orange Peel”
This looks just like it sounds – a dimpled, uneven surface texture resembling an orange’s skin. It often happens when polishing softer steels, or if the polishing direction isn’t varied enough, or if too much pressure is applied with buffing wheels. It’s a sign that the metal surface has been disturbed rather than smoothly abraded. Our technicians are trained to recognize the early signs and adjust their technique immediately.
Scratches and Drag Marks
These are probably the most common issues. A stray piece of grit, a contaminated polishing cloth, or simply using too coarse an abrasive for too long can leave deep scratches. Drag marks occur when a piece of dislodged metal or abrasive gets trapped and dragged across the surface. The solution? Meticulous cleanliness, progressing patiently through grit sequences, and careful inspection under good lighting at every step. It sounds simple, but it demands discipline.
Over-Polishing and Edge Dubbing
You can actually polish too much! Over-polishing, especially on sharp edges or intricate details, can round them off or “dub” them. This can alter the part’s dimensions or fit. This is where the “art” of polishing comes in – knowing just how much material to remove and when to stop. Our polishers develop a feel for this that only comes with experience. For delicate features, we often use custom-shaped tools and a very light touch.
CKMOLD’s Proactive Prevention Strategies
How do we avoid these? It’s not magic, it’s methodology.
- Training: Continuous training for our technicians on different steels, new abrasive technologies, and defect recognition.
- Controlled Environment: Our polishing area is kept clean to minimize contamination.
- Right Tools for the Job: Using appropriate stones, papers, pastes, and lapping tools for each specific steel and finish. We don’t cut corners here.
- Step-by-Step Inspection: We inspect the surface after each grit stage, often using magnification. It’s much easier to correct a small issue early than a big one later.
- Communication: Clear understanding of the client’s requirements (in comparable programs need for consistent quality) from the get-go.
By focusing on these areas, we prevent these pitfalls rather than having to fix them later. It’s all about delivering that suitable mold surface the first time.
Use Finish References Within Their Published Scope
The DME Micro-Finish Mold Tool Finish Guide identifies A-1/A-2/A-3 with #3/#6/#15 diamond, B-1/B-2/B-3 with 600/400/320 paper, C-1/C-2/C-3 with 600/400/320 stone, and D-1/D-2/D-3 with stated glass-bead or oxide blasting conditions. Its Ra values are approximate results for those preparation conditions—not guaranteed roughness on every steel or molded plastic.
On the drawing and purchase order, state the reference, surface zones, transition boundaries, protected edges, resin/color/texture, sample standard, viewing or measurement method and acceptance limits.
Surface Specification Determines the Process
High gloss, optical-adjacent, texture-ready, matte and functional release surfaces need different preparation. The specification should identify zones, gloss or roughness expectation, allowable flow marks, gate evidence and whether the finish must match a master or molded reference.
Remove EDM and Machining History Without Losing Geometry
EDM recast, milling marks, grinding burns and inclusions must be removed in a planned sequence. Excessive stock removal can widen a shutoff, change a corner or alter a critical dimension. Surface correction and dimensional control must be reviewed together.
Control Abrasive Direction and Cleanliness
Scratch direction helps reveal unfinished areas and creates a predictable surface before the next stage. Clean tools, separate compounds and controlled lubricant prevent contamination. A small embedded particle can create a visible line or reject a high-gloss cavity.
Protect Functional Edges and Deep Features
Polishing a cosmetic surface must not round a sealing land, parting edge, gate or rib. Deep pockets and narrow ribs may need small laps, stones or ultrasonic tools with limited stroke. The process should identify features that cannot tolerate manual over-polishing.
Validate the Surface Through Molding
Light and magnification are useful, but the molded part shows whether the surface releases, reproduces texture, hides or reveals weld lines and meets the visual requirement. Trial parts should be assessed under agreed lighting, viewing direction and handling conditions.
Advanced Injection Mold Polishing: Buyer Review Checklist
- Define surface zones, gloss or roughness targets and molded appearance acceptance criteria.
- Remove EDM, machining and grinding damage with enough control to preserve dimensions.
- Keep abrasive stages, direction, lubricant and tools clean and traceable.
- Protect shutoffs, gates, sealing edges, ribs and deep features during finishing.
- Approve the finish through steel inspection and controlled molding trials.
FAQ
What makes polishing an advanced moldmaking operation?
It requires control of steel condition, abrasive sequence, geometry, contamination, edge protection and molded-part validation at a demanding finish level.
Can a mirror finish hide poor steel preparation?
No. Deep EDM or machining damage must be removed; fine compound may improve reflectivity without removing the underlying defect.
Conclusion
Advanced polishing is controlled material removal with geometry protection and traceable inspection. Define the required mold and part surfaces, prepare the exact steel correctly, progress through justified abrasives, prevent contamination and approve the result on representative molded parts.