
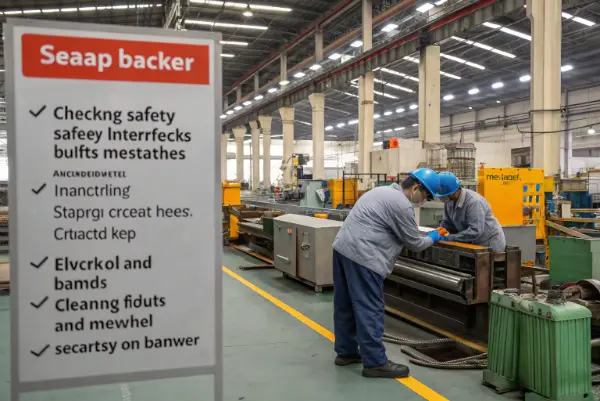
Do you worry about the safety of your injection molding line? Many factory owners ignore the specific risks of molding Polyethylene (PE) until an accident happens. This lack of attention creates dangerous working conditions and leads to inconsistent product quality. You need a strict process control plan to protect your workers and your profit margins.
A safe polyethylene molding process protects operators, equipment and product quality at the same time. Machine guarding, hot surfaces, clamp motion and stored pressure require disciplined procedures, while resin contamination, thermal history, vents, shrinkage and ejection require process controls. Safe production is a documented routine with defined limits and reactions, not an assumption based on PE’s familiar name.
Related engineering resources: production injection molding | mold testing and validation | mold design
Polyethylene injection molding safety relies on precise temperature management between 180°C and 280°C and strict pressure control. You must monitor barrel temperatures to prevent material degradation and dangerous fumes. Additionally, proper mold venting is essential to avoid the “diesel effect,” which causes burns. Regular maintenance of hydraulic lines and heater bands ensures the machine operates safely without risk of injury.
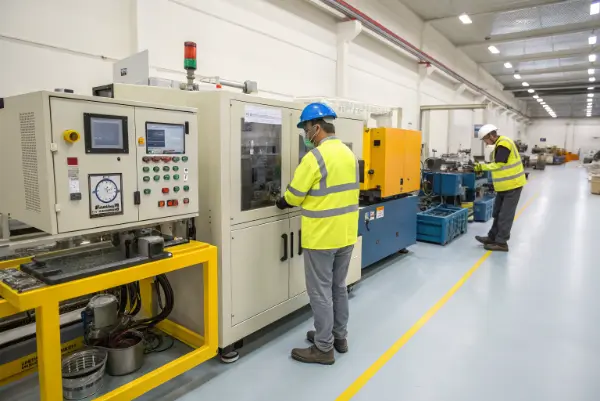
Safety is not just about wearing glasses. It is about controlling the physics of the machine. When you control the process, you get better parts and a safer factory. If you ignore these controls, you risk expensive mold damage and worker injuries.
What are the key safety hazards in polyethylene injection molding?
You might think Polyethylene is a safe, easy material. However, complacency is the biggest danger in the factory. If your operators do not respect the material and the machine, they will eventually get hurt. You must identify these risks before production starts.
The primary hazards in PE molding are thermal burns from molten plastic and exposure to toxic fumes from overheated material. High-pressure hydraulic leaks also pose a significant risk of injection injuries. Operators must wear proper Personal Protective Equipment (PPE) and ensure the machine’s safety guards are fully functional to prevent contact with moving parts.
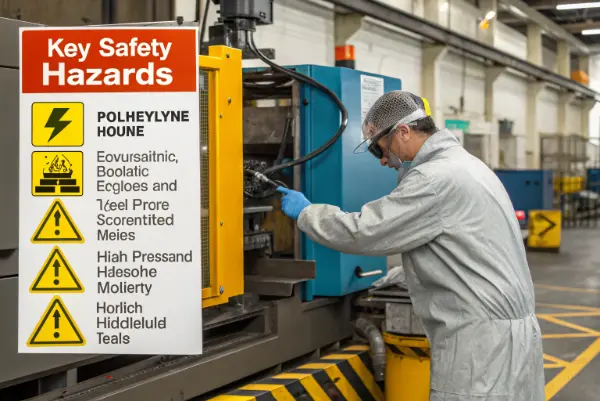
You need to look at three main areas of danger when processing PE. First is the thermal hazard. PE melts at high temperatures. If a purge pile falls on a foot or touches skin, it sticks and burns deeply. You cannot just wipe it off.
Third is the chemical hazard. While PE is generally stable, if it stays in the barrel too long at high heat, it degrades. This releases gases. If these gases build up pressure inside the barrel, the nozzle can act like a gun when you open it. We call this “nozzle drool” or blowback.
Here is a breakdown of common hazards and how you should handle them:
| Hazard Type | Cause | Prevention Strategy |
|---|---|---|
| Thermal Burns | Molten PE splatter during purging | Wear heavy gloves, face shields, and long sleeves. |
| Material Degradation | Overheating or long residence time | Monitor barrel temps; Do not leave heat on during long stoppages. |
| Mechanical Crushing | Reaching into the clamp area | Test safety interlocks daily; use robot pickers. |
| High Pressure Leaks | Worn hydraulic hoses | Inspect hoses weekly; use protective sleeves on lines. |
You must train your team on these specific points. Do not assume they know. A safe shop floor is a productive shop floor.
How does temperature control affect safety and product quality?
Temperature is the most critical variable in molding PE. If you get it wrong, you waste material. If you get it really wrong, you damage the machine. Many defects come from poor temperature settings.
Temperature control affects the viscosity of the Polyethylene and the stability of the process. If the temperature is too low, the injection pressure rises, risking machine damage. If it is too high, the plastic degrades and releases gases. You should set barrel zones progressively, usually ranging from 180°C at the rear to 260°C at the nozzle.
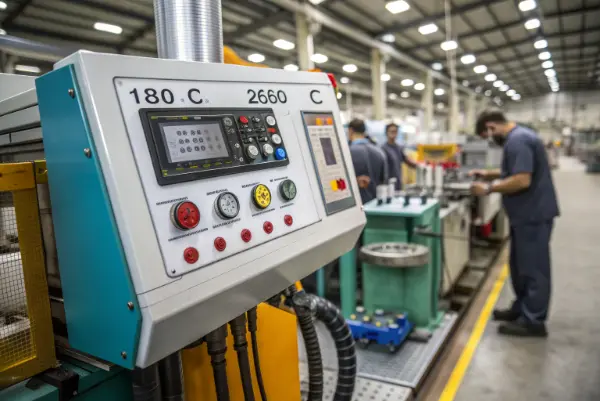
For Polyethylene, you have two main types: LDPE (Low Density) and HDPE (High Density). They react differently to heat. LDPE flows easily. HDPE is stiffer and needs more heat energy.
You need to set a “profile” for your temperatures. Do not set all zones to the same number.
- Rear Zone (Feed Zone): Keep this lower (around 160°C – 170°C). You want the pellets to warm up, not melt immediately. If it is too hot here, the pellets stick together and bridge the throat. The screw will starve.
- Middle Zone (Compression): Increase the heat here (around 190°C – 210°C). This is where the melting happens. The friction of the screw also creates heat (shear heat). You must balance the heater bands with this shear heat.
- Front Zone (Metering): This should be near your final melt temp (220°C – 260°C). This ensures the melt is consistent.
- Nozzle: Keep this hot so the plastic does not freeze when it touches the cold mold.
From a safety perspective, overheating is dangerous. If PE gets above 300°C, it breaks down quickly. It turns into a low-viscosity liquid that can spray out of the mold. It also creates smoke. If you smell burning wax or see smoke, stop immediately. Reduce the heat and purge the barrel.
Also, pay attention to the mold temperature. For PE, you usually want a cold mold (10°C – 50°C) to cycle fast. But if the mold is too cold and the melt is too hot, you get thermal shock and warping. It is a balancing act. You must use a thermolator (temperature controller) to keep the water at a steady temperature. Do not just rely on tower water, which changes with the weather.
Why is pressure management crucial for avoiding mold damage and flash?
Pressure is the force that pushes the profit into the mold. But too much force destroys your investment. A common observation is many operators crank up the pressure to fix a short shot. This is a lazy and dangerous way to mold.
Pressure management ensures the mold fills completely without forcing the clamp open. Excessive injection pressure causes “flash,” which creates sharp edges and damages the mold parting line. You must find the balance point where the part is full, but the pressure is as low as possible.
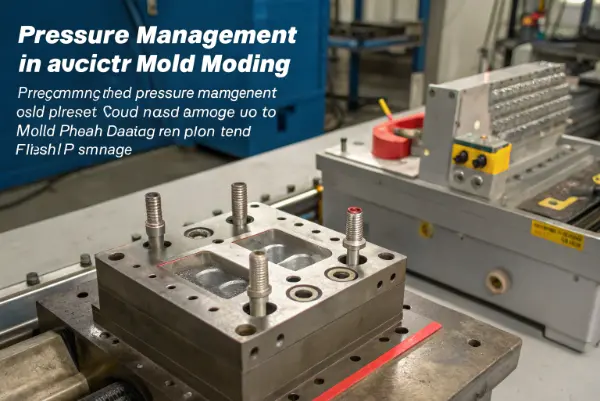
Let’s talk about “flash.” Flash happens when the plastic pressure inside the mold is higher than the clamping force holding the mold shut. The mold cracks open just a tiny bit. The plastic shoots out into the gap.
Why is this a safety issue?
First, flash is sharp. I have cut my hands on PE flash many times. It is like a razor blade. Your operators will get cut handling these parts.
Second, flash damages the mold. If plastic gets on the steel faces and you clamp down again with 100 tons of force, you indent the steel. This is permanent damage. You will have to weld and regrind the mold. That costs thousands of dollars.
To control this, you need to understand the difference between Injection Pressure and Holding Pressure.
Injection Pressure gets the plastic into the cavity. It should be high and fast (for PE). You want to fill the mold 95% full using this pressure.
Holding Pressure packs the part. It should be lower, usually 50% to 70% of the injection pressure.
Here is a simple process to set this safely:
- Viscosity Curve Study: Do not just guess. Run a test. Increase speed and pressure until the mold is almost full.
- Switchover Point: Set the machine to switch from injection to holding when the part is 95% full.
- Pack it out: Use holding pressure to finish the last 5%.
If you rely on injection pressure to fill the part 100%, you will spike the pressure inside the mold. This is like slamming a door shut. It shocks the machine and the mold. It creates internal stress in the part, leading to failure later.
Also, check your clamp tonnage. PE is not as hard to mold as Polycarbonate, but it still needs about 2 to 3 tons of clamp force per square inch of projected area. If your machine is too small, you will get flash no matter what you do. Do not force a big mold into a small machine. It is unsafe.
How can proper venting prevent combustion and defects?
Air is the enemy inside a mold. When plastic rushes in, air must rush out. If the air cannot escape, you are creating a diesel engine inside your tool. This is a serious process control issue.
Proper venting allows trapped air and gases to escape the mold cavity as it fills. If vents are blocked or too small, the compressed air heats up and ignites, causing burn marks (diesel effect). Adequate venting prevents these burns and ensures the plastic fills the details of the mold completely.
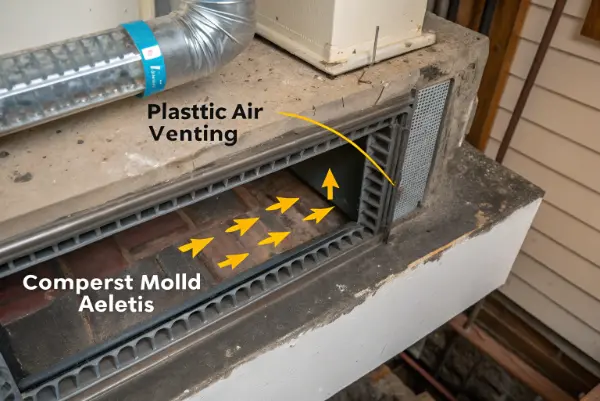
I went to the factory and looked at the mold. The vents were clogged with waxy residue. PE releases a wax-like gas. It builds up on the vents. Because the air could not get out, it got compressed by the incoming plastic.
Think about the physics here. You are compressing air from atmospheric pressure to hundreds of bars in a fraction of a second. This generates massive heat. It can reach temperatures high enough to burn the plastic and even temper the steel mold. This is the “Diesel Effect.” It is exactly how a diesel engine ignites fuel without a spark plug.
To fix this, you must design vents correctly and clean them.
For Polyethylene, the vent depth is critical.
- Vent Depth: 0.015mm to 0.020mm.
- Vent Width: As wide as possible (3mm to 5mm).
- Vent Land: Short (1mm) to let gas escape easily.
If the vent is too deep (over 0.03mm), PE will flow into it. You will get flash. If it is too shallow (under 0.01mm), the air cannot get out fast enough. You will get burns or “short shots” (where the air pushes back against the plastic).
You should place vents at the very last place the plastic fills. We call this the “last fill position.” If you don’t know where that is, run a “short shot” series. Fill the part 50%, then 60%, then 70%. Watch where the flow ends. That is where you need a vent.
Cleaning is also part of process control. PE leaves residue. Your maintenance team should wipe the parting lines and vents with a solvent every shift. If they see burn marks, it is already too late. The damage is done.
Bad venting creates a safety hazard because it forces you to use higher injection pressures to overcome the air pocket. Higher pressure increases the risk of flash and machine wear. Good venting lets the machine run easily and safely.
What maintenance routines ensure long-term safety and consistency?
You cannot run a machine safely if it is broken. Reactive maintenance—fixing things only when they break—is the most dangerous way to run a factory. You need a routine.
Routine maintenance prevents catastrophic failures that endanger workers and stop production. Key tasks include checking safety interlocks daily, inspecting heater bands for electrical faults, and cleaning the screw and barrel to prevent material buildup. A clean, well-maintained machine is a predictable and safe machine.
I treat my machines like airplanes. You would not fly in a plane that hasn’t been checked, right? Why run a business on machines that aren’t checked?
Here is a maintenance routine Consider for PE molding:
Daily Checks (Operator Level):
- Safety Gates: Open the gate while the machine is running (in a safe mode). Does it stop immediately? If not, shut it down. Do not run.
- Heater Bands: Check the display. Are all zones at the set point? A cold zone usually means a blown heater band.
- Leaks: Look for oil on the floor. Hydraulic oil is slippery and flammable. A slip-and-fall is the most common factory accident.
Weekly Checks (Maintenance Tech Level):
- Vent Cleaning: As we discussed, clean the mold vents.
- Grease: Check the toggle greasing system. If the toggles run dry, they will seize. This can destroy the clamping unit.
- Nozzle alignment: Ensure the nozzle tip sits reliably in the sprue bushing. If it is misaligned, plastic will leak and spray out.
Monthly/Quarterly Checks:
- Screw and Barrel: For PE, pull the screw occasionally. Check for wear. If the check-ring (non-return valve) is worn, you lose pressure control. You will get inconsistent parts.
- Electrical Connections: Tighten the screws on the heater bands. Loose wires cause arcing and fires.
- Hydraulic Hoses: Look for cracks or bubbles in the hoses. Replace them before they burst.
Maintenance is not just about the machine; it is about the mold too. After a PE run, spray the mold with a rust preventative. PE is not corrosive, but the condensation from the cooling lines will rust your mold overnight.
When you enforce these routines, you send a message to your team: “We care about details.” When workers see you care about the machine, they care more about the product and their own safety. It creates a culture of quality.
Control Machine and Mold Hazards
Use guards, interlocks, lockout procedures, safe mold-change methods and clear robot zones. Address hot nozzles, pressurized melt, cooling leaks, heavy molds and moving ejectors. Operators should not bypass protection to clear a part or inspect a cycle.
Keep the Material Path Controlled
Approve resin, additives, color, regrind, storage and conveying. Prevent mixed pellets, dust, metal and moisture or condensation where relevant. Trace lots and purge history so a quality event can be contained by time and source.
Establish a Process Window
Define melt and mold temperatures, speed, transfer, hold, cooling, recovery and ejection around weight, dimensions, flash, sink, warpage and function. PE’s shrinkage and thermal behavior make cooling and conditioning important. Limit who can change settings and record the reason.
Maintain Vents, Shutoffs and Cooling
Blocked vents, worn shutoffs, scale, leaks and uneven water flow can create burns, flash, cycle drift and distortion. Use preventive maintenance based on shots, resin, defect history and tool condition. Verify the process after maintenance before releasing normal output.
Use Inspection and Reaction Plans
Check first-off parts and trend cavity weight or CTQs. Define stop, hold, segregate and escalation rules for alarms or defects. Link machine, mold, cavity, material and inspection records so the team can prove what was produced under controlled conditions.
Safe and Controlled Polyethylene Injection Molding: Buyer Review Checklist
- Use guarding, lockout, safe mold change, hot-surface and robot-zone controls.
- Approve and trace resin, additives, colors, regrind, storage and purge history.
- Set documented process limits around weight, dimensions, warpage and function.
- Maintain vents, shutoffs, cooling, leaks and wear with verification after work.
- Apply first-off, cavity trends, segregation, escalation and lot traceability.
Frequently Asked Questions
Is polyethylene a low-risk resin to mold?
It may have a broad processing range in many applications, but hot polymer, machine motion, shrinkage, contamination and product requirements still need formal controls.
Why verify the process after mold maintenance?
Cleaning, insert replacement, alignment or water changes can alter vents, shutoffs, temperature and dimensions.
Who should be allowed to change process settings?
Only trained, authorized personnel working within the approved change and documentation procedure.
Conclusion
Safety in Polyethylene injection molding is not an accident. It is the result of strict process control. You must manage hazards, control temperatures, balance pressures, vent the mold, and maintain your equipment. When you do this, you protect your employees and your investment. Safe molding is profitable molding.